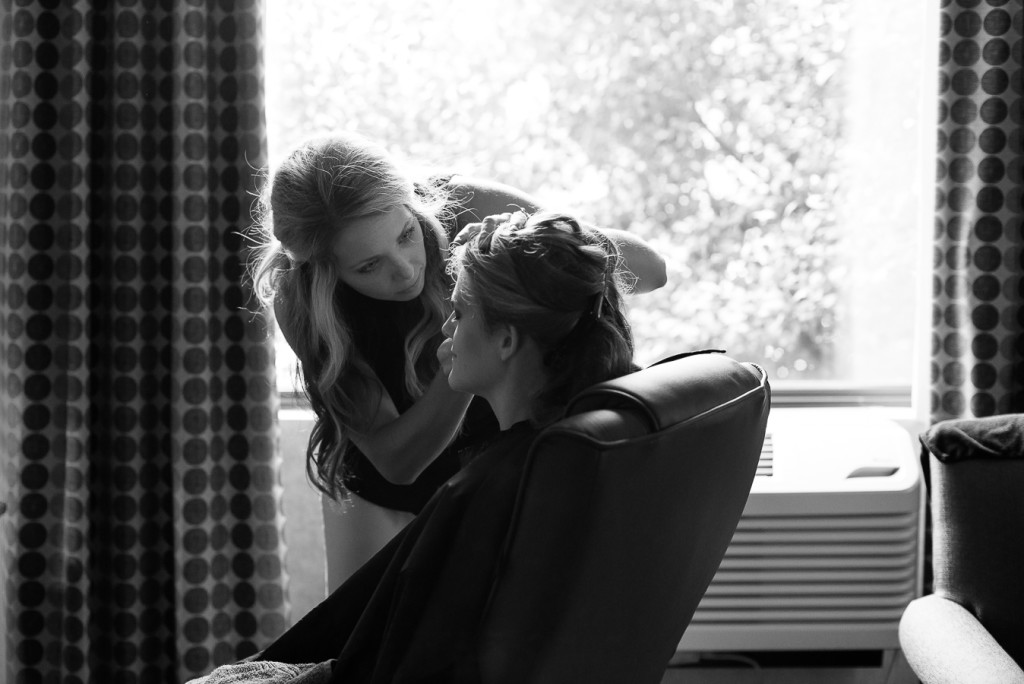
Today’s tutorial is all about how to create black and white pictures in Photoshop! As wedding photographers, sometimes we get to work in conditions that are less than ideal. This is most common during the getting ready portion of the day, when the bride is getting her hair and makeup done. As beautiful as they are, hotel rooms can be really challenging to photograph in. Even the ones that are a decent size become really crammed when you add about 6 bridesmaids, the bride and her mom, the makeup artist, the hair stylist, the photographer and all the getting ready bags all in one room.
When I shot this picture of Sallie getting her makeup done, I knew that this particular frame was not ideal. We were in a dark room, the lamps were turned on (which gave me those orange-ish skin tones) and I was shooting towards the window. In order for me to properly expose my subject, I knew that the window was going to be over-exposed.
*Now, on a wedding day, I won’t let anything get in the way of my shot and I will fight for it until I am satisfied with the overall result. You will see below that I changed my angle to where I had the natural light source behind me and the overall image was more appealing. This particular shot would not normally make the edit as it doesn’t meet the standards of my work. But, for the sake of all of us learning, I decided to use it in this particular post.
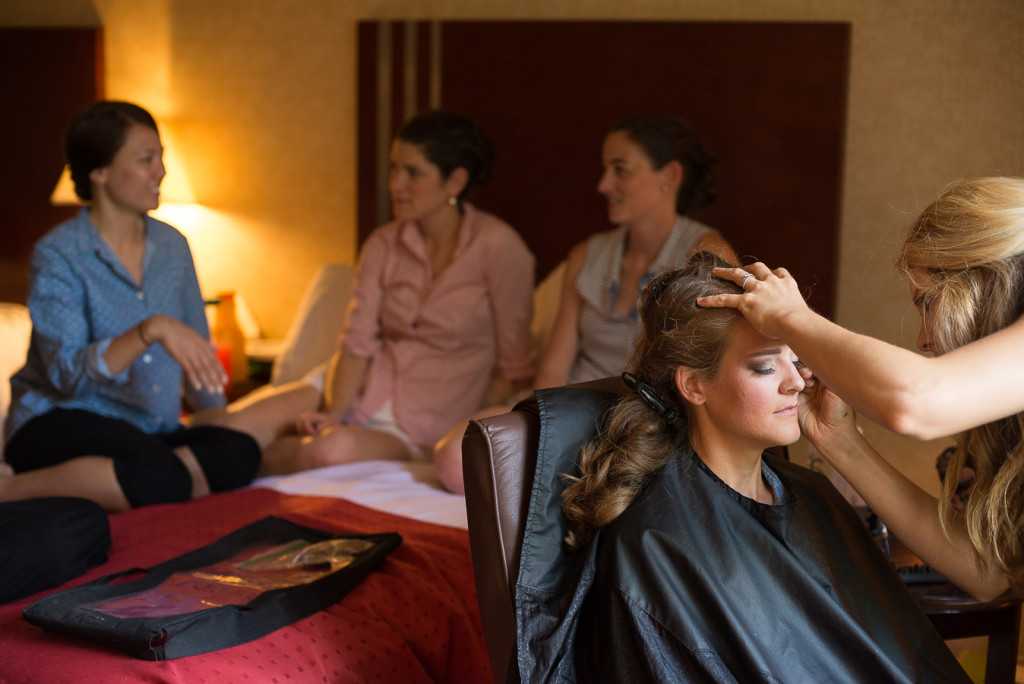
A few things to note about the photo below: the overall composition is good, the artist’s expression is great, it’s candid, the right side of the picture is a bit distracting, my eyes are drawn to the arm chair and AC unit. Can this image be saved? Yes. This particular shot would make a great black and white image!
Here is my favorite way of converting a regular color image into a black and white one:
1. In photoshop create a new layer (Ctrl+J for Pc, Cmd+J for Mac)
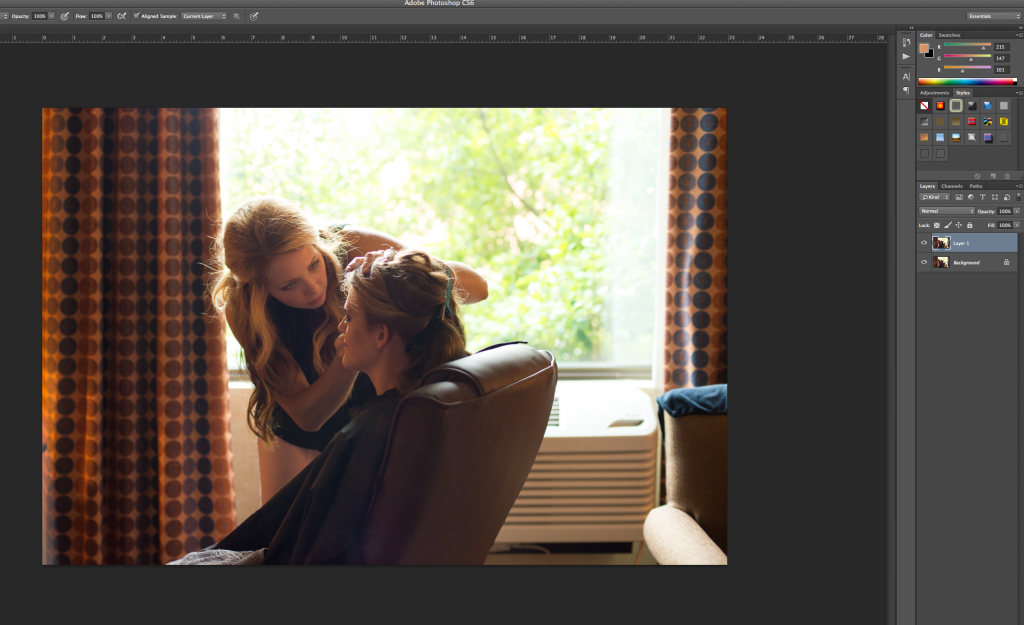
2. Go to the blending modes and choose “Soft Light”. Your picture should look very contrasty! Something like this:
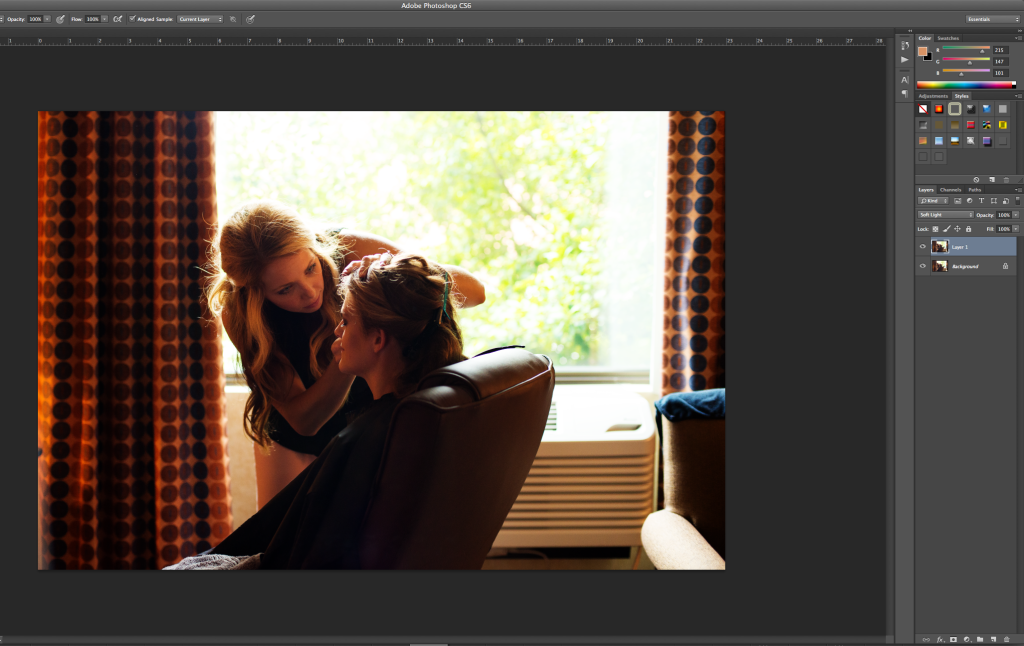
I know, you might think to yourself “you just made this image look worse”, but wait till you get to the next step :)
3. Go down to the adjustment layers and choose “Black & White”.
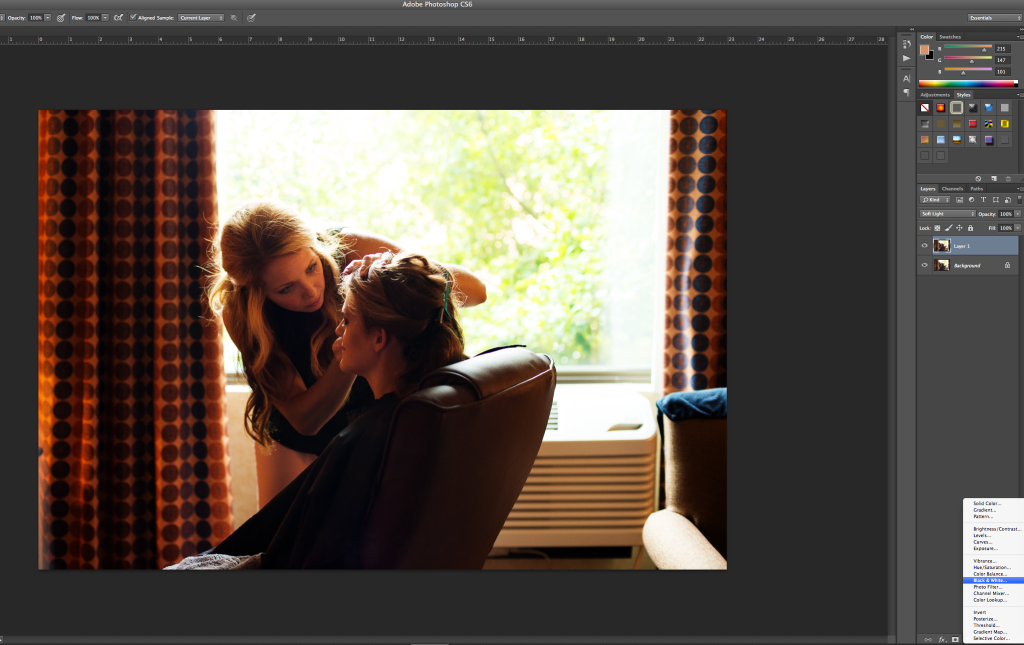
Feel free to experiment with the color sliders until you get the look you like.
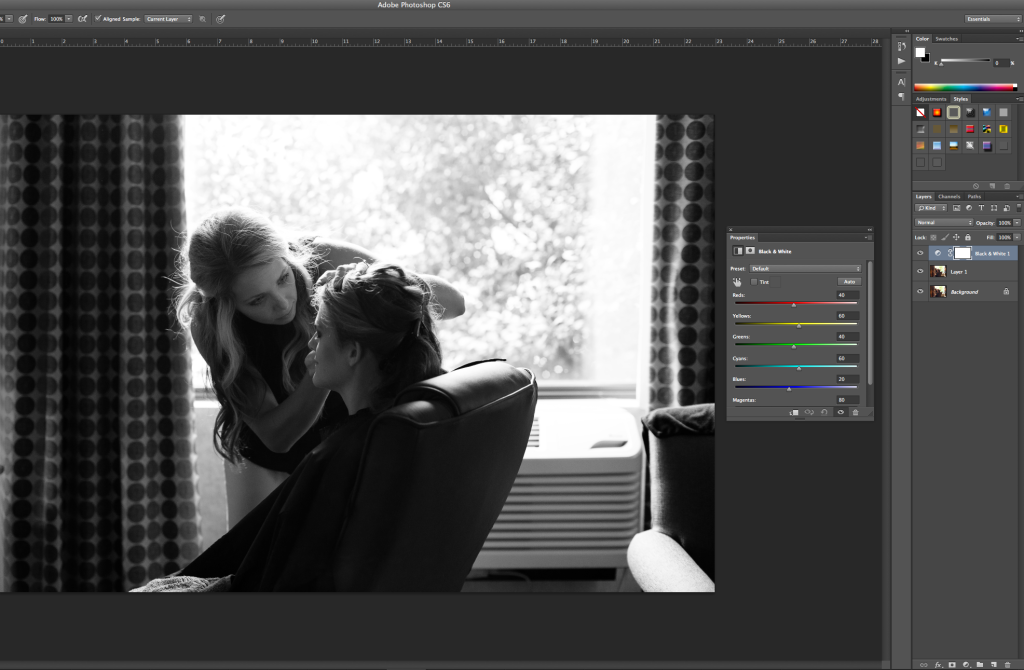

And… that’s it: how to create black and white pictures in Photoshop! Easy, right? I hope you find this trick useful as you are working on converting your pictures into amazing black and white photos.
I love thisgood notes!I’ll have to try this out next time I’ve always used gradient map but I love this!
So happy you are finding it useful, Kristine! It is super easy too, you should give it a try.
In some locations, it’s hard to get nice looking getting ready shots on the wedding day. Sometimes I wish I could turn them all black and white!
Oh I love a good black and white! <3