

Taking better getting ready photos on wedding days has been my number one goal ever since starting my photography business eleven years ago. Not only have I made elevating the getting ready images a priority over the years, but I’ve also been focusing on making sure that I capture candid, unscripted moments during this part of the day as well.
In this blog post we’re going to discuss both of these aspects to make sure that you go into your next wedding confident that you have all the tools you need to nail the getting ready shots!
So how can you create a cohesive look in your getting ready photos?
1. Lighting
How can lighting affect the quality of the getting ready photos, and what are some tips for finding the best light in any situation?
You can’t control what the getting ready room looks like, how spacious it is, or what color the walls are painted. So how can you find the best light to shoot in no matter what the getting ready room looks like? I have two tips for this:
- shoot near a window
- step outside
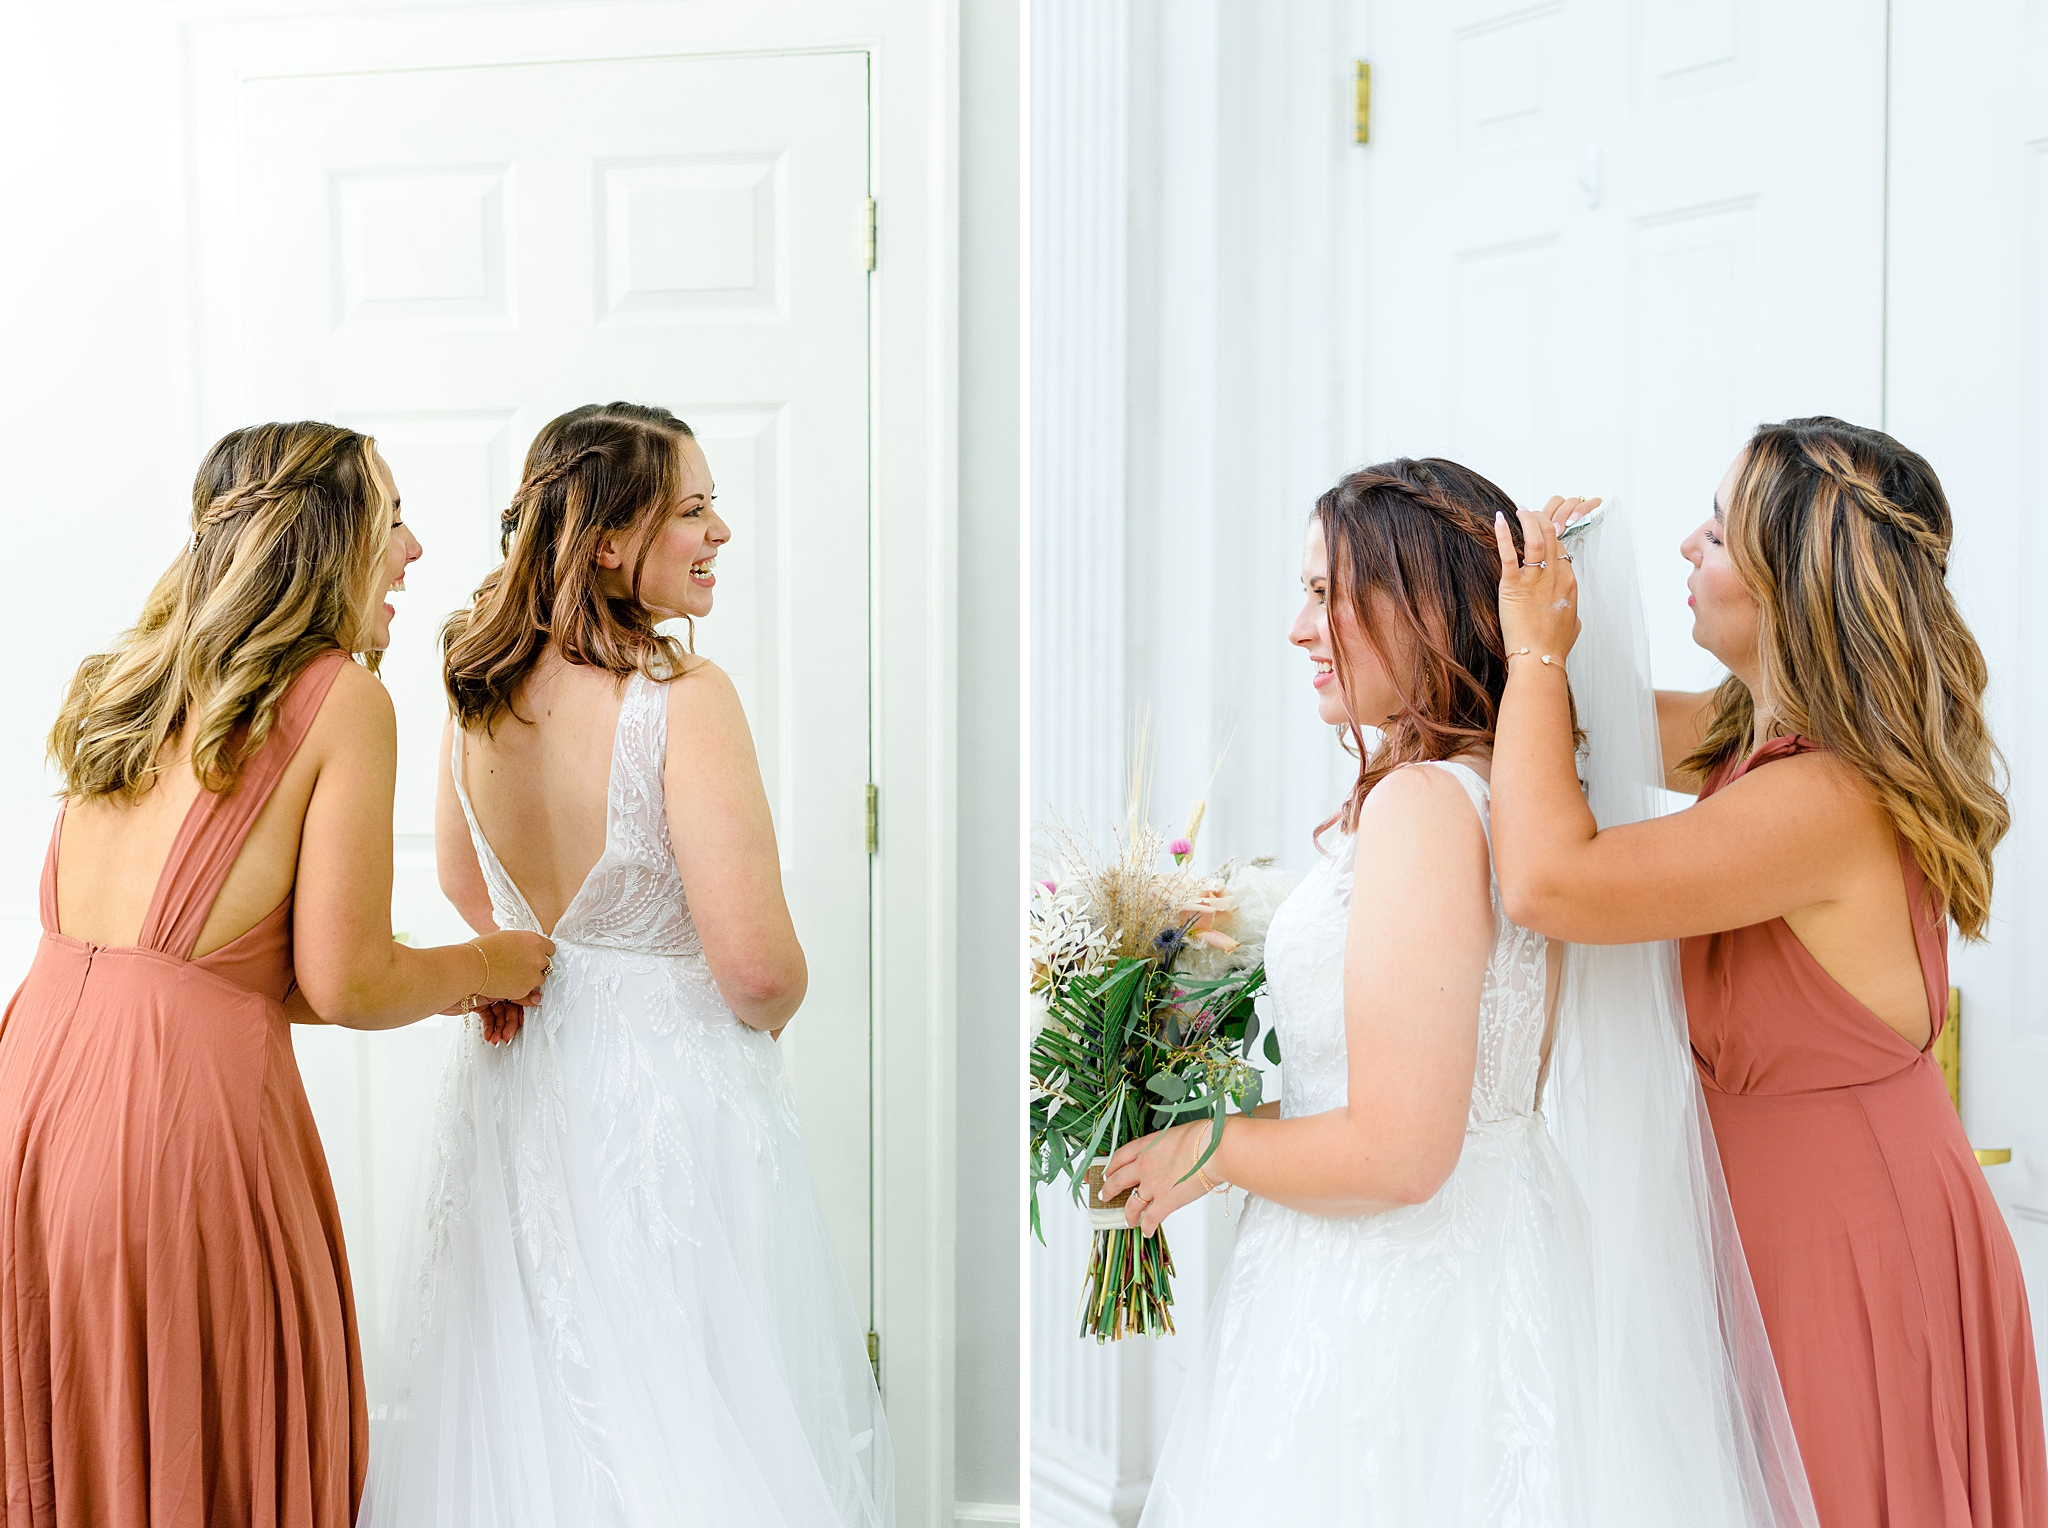
The easiest thing to do is find a good source of natural light and take all of the pictures in that spot. I’ve also seen getting ready rooms that had no windows or the walls were really dark. In this case, stepping outside is definitely a smart idea. Here is an example where I had to ask the bride to take the getting ready photos outside on a beautiful white porch because the getting ready room had no windows.
The image on the left was taken inside the getting ready room, and although I love the moment itself, I really struggled with the florescent light. You can see hints of yellow on their skin and hair. However, the image on the right is so much cleaner, because I had plenty of natural light to work with. Of course, all the white doors and columns around us helped bounce beautiful clean light unto my subjects’ skin, which looks a lot more natural.
2. Background
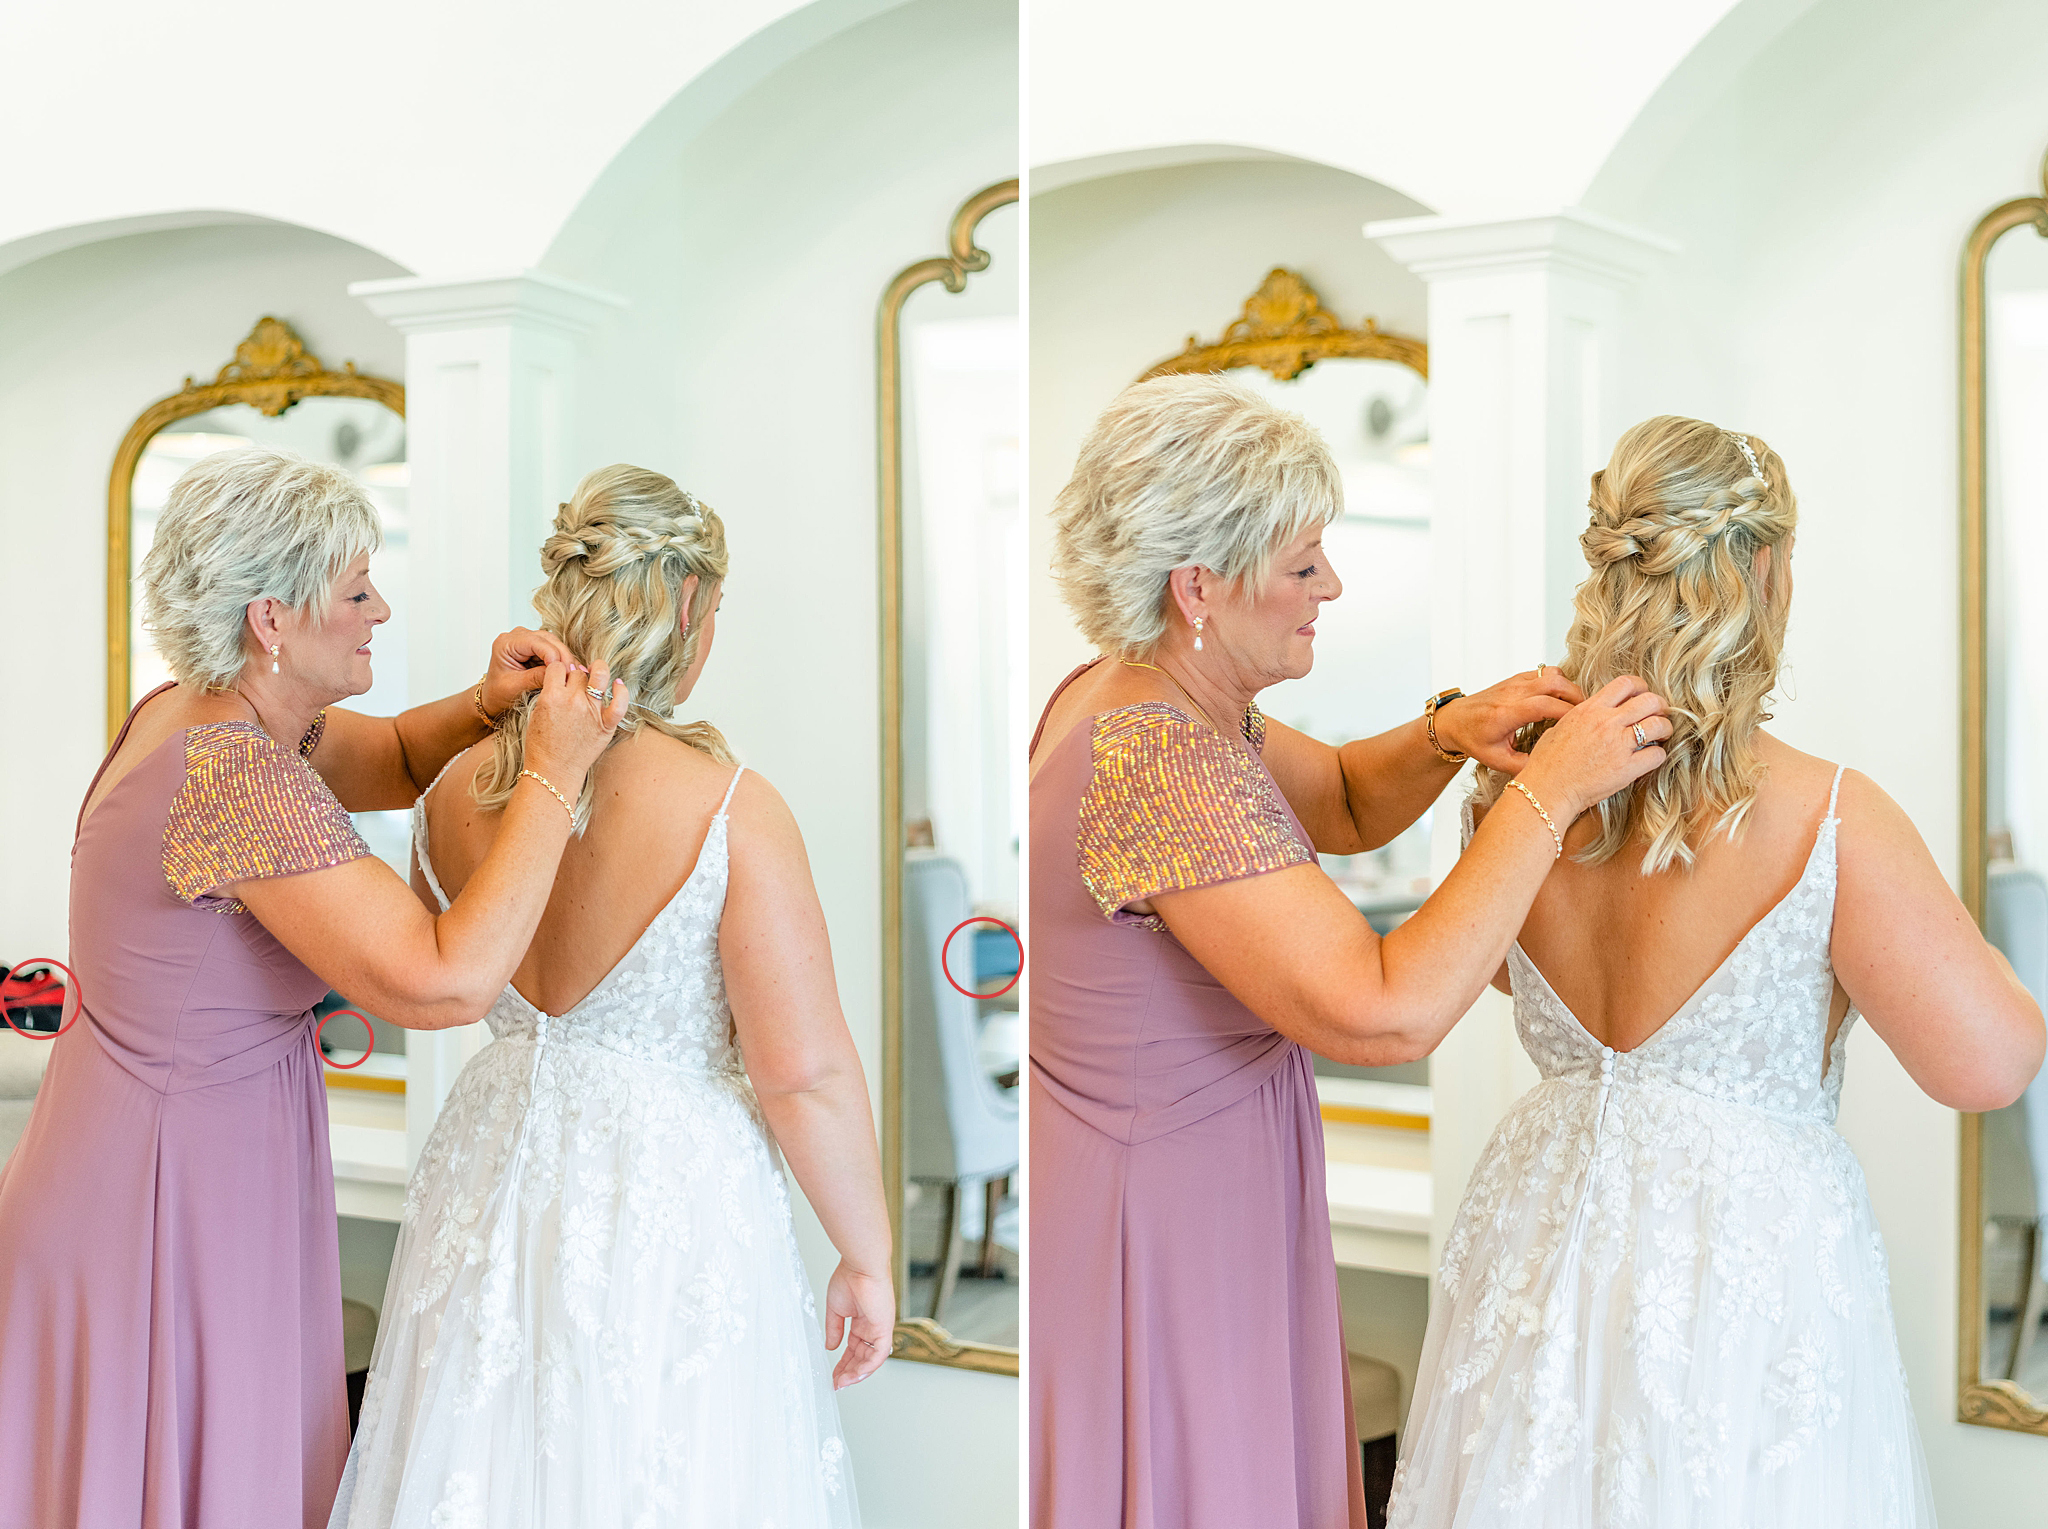
Pay attention to the background and eliminate any distracting elements. Also, make sure to frame your shots carefully. For example, crop out the edge of the table if it’s in the way. This will eliminate distractions and allow the viewer to focus on the subject in the image. In the example below, can you see how much cleaner the image on the right looks simply because I decided to take one step closer to my subjects.
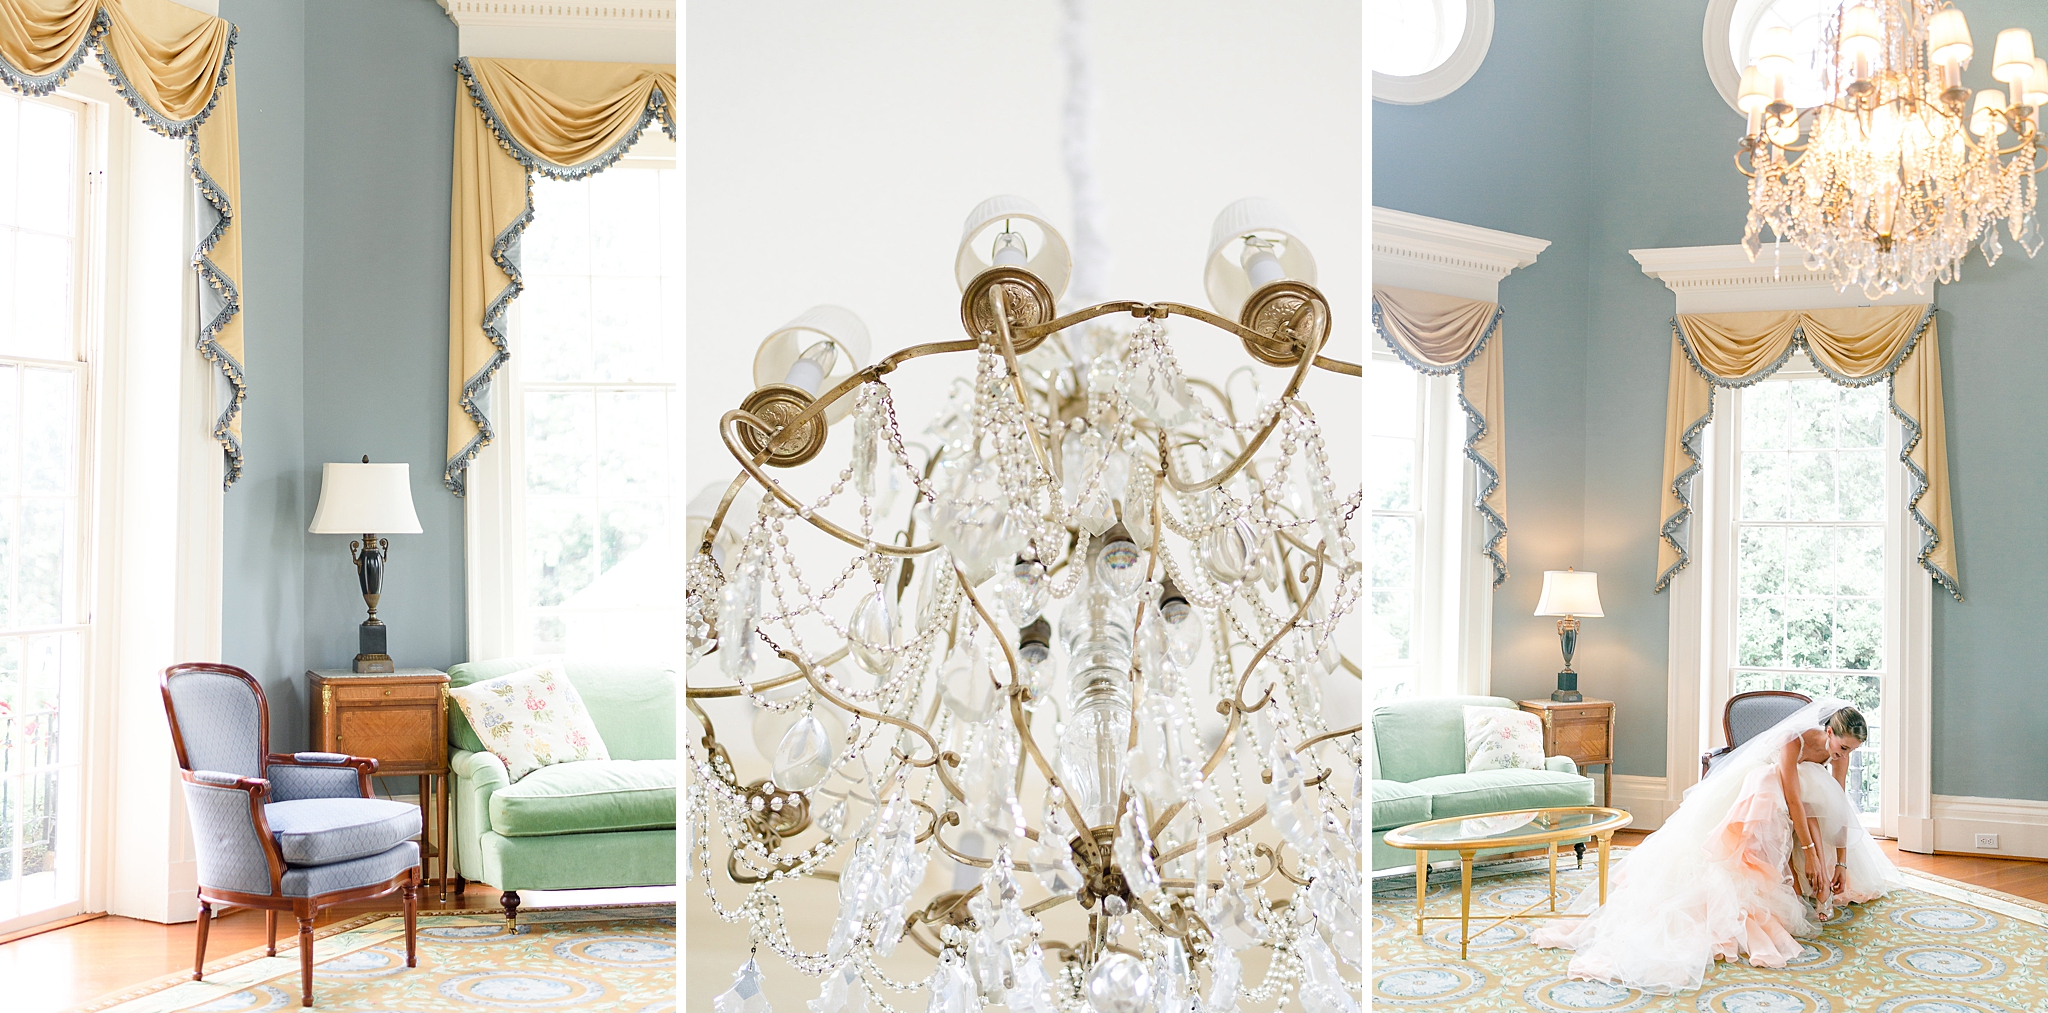
3. Color Palette
Establish a consistent color palette and lighting scheme. For example, if the wedding colors are soft pinks and blues, but the getting ready room is red, I’d almost always opt for moving outside or finding a more neutral space to shoot in. Also, if your style is light and airy, but the getting ready room is dark, you won’t be able to achieve a cohesive look, so make sure you take all of these things into consideration before you start shooting.
In the second part of this blog post, I want to focus on how you can capture candid moments during the getting ready process. Here are my best tips!
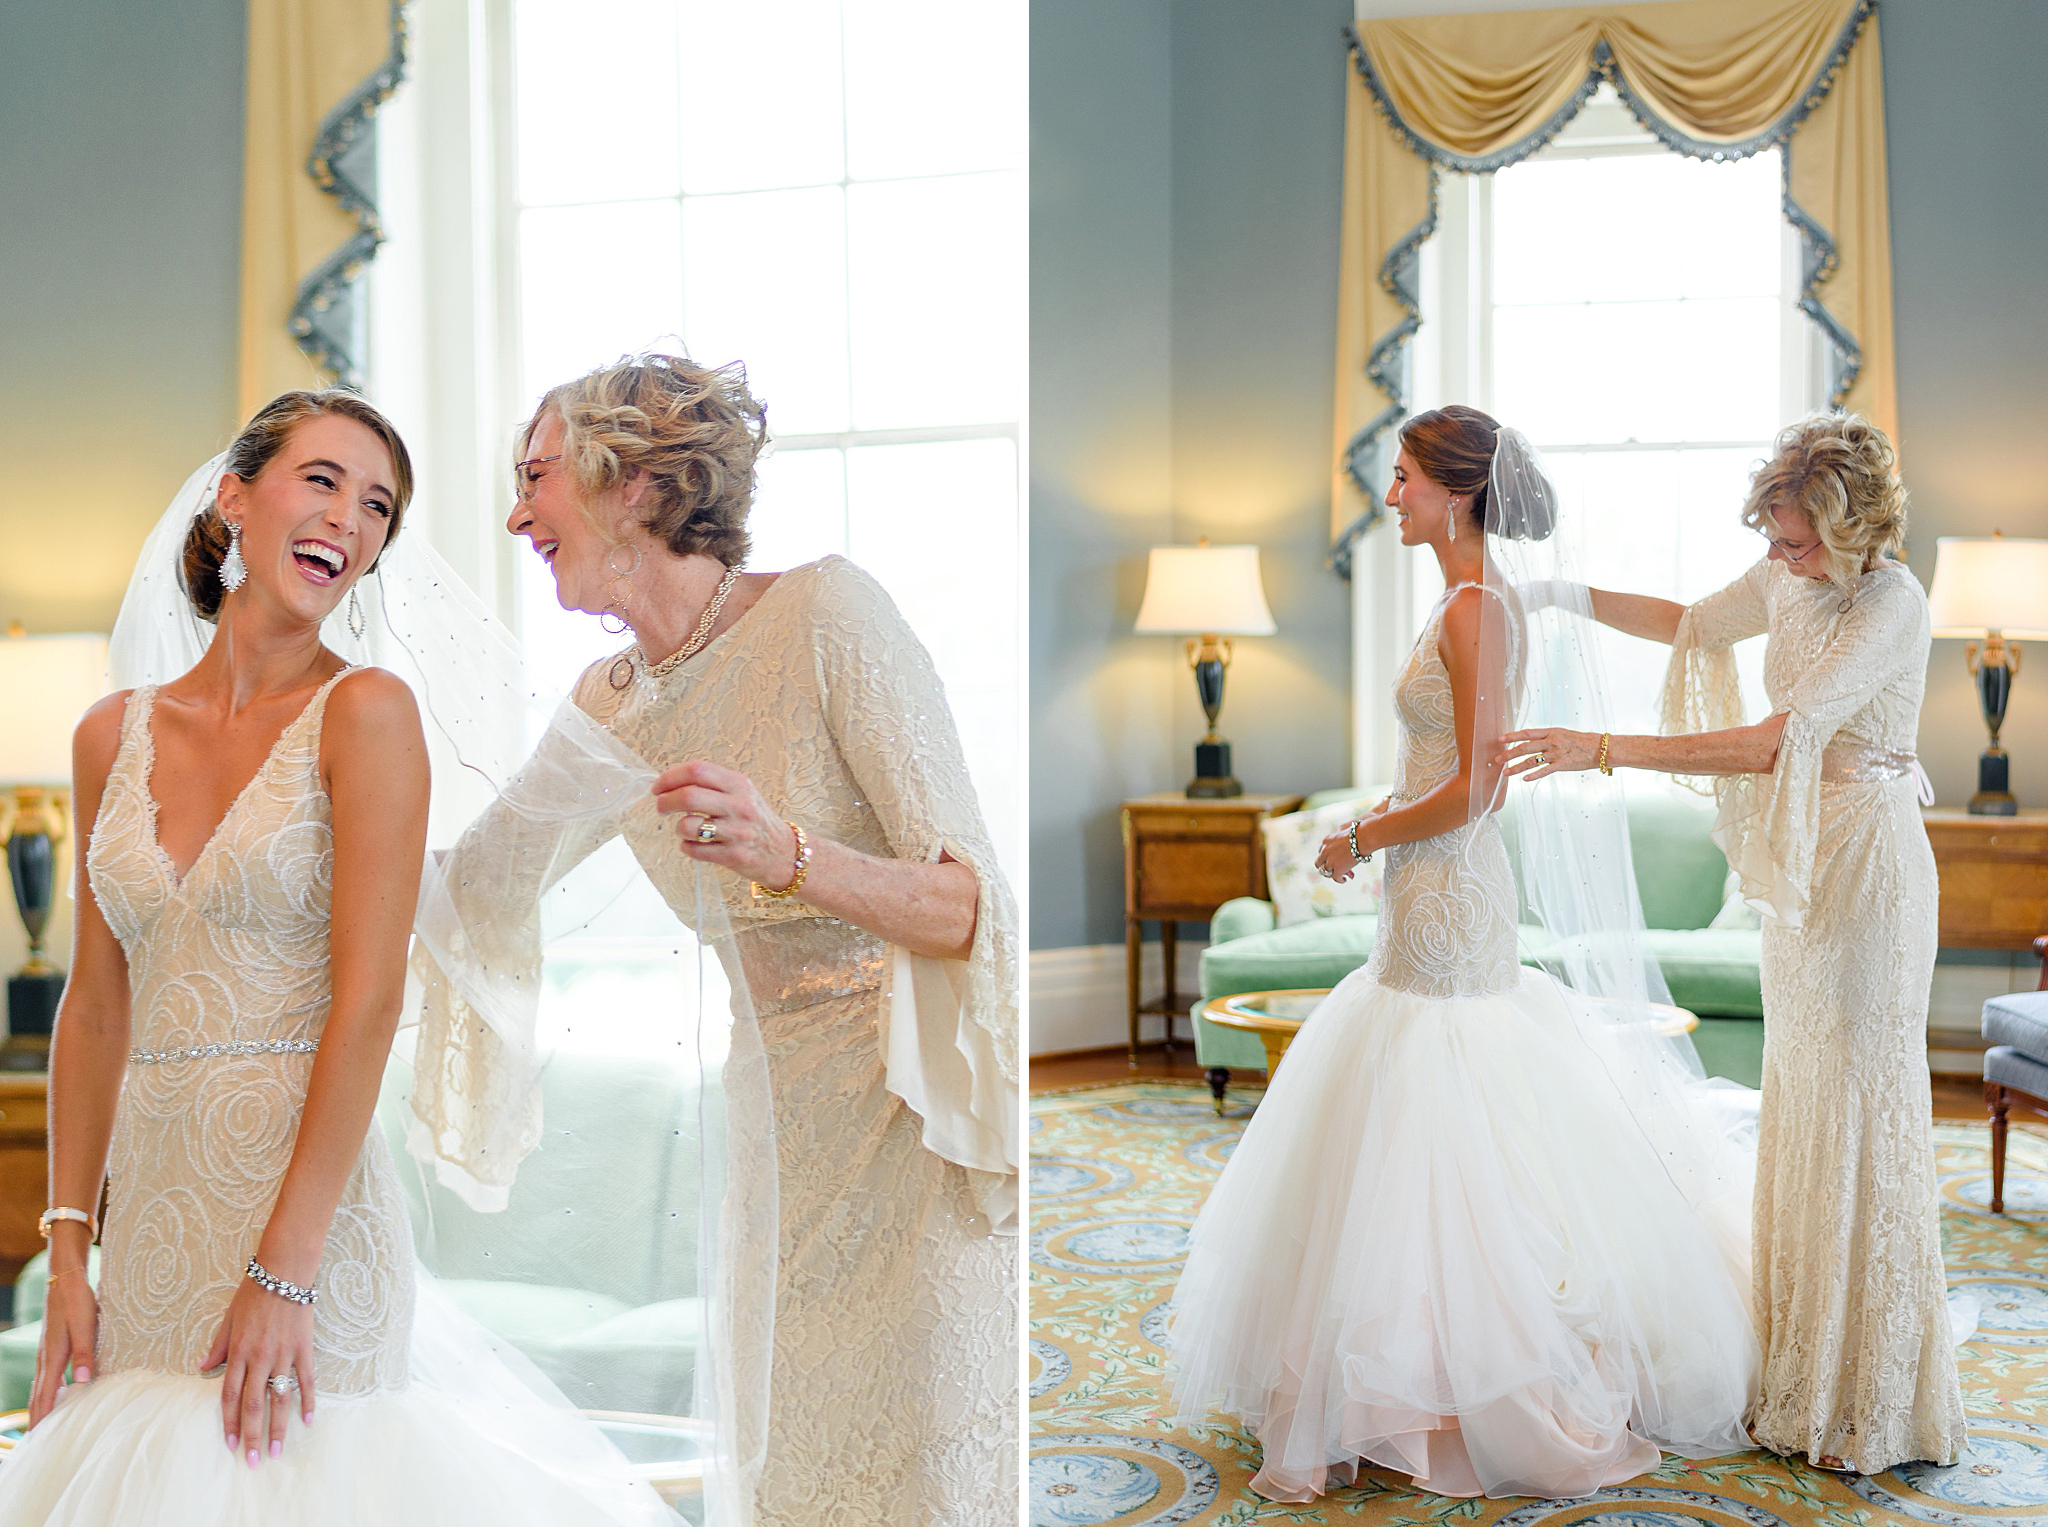
1. Anticipate the moments before they happen and be ready to capture them quickly. I absolutely love this moment between Brittany and her mom. And the only reason I was able to capture it, was because I kept shooting after her mom helped Brittany with her necklace.
2. Use a longer lens so you can shoot from a safe distance without disrupting the natural flow of the events, but remember to crop in if there are distracting elements in the background.
3. Focus on the details and emotions to tell a story.
Lastly, here are some common mistakes to avoid when taking getting ready pictures!
1. Ignoring the importance of natural light and relying solely on flash in a way that appears harsh or unflattering.
2. Forgetting to adjust camera settings for different lighting conditions in the getting ready location, resulting in underexposed or overexposed photos.
3. Failing to pay attention to small details such as cluttered backgrounds, messy hair or makeup, or unflattering angles.
Getting ready photos don’t have to be stressful! These are some of the tips that have helped me elevate my images over the years and I hope you’ve found them helpful too. I’d love to see you apply them at your next wedding, and if you do, make sure to send me a message on Instagram. Can’t wait to hear all about it!


