How do you choose which images to share on social media or in a blog post? I love this question so much because there’s definitely a strategy behind how I decide which images to share online.

You may have seen new photographers share dozens of images from the same session as soon as they edit them. And while that’s great, when posting online, you really only want to be posting your best of the best images. Your social media and blog are essentially your virtual portfolios. They are the first images of your work that potential clients see when they come in contact with you.
Blog Posts
So, out of hundreds of images that you deliver from a wedding, how many images should make it in a blog post?
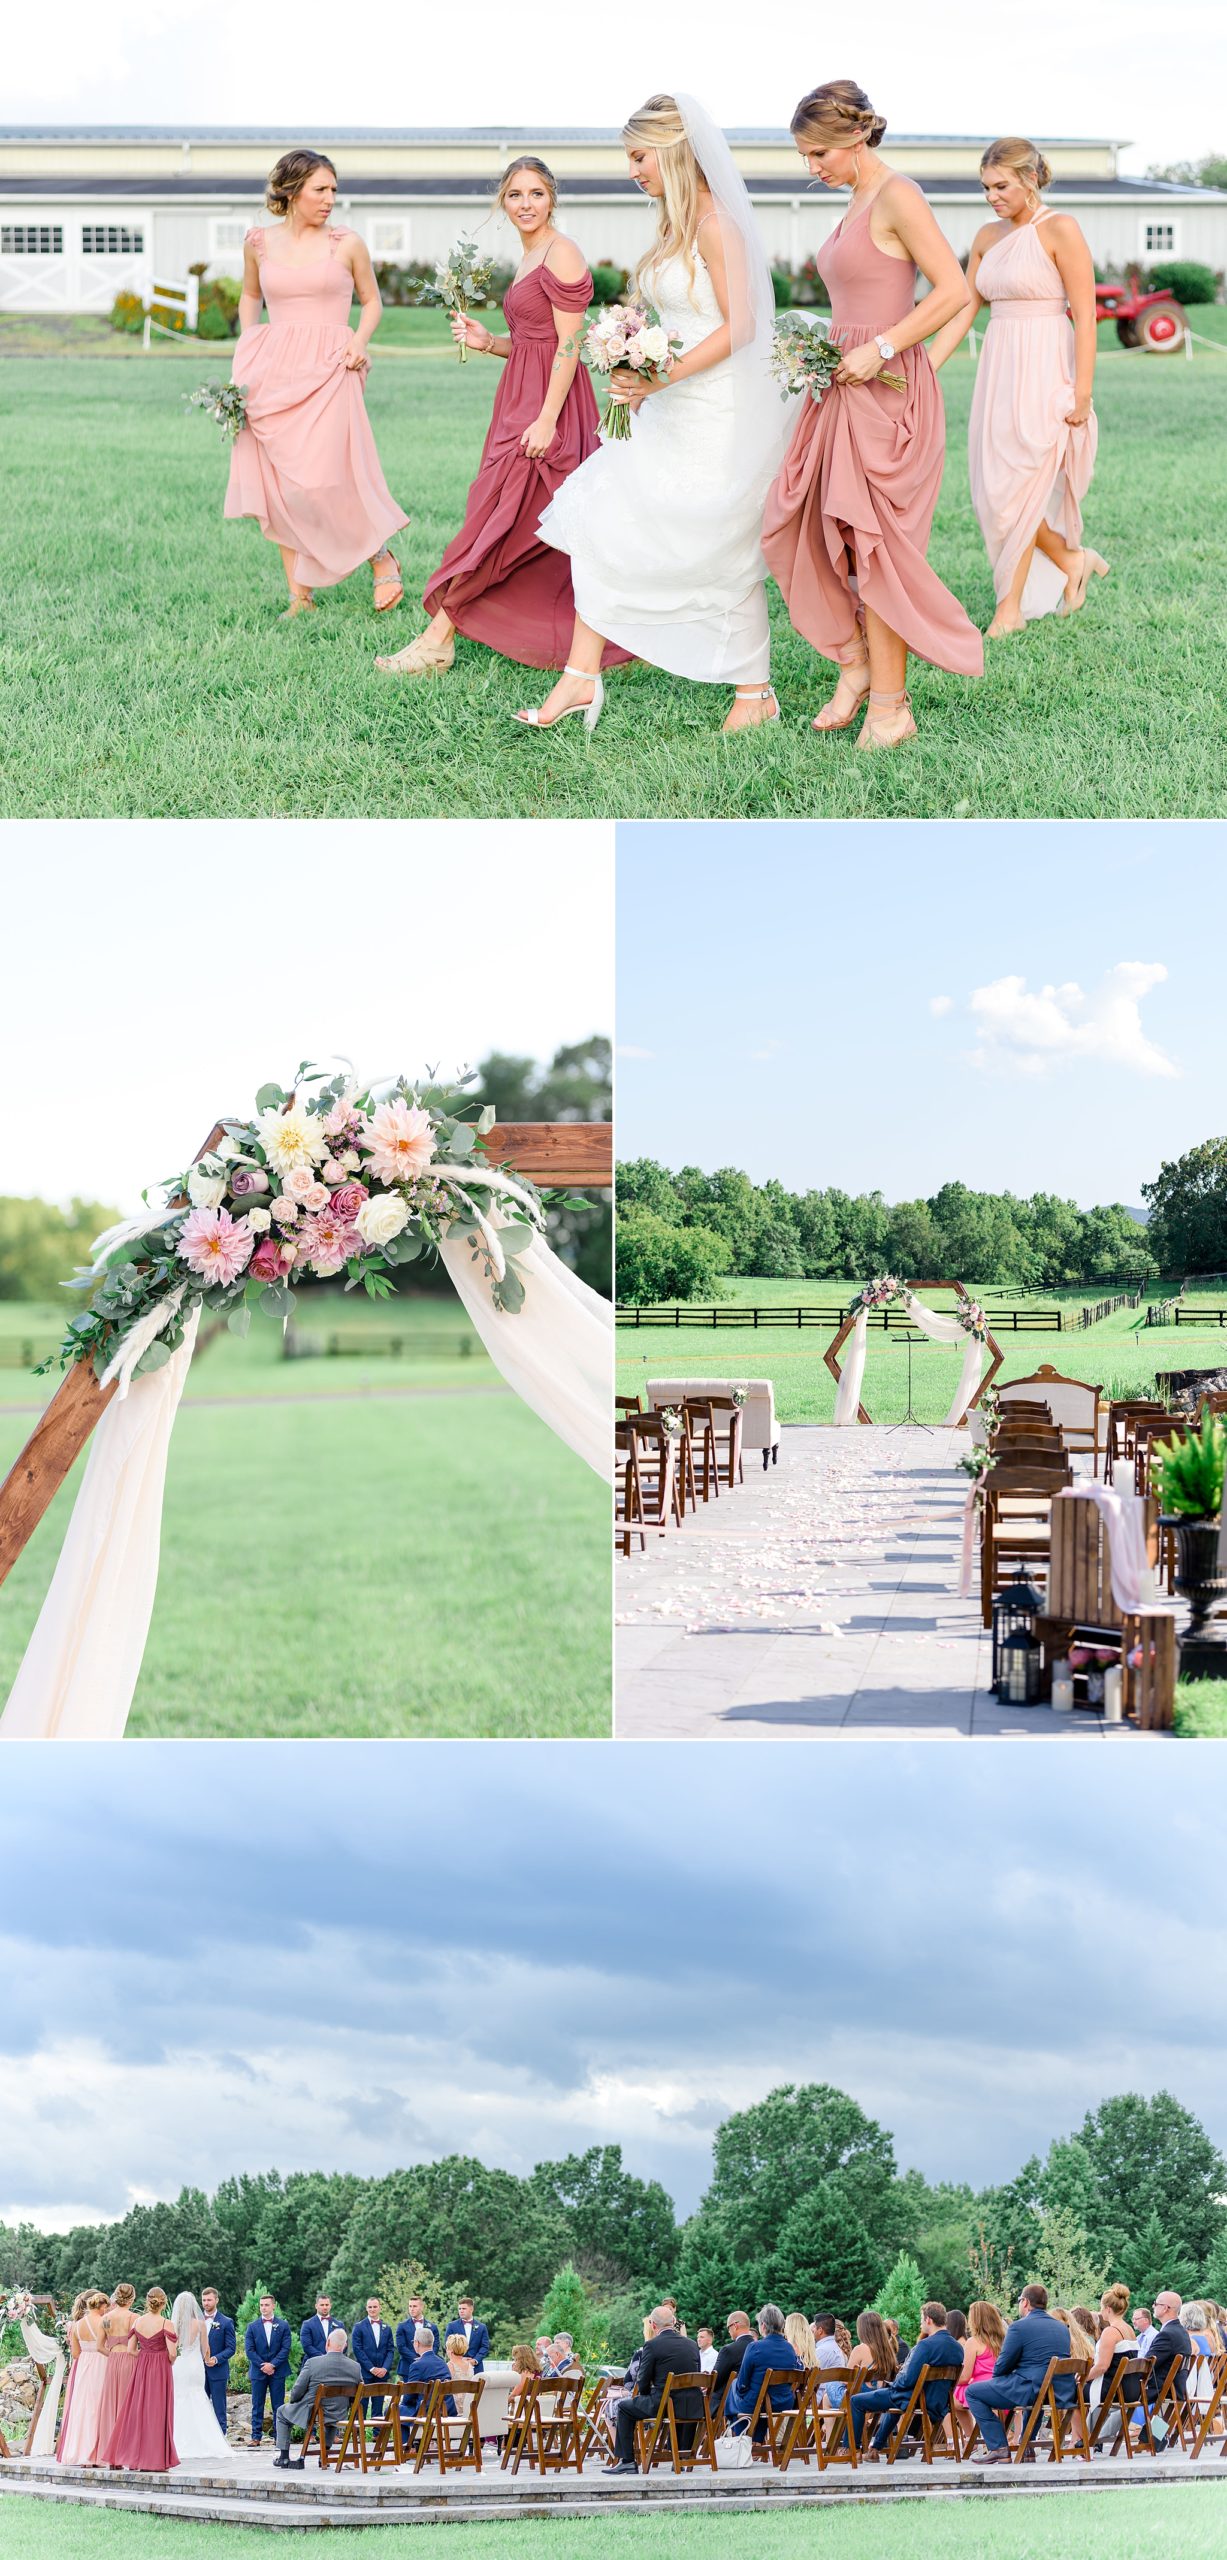
My own rule of thumb is that I want to choose images from each stage of the day in order to tell the story of a wedding day from beginning to end. I usually end up with about 50 images that best represent my work. This includes my favorite detail shots, getting ready pictures, bridal party photos, bride & groom portraits, ceremony, and reception photos.
It’s very rare for me to share family photos in a blog post, so I usually don’t choose any of those. I do, however, make it a point to take outside photos of each location I’m at on a wedding day (getting ready, ceremony, venue, etc.), including any detail shots that are part of the permanent setting (architecture or floral details). These images serve as transition points from one stage of the day to another in a blog post. For example, instead of jumping from bridal party images to the bride and groom’s first kiss at the altar, I’ll first share an image of the bridal party walking, followed by a wide ceremony decor shot, etc. This makes everything flow together smoothly, rather than the flow being cut abruptly.

Pro tips!
1. Make sure the images in the blog post are shot in similar lighting and that you don’t go from light and airy images to images that are dark and inconsistent.
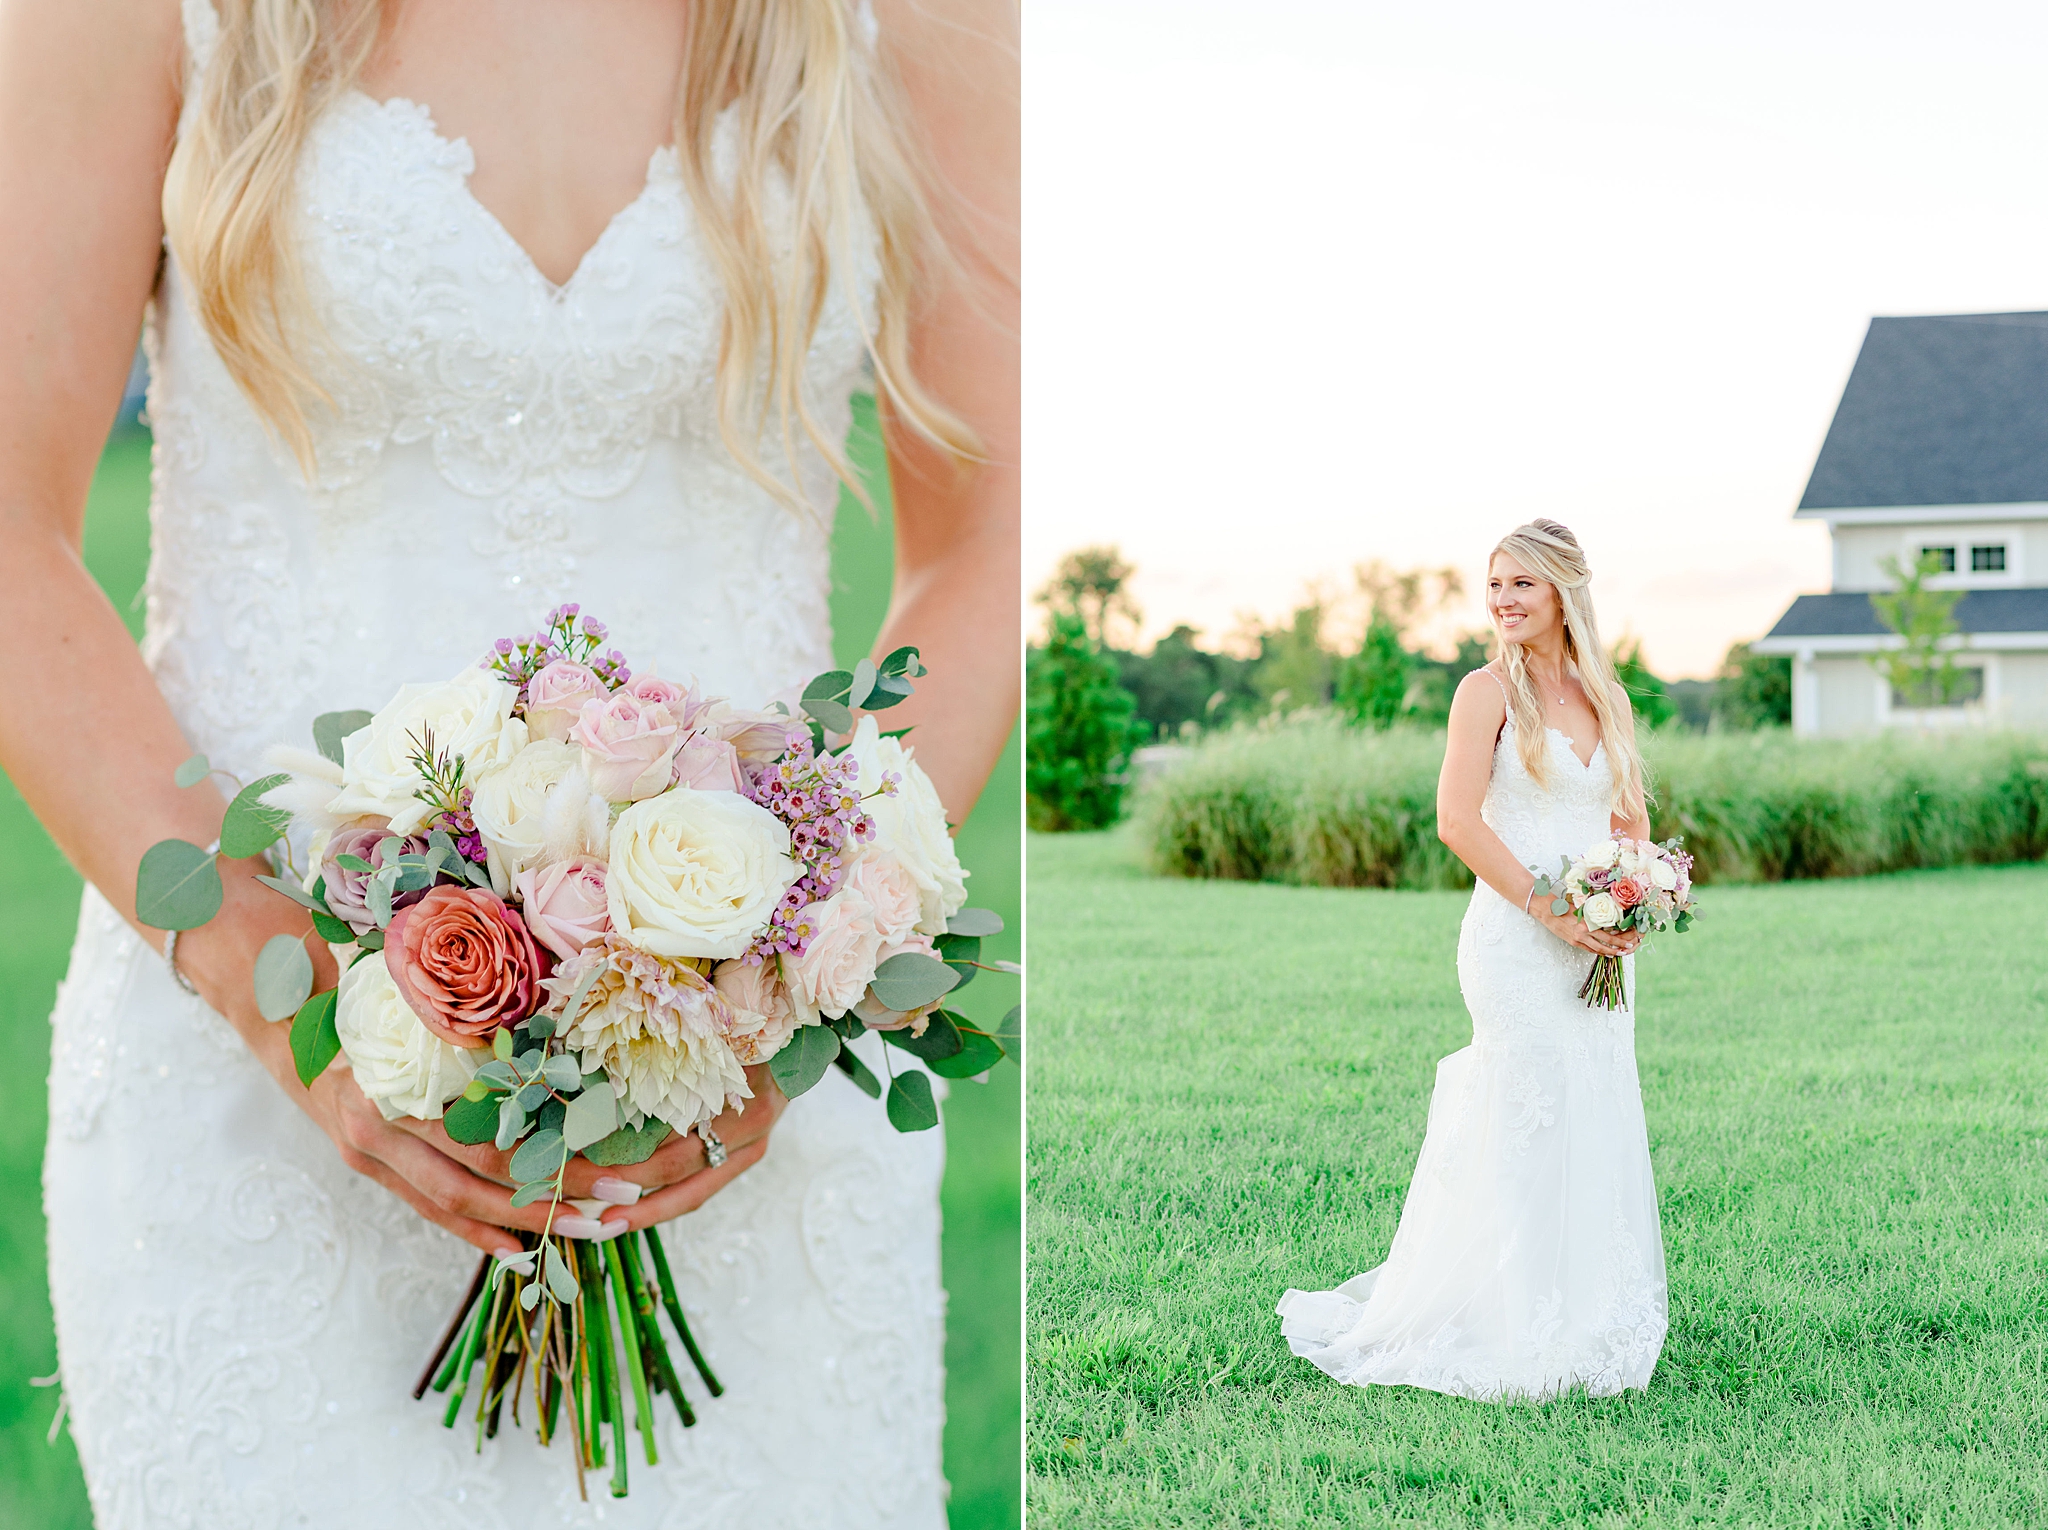
2. When you pair images in a blog post, make sure to pair a wide shot with a close up shot for more visual interest. I use BlogStomp to pair my images together. BlogStomp basically merges the two images together (usually vertical shots) into one horizontal image. This also reduces the number of photos you share in a blog since two pictures merge into one, which is great for your website loading speed. The more images you have (especially if they are large files), the slower your website will load!

Social Media
I personally share the same images on both Instagram and Facebook. While Facebook doesn’t really put your images in front of a lot of people, I still like to post on the platform. I don’t put too much effort into it though, I simply have the “Share to Facebook” button toggled on in Instagram, so every time I post to Instagram, it gets posted to Facebook as well.
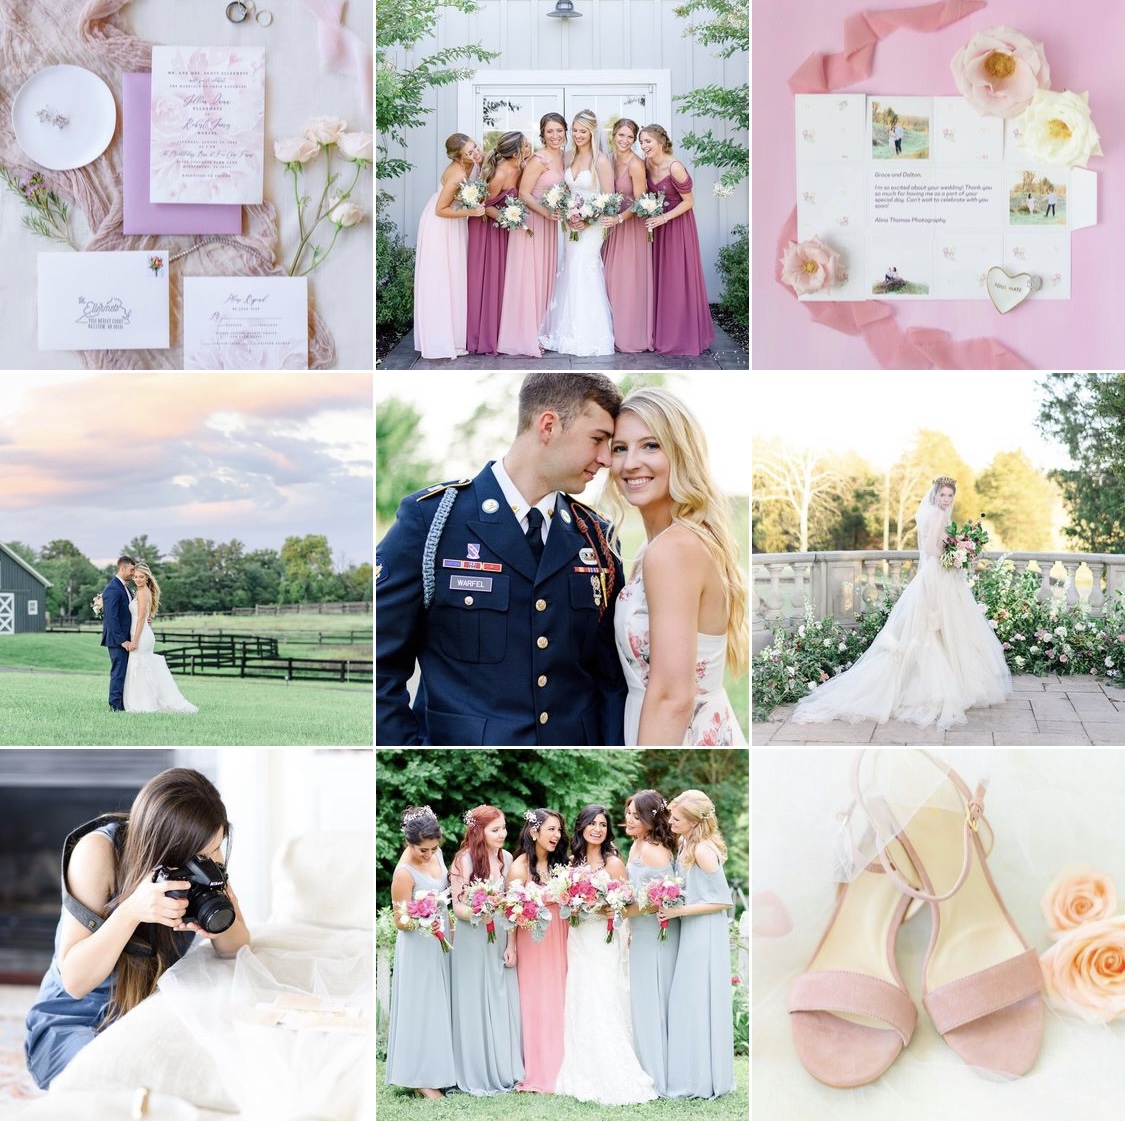
The images I post to Instagram are usually the same images that I chose for my blog. Since I have already curated them, it’s a lot faster to choose the best out of 50 images than it is to choose the best out of hundreds of photos. These are usually images that I would print in an album or share on my studio walls.
Bonus tip!
Keep a folder on your computer that has 10 folders inside of it that represent 10 different categories (weddings, engagements, ring shots, bridal parties, etc.). After each wedding, you can add your favorite 10-20 images to the respective folders they belong to. Then, every month when you plan your social media content, pull 3 images from each folder (you’ll end up with 30 images) that you get to post on social media that month!
Pro tip!
Same as with the blog images, when you share to Instagram, you’ll want to post a wide shot followed by a tight crop, followed by a wide image, followed by a close up photo. You get the idea!

And there you have it, friends! This is the process of how I choose which images to share on my blog or social media.