Here’s how to edit a FULL wedding gallery in under a week! Yes, it’s possible!
I’ve been shooting weddings for over half a decade now and I can tell you that the thought of outsourcing my editing has crossed my mind many, many times. However, I have such a fast turnaround for my weddings that many editors can’t match it.

Plus, I’m really picky about my images, and I know that I would probably touch up all the photos once they came back anyway. So, let me ask you a question!
How long does it take you to edit a wedding from start to finish?
If you’re struggling with editing and having a fast workflow, I’ll show you how I deliver my clients’ galleries while they are still on their honeymoon! Oh, and I also have two little ones at home as well that only allow me to work during nap time. Yep! #TrueStory
Alright, so here are the steps I follow to deliver each gallery in under a week!
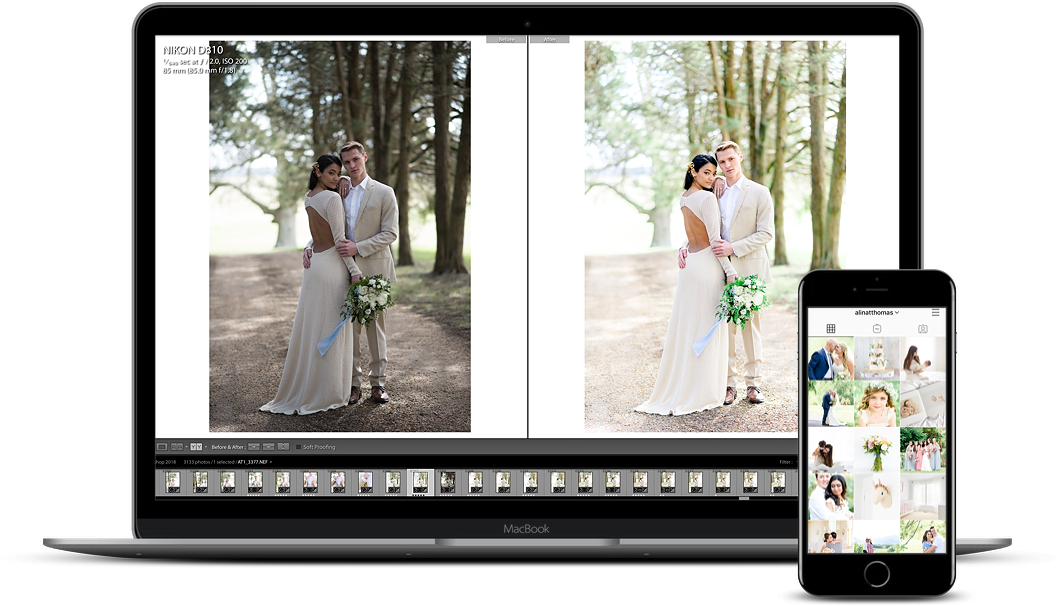
STEP 1: Cull using Narrative Select
If I shoot a wedding on a Saturday, I do a quick cull of all the images on Monday. And I say “quick” because I use Narrative Select—it’s so much faster than Lightroom. While Lightroom makes you wait for each image to load, Narrative Select has zero lag, and lets you fly through your images without any delay.
Bonus Tip: Instead of deleting the images you don’t want to keep, pick the ones you do want to use! This helps ensure you don’t end up with thousands of images after your first round of culling, and it also makes the process more positive since you are keeping the good images, rather than tossing the bad ones.
— This process takes about 2 hours.
STEP 2: Cull twice!
After I finish culling through all the images from a wedding, I usually end up with around a thousand keepers. From there, I go through the pictures again and pick the best ones, usually the ones I want to feature on the blog.
— This process takes about 30 minutes.
STEP 3: Edit the blog images first
On Monday, I go in and edit all the images I picked for the blog with my Bright & Clean Presets. Once they are edited, I export them and prep them for the blog using Blog Stomp. Later that day, I write the blog post and have it all ready to go live on Tuesday morning.
Bonus Tip: I send all my couples a pre-wedding questionnaire that includes their love story, proposal, and fun facts so when it’s time to write, I’m not starting from scratch.
— This process takes about 1.5 hours.
Step 4: Sync the rest of the images with the blog photos
You’ve likely already edited images from each part of the day for the blog, so syncing the rest in Lightroom should be pretty straightforward. Make any minor adjustments if needed, and you’re good to go.
— This process takes a few hours.
Bonus Tip: In Lightroom, sort your images by “Capture Time” before you start editing. This places your images and your second shooter’s in chronological order which makes it easier to spot (and delete) duplicates.
Remember in STEP 1 I said that after I cull the first time around I end up with about a thousand images? By deleting some duplicates in Lightroom while editing, I end up delivering between 600-700 final images to my clients.
This is how to edit a full wedding gallery in under a week! Want to edit the easy way? Grab my Bright & Clean Presets!
SHOP THE BRIGHT & CLEAN PRESETS