

I have one easy tip to make your detail shots stand out, and one huge announcement for you today. But first, let’s start with the one super simple trick that I use to make my bridal details stand out on a wedding day. It’s so simple, you’ll be wondering why you didn’t try it sooner.
The Secret to Next-Level Bridal Detail Shots
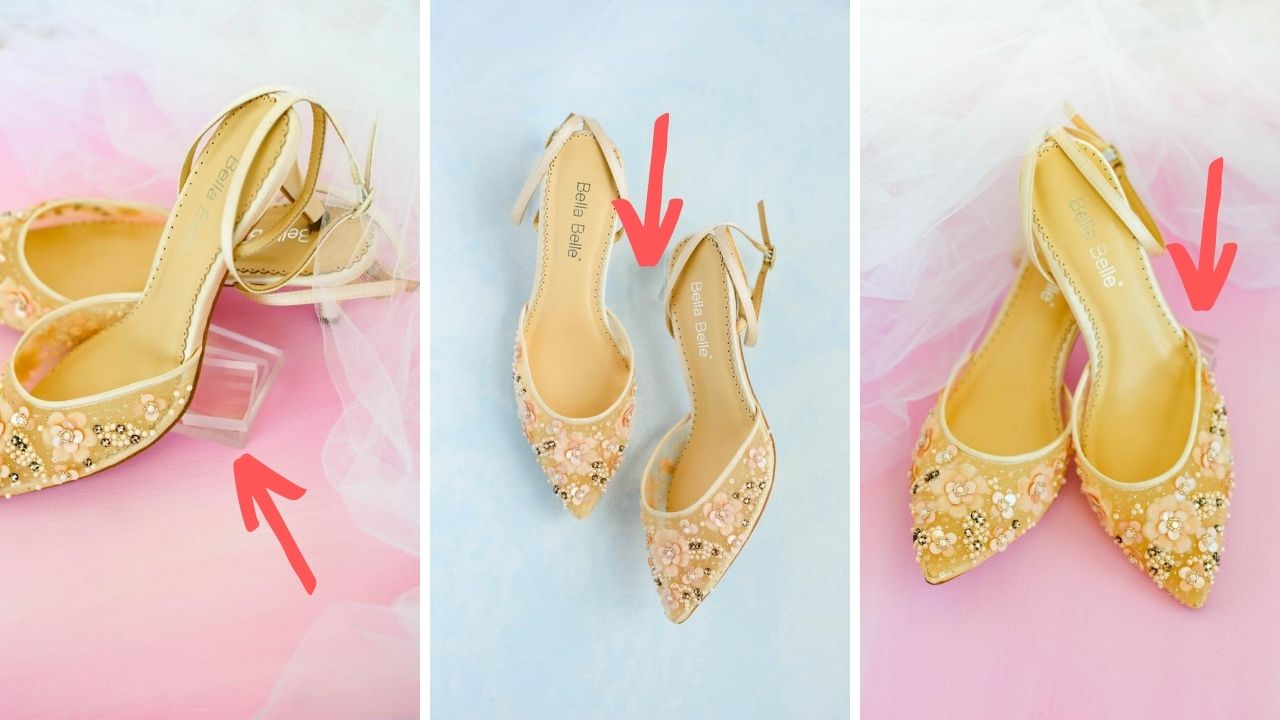
When it comes to photographing the bridal shoes, I like to add dimension to my images by adding risers under the heel of the shoe. My favorite thing to use as risers are these acrylic blocks. I love using acrylic blocks because they are clear and don’t distract from the rest of the image. Seriously, you’ll end up with a shot that feels dynamic and layered, rather than flat or one-dimensional.
Acrylic blocks make everything look more dynamic because they help add dimension to the overall frame. One simple trick, but it can make such a big difference in your wedding detail shots. Told you it was easy! 😉
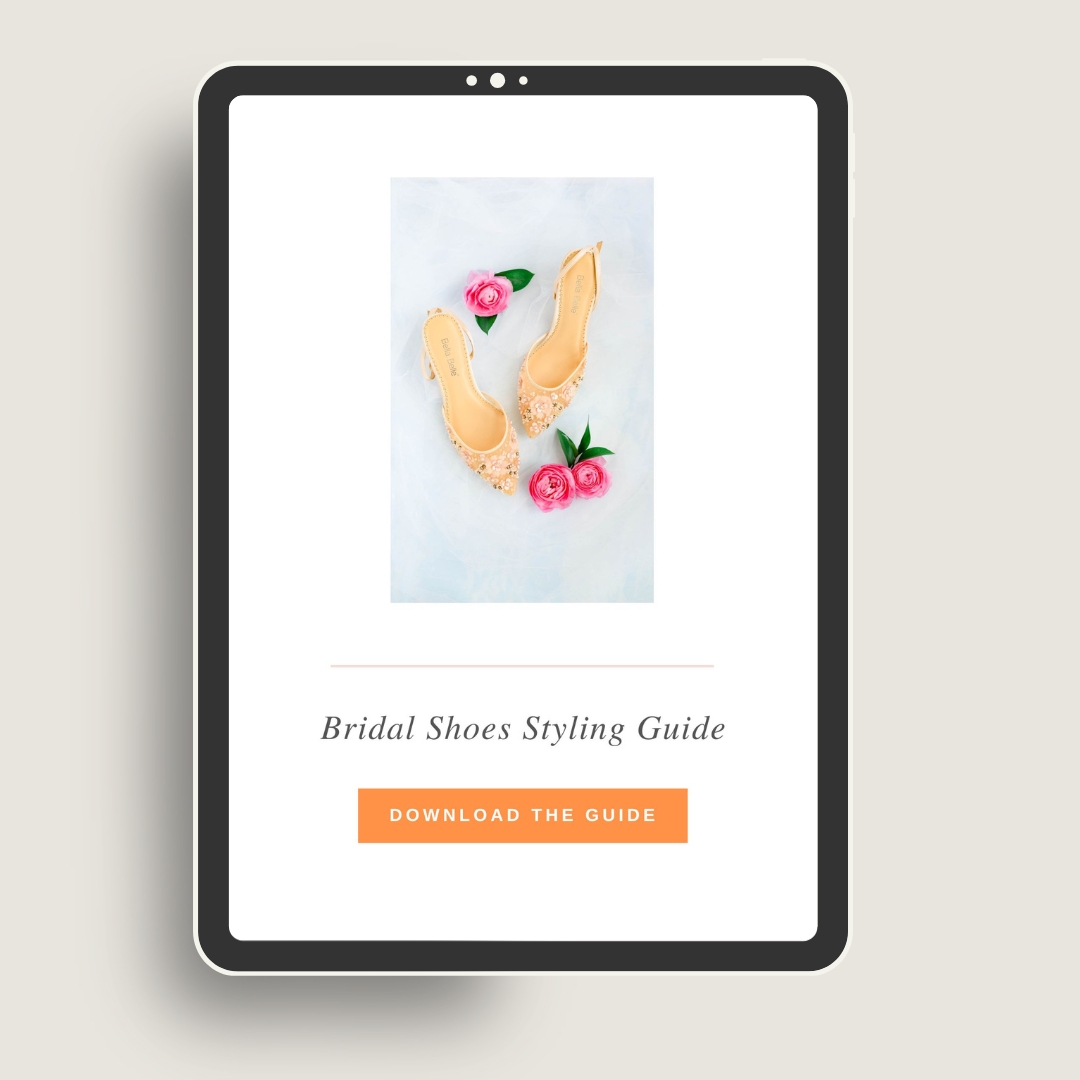
And now, let’s talk about the huge announcement that I’ve been hinting at for a couple of weeks now: The Bridal Shoes Styling Guide is finally here!! 🎉
If you know me, you know I’m all about keeping things streamlined and efficient—because on a wedding day, time is everything. Over the years, I’ve developed systems for everything in my business, including how I photograph wedding details (especially the shoes!).
Inside the Bridal Shoes Styling Guide, I’m sharing my 8 composition building blocks and all the basic rules of composition I use to make sure my shots feel cohesive, intentional, and elegant. No more chaotic or cluttered images—just detail shots that stand out in all the right ways.
👉 Click here to get the Bridal Shoes Styling Guide!
If you’re ready to elevate your detail shots (and make your life easier on wedding days), this guide’s for you. Don’t wait—click here to get the guide!


