If you’ve ever felt overwhelmed trying to capture beautiful wedding detail photos, you’re not alone.
One detail that can truly elevate a gallery? The bridal shoes.
They are more than just accessories, they’re a storytelling piece, and knowing how to photograph them well can set your work apart.
A few weeks ago, I returned from a family beach trip, and waiting for me at home were some of the most stunning shoes I’ve ever seen. I had just partnered with the incredible Bella Belle Shoes to create a training for wedding photographers all about how to style and photograph the bridal shoes on a wedding day. And today, I’m sharing my system with you.
Why Wedding Detail Photos Matter
Detail photos might not feel like the most important part of the wedding day, but they absolutely set the tone. They help tell a cohesive story from start to finish. When you master shooting the small things (like the shoes, rights, or veil), you’re building trust with your clients and adding editorial polish to your galleries.
So, let me ask you this: do you have a system when it comes to photographing the wedding shoes on a wedding day? If you answered No, would it be helpful for you to know exactly how to style the bridal details quickly so you don’t run out of time?
Today, I’m going to show you how to photograph the bridal shoes in a way that’s fast, beautiful, and efficient. Here are 12 ways to shoot the same pair of shoes by only touching them once!
12 Easy Angles for Photographing Bridal Shoes
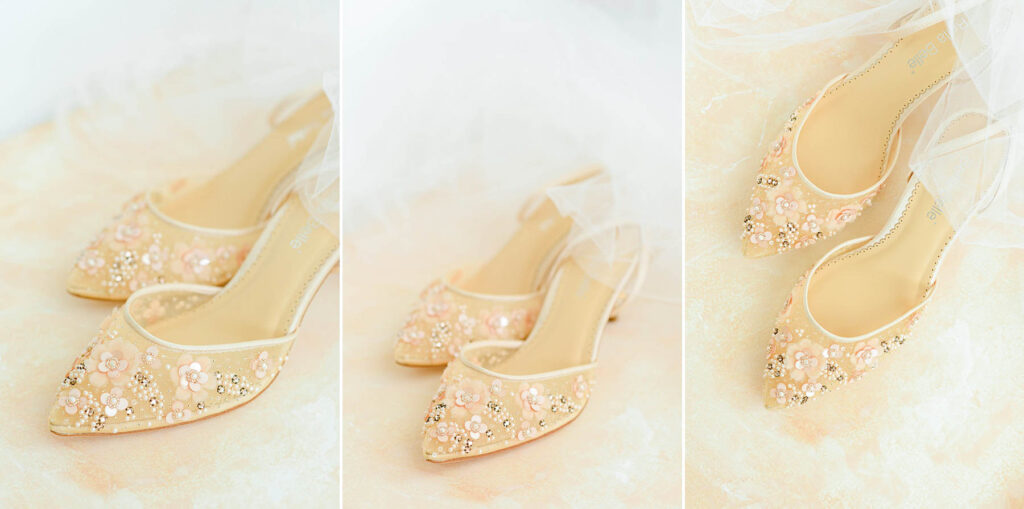
I usually start by placing the shoes side by side. This is a classic shot that every bride needs to have. From there…
1. I photograph the shoes at eye level.
2. I sit up on my knees and take another shot from about a 45 degree angle.
3. I stand up and I take a flat lay shot.
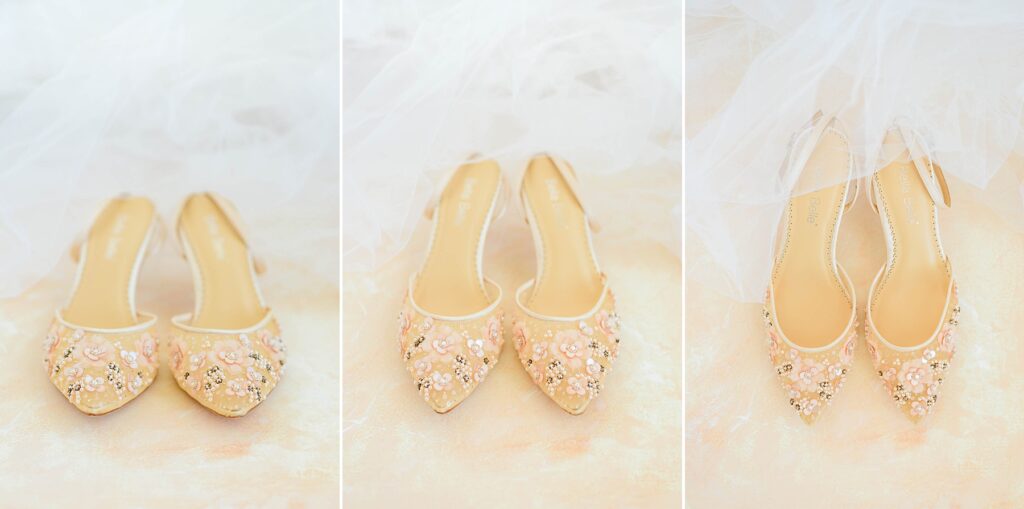
Then, I move over to the side and repeat the same process. Here’s what that looks like.
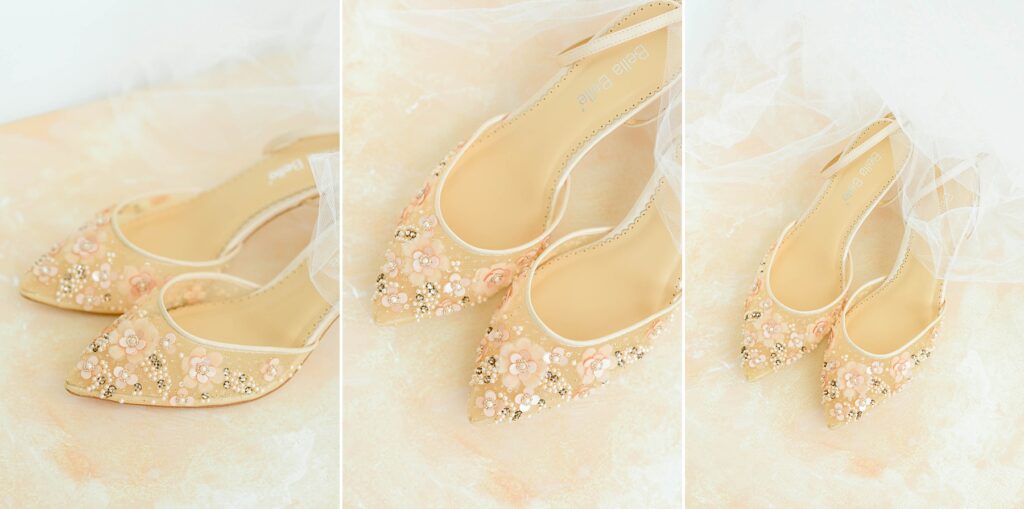
See the difference? I haven’t even moved the shoes AT ALL!
For my next set of images, I simply take the right shoe and move it forward just a bit. Next, I repeat the same process (eye level, 45 degree angle, flat lay) and get images that look like this.
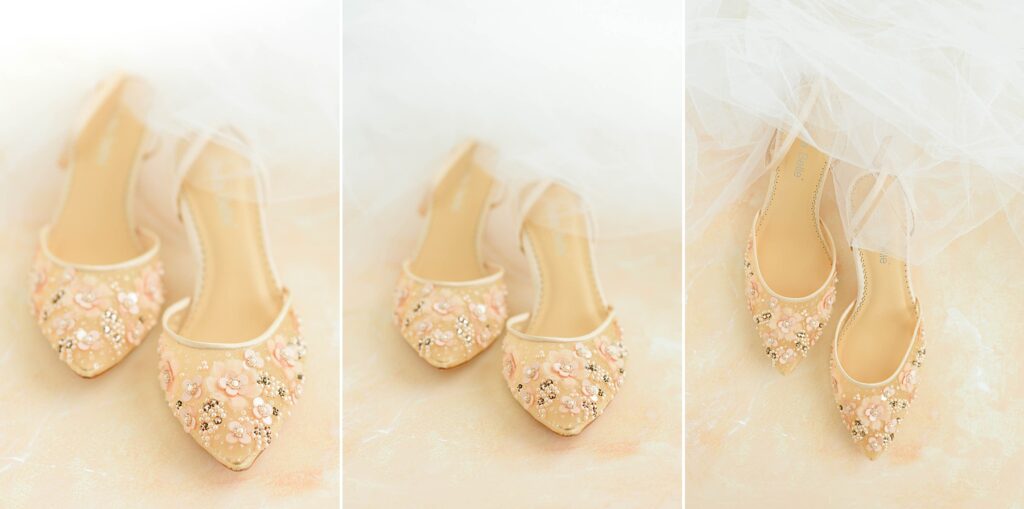
Lastly, I move slightly to the side and go through the same process again.
Let’s recap!
1. Side-by-Side at Eye Level
This is a must-have classic. Just place them neatly together and photograph from your knees at eye level.
2. 45-Degree Angle
Still kneeling, slightly tilt your camera to shoot from a higher 45-degree angle.
3. Flat Lay Shot
Stand directly above the shoes and take a top-down photo for that clean editorial feel.
4-6. Repeat from Side Angle
Move around the side of the shoes and repeat the above three angles. You now have six images, and the shoes haven’t moved.
7-9. Shift one Shoe Forward
Pull one shoe slightly ahead of the other and repeat all three angles again.
10-12. Move to the Side Again
From the new arrangement, move to the side and photograph all three angles again.
In total? 12 images, and you only moved the shoes once!
Bonus Tip: Use the bride’s veil (or purchase a few yards of tulle for your styling kit) to soften the background, especially when shooting from eye level.
Tips for Shooting Wedding Detail Photos
Use a Macro Lens
Want to capture textures, lace, or designer logos? A macro lens can take your detail shots to the next level. I use these macro filters for mine.
Style with Purpose
Use prop that match the wedding color palette. Pull in the incitation suite, rings, veil, or flowers. This creates visual cohesion across the gallery.
Bring a Styling Kit
Carry a small styling kit with neutral styling ribbons, floral pins, and soft fabrics like tulle.
Did you find these tips helpful? I’d love to see how you implement them at your next wedding or during flat lay practice at home. feel free to post your photos in our Facebook group!
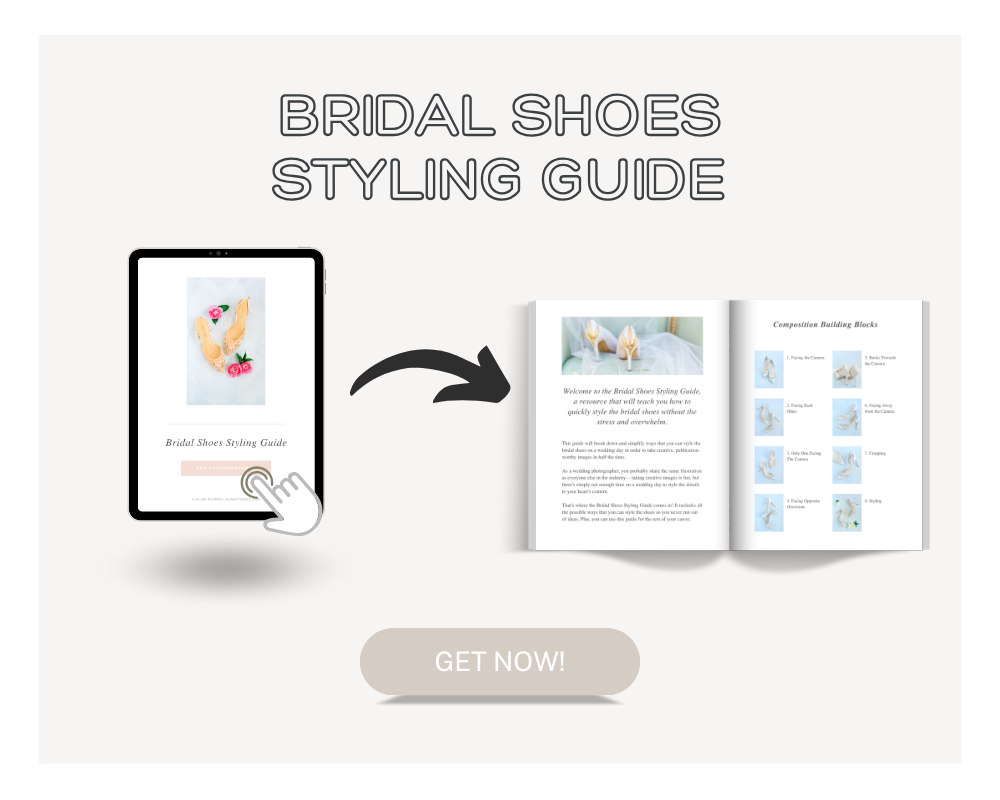
Want to dive deeper into photographing wedding detail photos, specifically the bridal shoes? Grab your copy of The Bridal Shoes Styling Guide. This guide walks you through every step of the process, so you can photograph wedding shoes with ease and creativity every single time.
Happy styling!