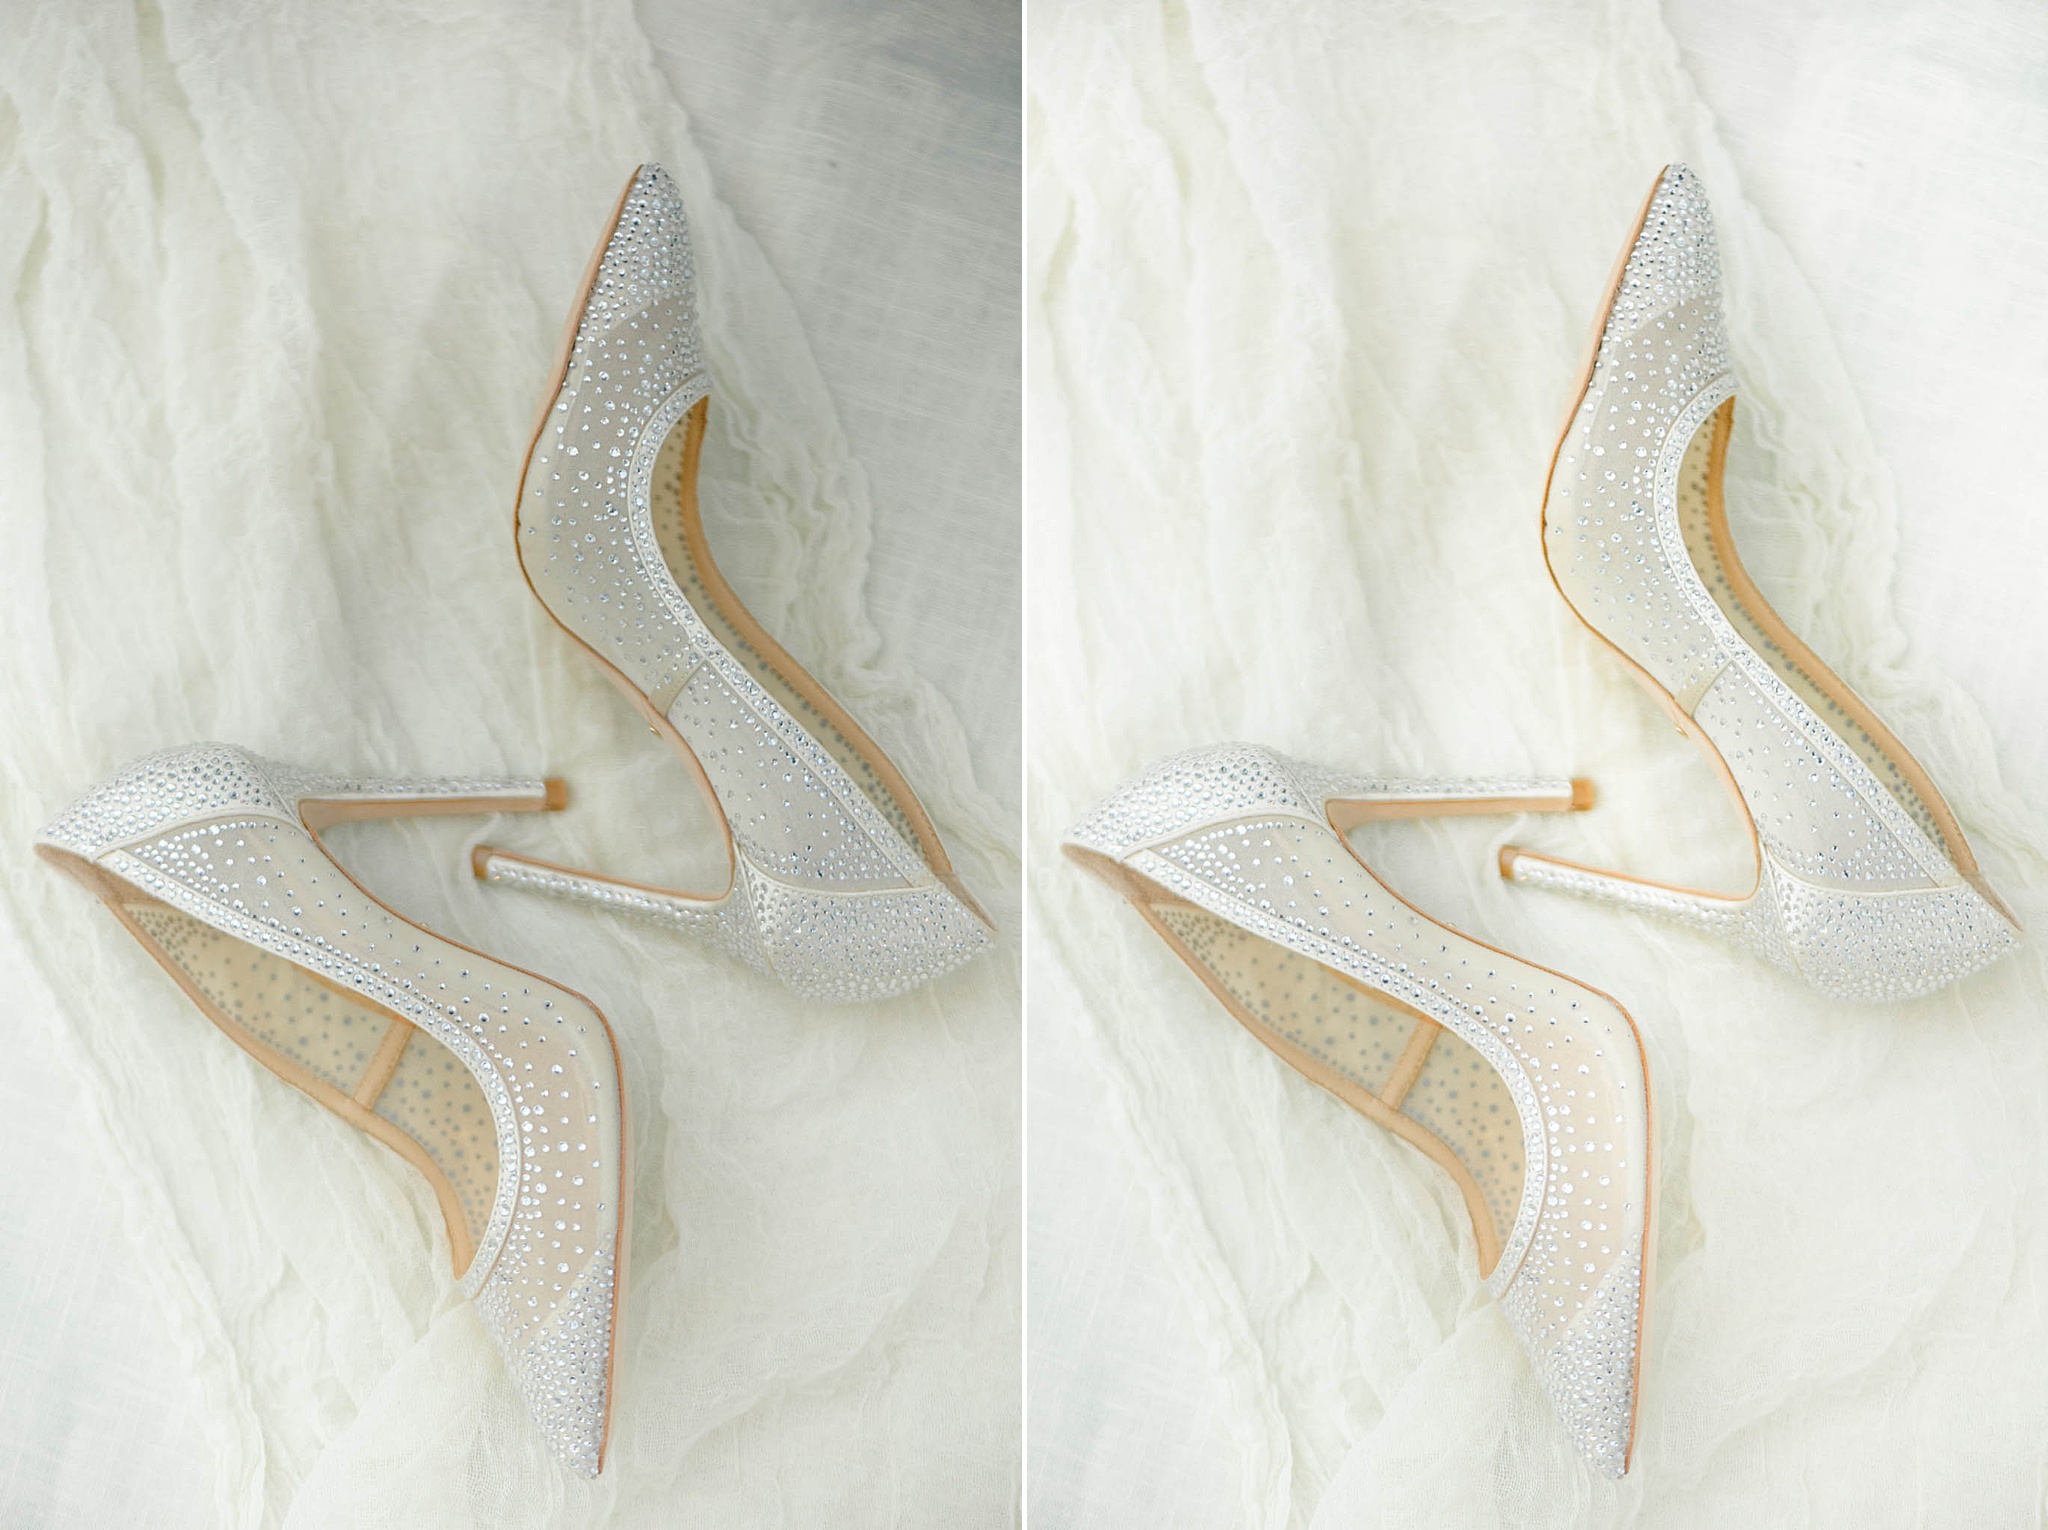
Looking for a tutorial on how to edit flat lays? Then you’re in the right place, my friend. This quick editing tip will help you transform your editing workflow!
I don’t know about you, but I almost always use directional light when I photograph flat lays. The reason for that is that finding a good spot to photograph the bridal details on a wedding day can be super tricky. Most of the time, I end up shooting near a window which gives me some great light to work with. However, the chances are that the side closest to the window will be just a little brighter than the rest of the image.
But I have an editing trick that I use to help with that, and today I want to share it with you too!
1. First, I open the image in Photoshop.
2. Then I use the Lasso Tool to select the darker area of the image that I want to brighten up.
3. Then I create a new layer adjustment and increase the brightness until I’m happy with my image.
4. And lastly, I go to Filter → Blur and apply Gaussian Blur so that the harsh edges blend with the rest of the image.
And that’s it! You can use this tip to brighten up any part of an image. Here’s a before/after example!

Want to watch me edit this image? Click the button below to take a peek!
Did you enjoy this quick tip on how to edit flat lays? If so, you’re also going to love my blog post all about how to style flat lays: 3 Composition Rules for More Dynamic Images. Enjoy!
