“How to Style Flat Lays” is our new blog series all about how to take better flat lay images. Today, I’m going to focus on the three main composition rules for more dynamic photos.
Last week I showed you how to make a styling board in under 10 minutes. The reason for that is that in order to take great flat lay photos, you need a simple and clear background that enhances the final images.
If you missed my tutorials on how to make your own styling boards, you can check them out below:
Now that we established the background, it’s time to break down the basics of composition for a successful flat lay image.
Why do you need to know how to style flat lays? I’m glad you asked! Better flat lays will give you a better chance to have your work picked for publication. Blogs and magazines love well done flat lay images!
Basic Rules of Composition:
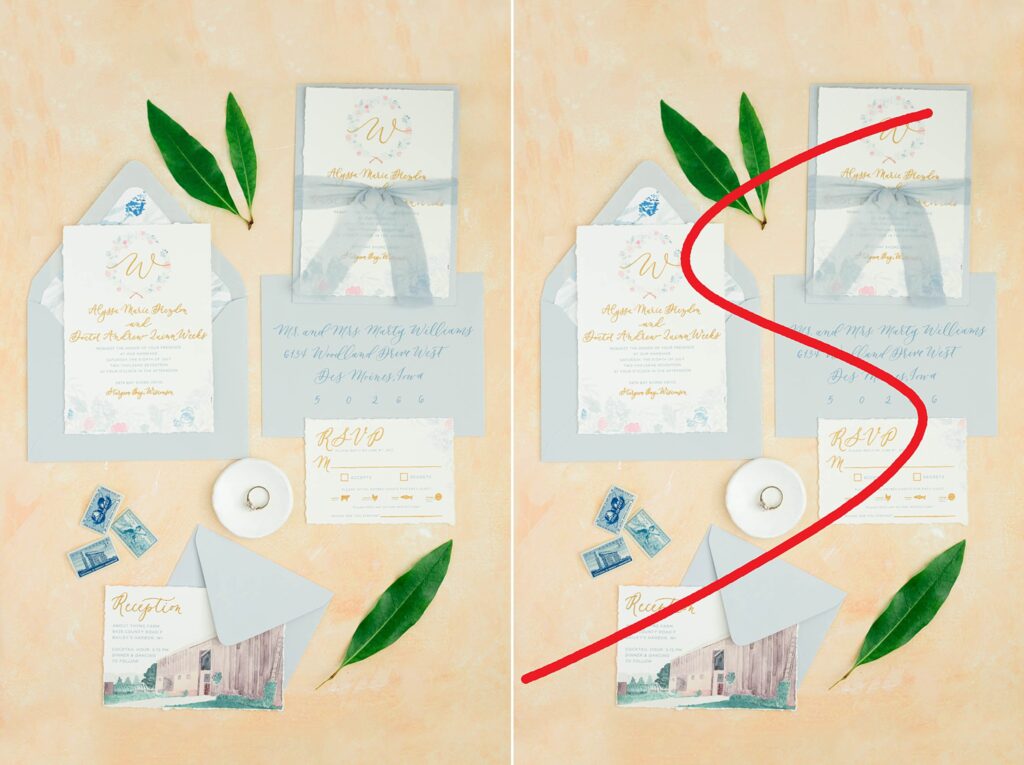
1. The “S” Curve
The S curve is one of the easiest, yet more powerful rules of composition that you can use to achieve dynamic images that will captivate the eye.
It works particularly well with invitations and paper goods when you’re trying to achieve a more scattered look like you’ll see in the images below. By using the “S” shape when styling your paper goods, your image will feel more “organized” and pleasant to the eye, rather than messy and chaotic.
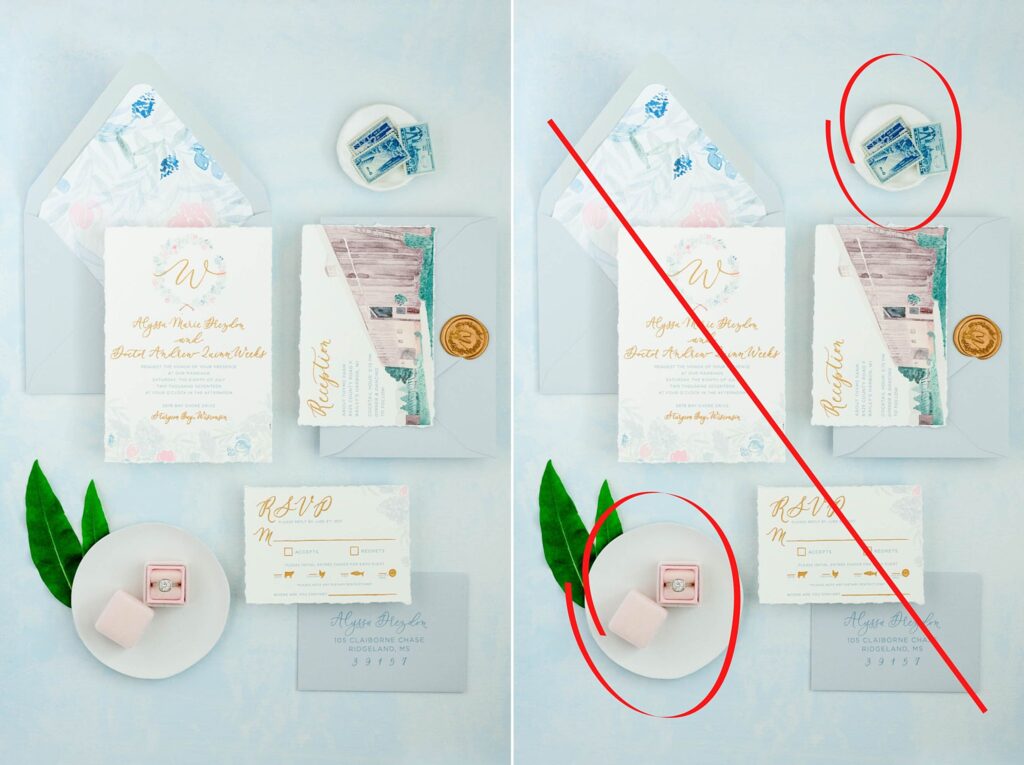
2. Diagonal Lines and Circles
Another composition rule I like to use is a diagonal line through the center of the frame with two circles, one on each side to help balance the overall image. The main pieces of paper in this flat lay create a diagonal line, while the two round ring dishes help balance the rest of the frame. If you don’t have round dishes in your styling kit, you could use blooms or flowers. Pro tip: you’ll want to use the bigger item on the bottom of the frame.
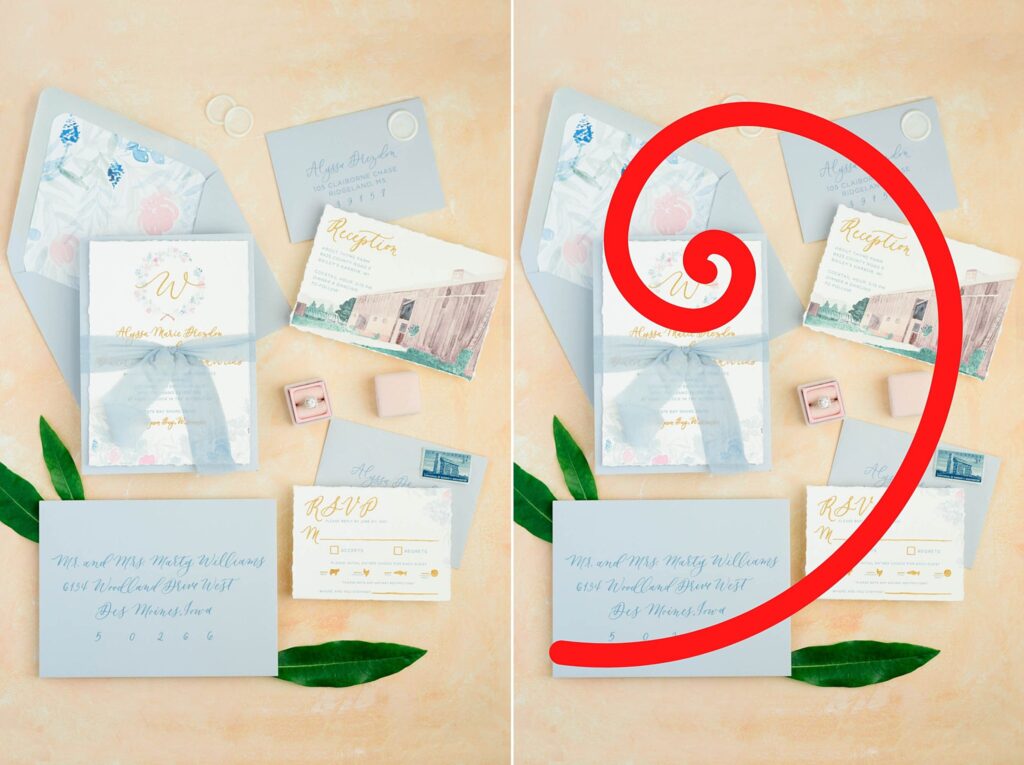
3. The Fibonacci Spiral
The Fibonacci Spiral is one of my favorite rules of composition because it takes the viewer’s eye on a journey throughout the frame. In the image below, I start at the brightest spot which is the main invitation piece, then my eye travels to the open envelope above. The two clay seals connect the main envelope with the envelope in the top right. Then, my eye travels down to the reception card, RSVP card, and it ends with the addressed envelope. The greenery helps connect the eye back to the main invite. The spiral allows us to travel from one element in the image to another, without making it feel chaotic. The Fibonacci Spiral is really helpful with busier images.
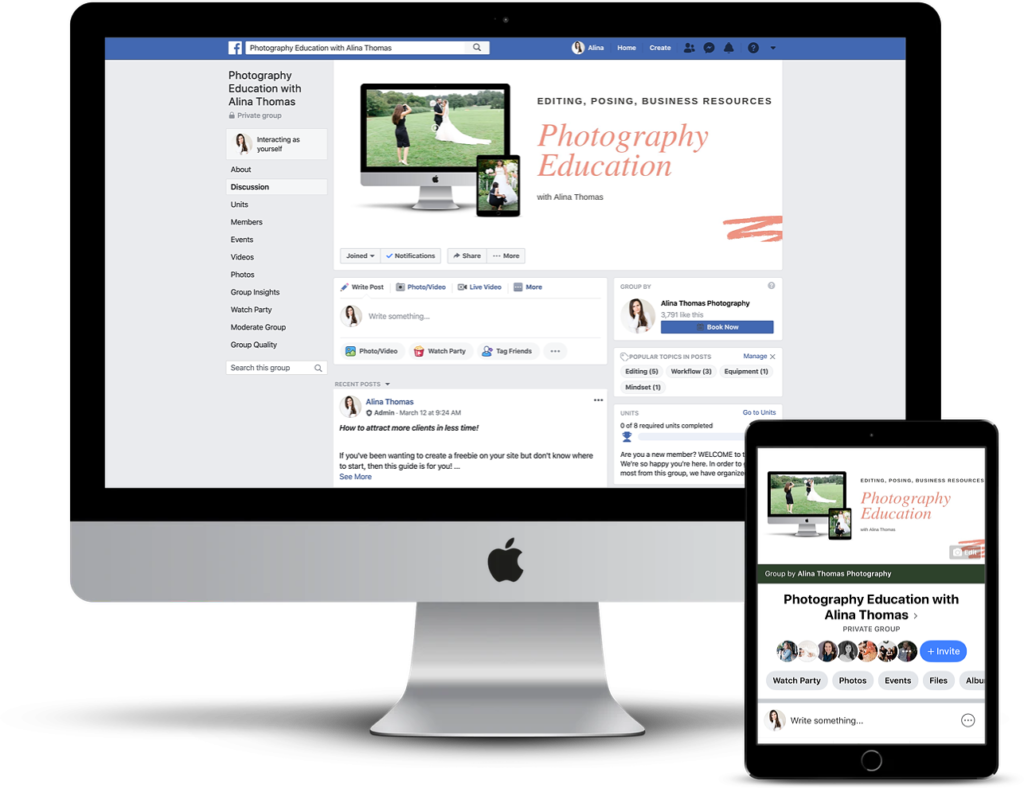
I hope you enjoyed these tips on how to style flat lays! The three rules of composition work great with invitation suites as well as other bridal details on a wedding day. If you decide to give them a try, make sure to join my photography Facebook group and post your flat lay images there. I’d love to see them!