

Flying with your camera gear can be intimidating, but it doesn’t have to be that way! I’ve traveled overseas with my equipment many times, and here are some tips I’ve learned along the way!
1. Travel Light
Only bring your must-have equipment on the trip! If you know me, you know that when I photograph weddings, I like to have all of my equipment on me the whole time. This means that everything I use to shoot a wedding with fits in just ONE camera bag. And there are a few reasons for this! First off, I like to be able to have everything handy if needed. I don’t like to be limited to what I can or cannot photograph because I don’t have a lens with me when I need it… or worse, a memory card. Imagine photographing a wedding ceremony and your memory card fills up, but your memory card holder is in a different bag in your car?!
So, even if you plan to photograph a wedding in a different state or overseas and have to fly with your gear, it is very doable to fit everything in one camera bag.
2. Use an Airline Carry-On Size Camera Bag
If there’s one thing that you take away from this blog post, let it be this: NEVER check-in your camera gear. Ever! You don’t want your camera bag to possibly go missing or get damaged. Instead, use an airline approved carry-on bag. I already use a rolling camera bag at weddings, so this doubles as my carry-on bag when I fly. I use a rolling camera bag for two reasons: it’s easy to roll around, and it’s big enough to fit all of my gear.
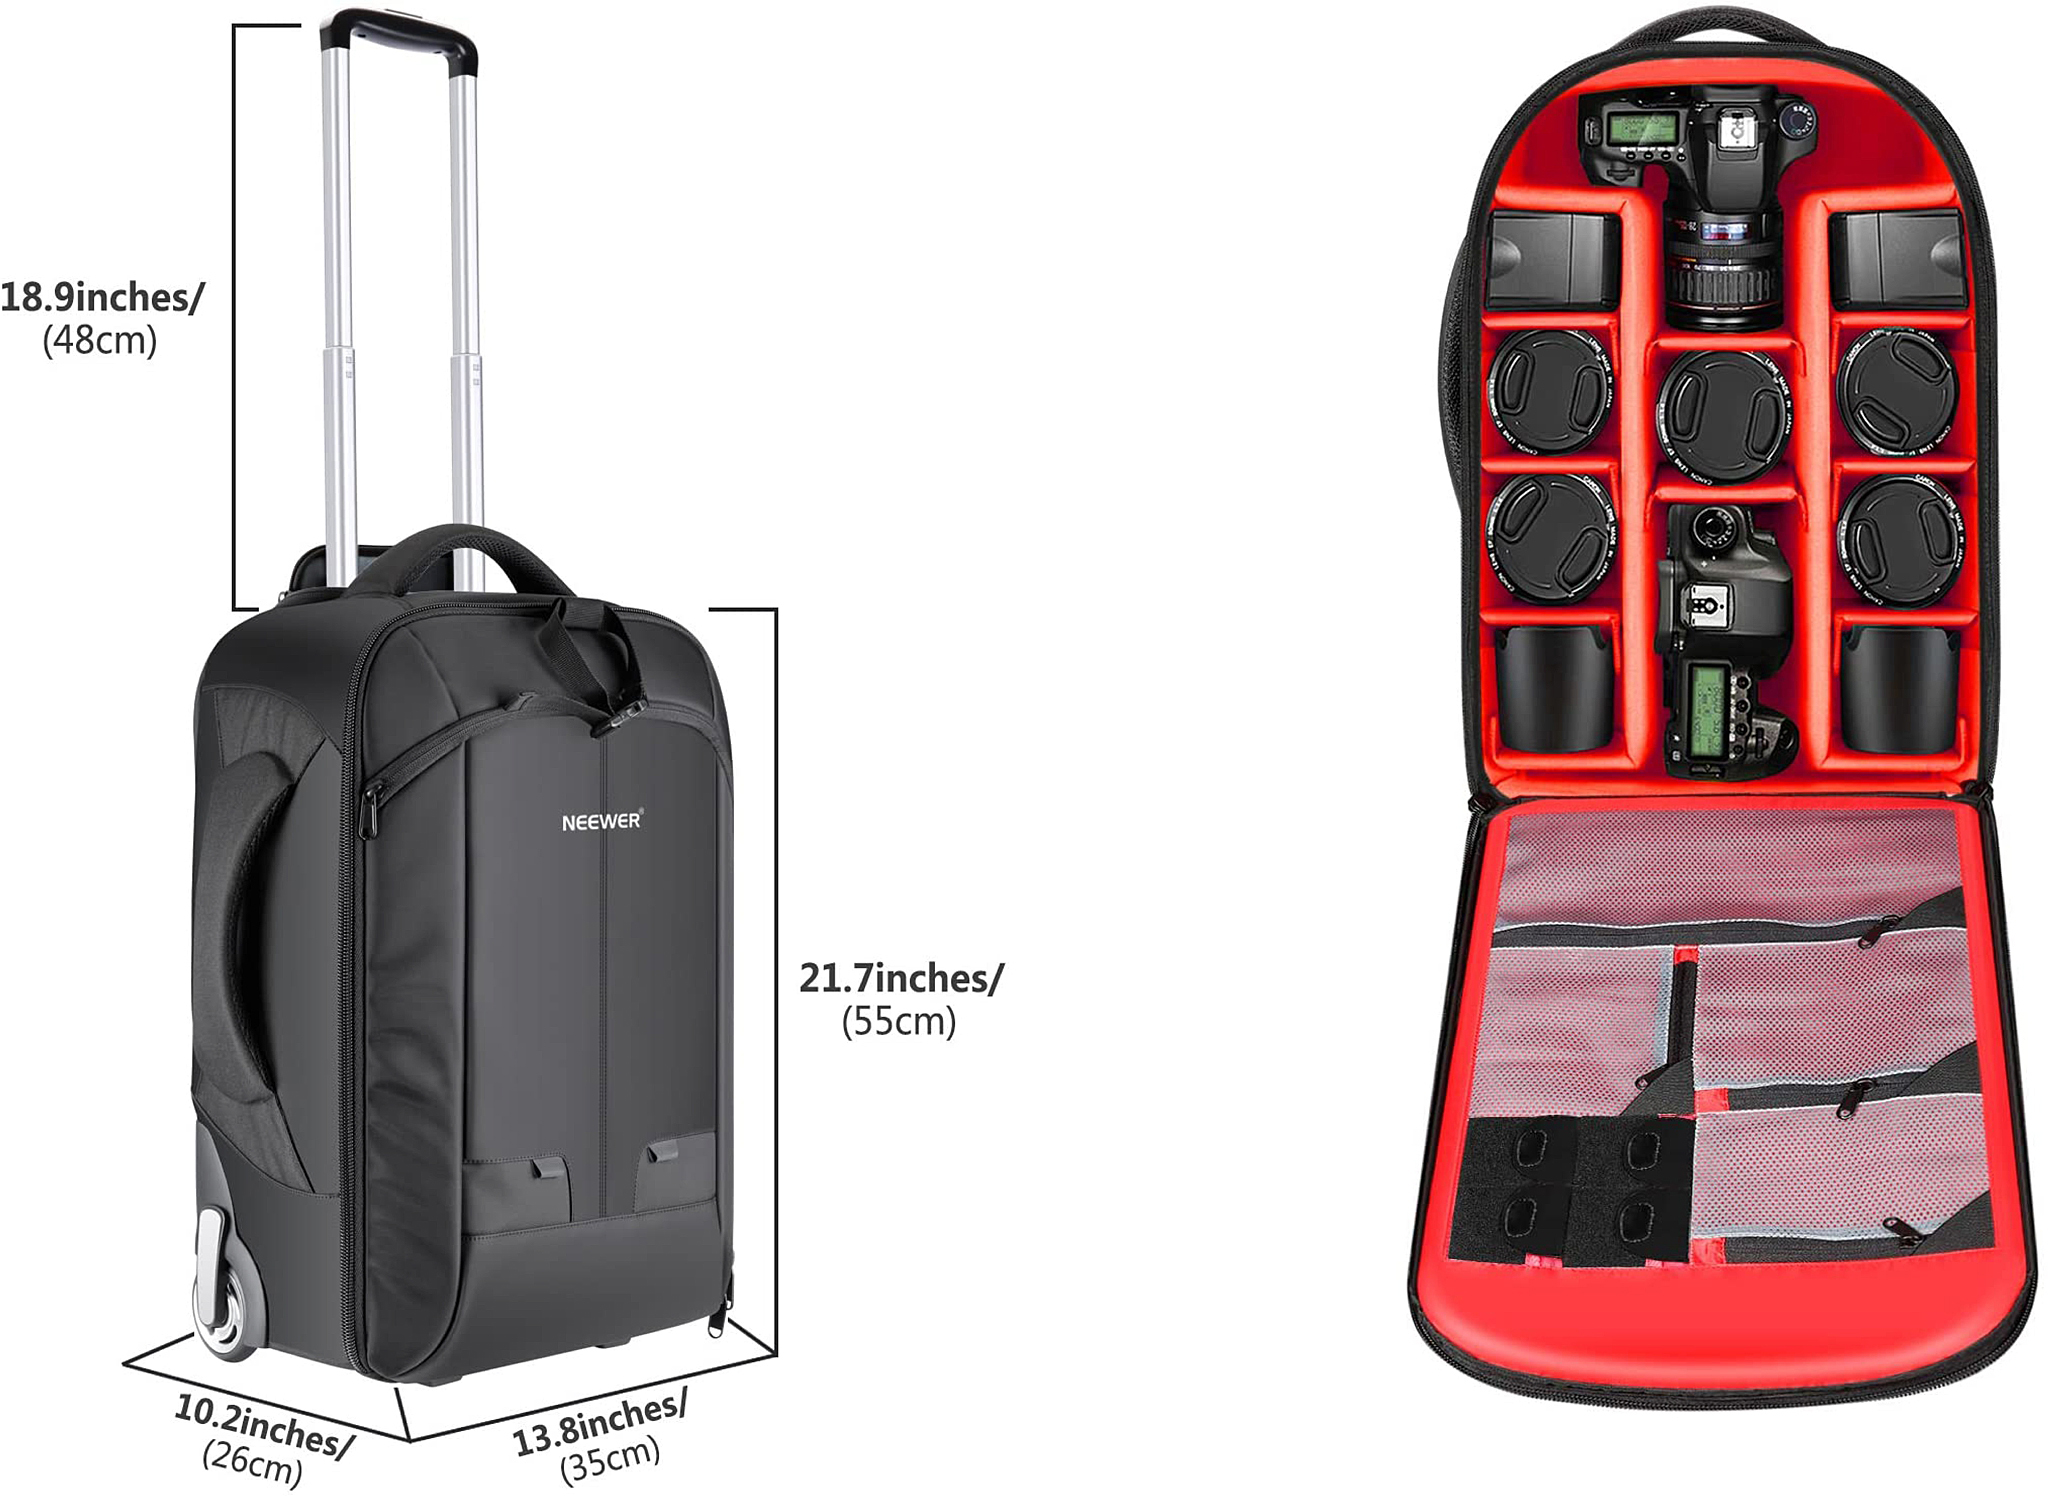
I only use 4 lenses at weddings:
- 24-70mm for getting ready and reception shots
- 50mm for portraits and detail shots (I attach my macro filters to my 50mm lens)
- 85mm for most portraits
- 70-200mm for ceremony shots
For a full list of what’s in my camera bag you can read this blog post: What’s in My Camera Bag. Also, to read more about my favorite lenses and how I use them, the 4 Must-Have Lenses for Wedding Photography blog post is perfect for you.
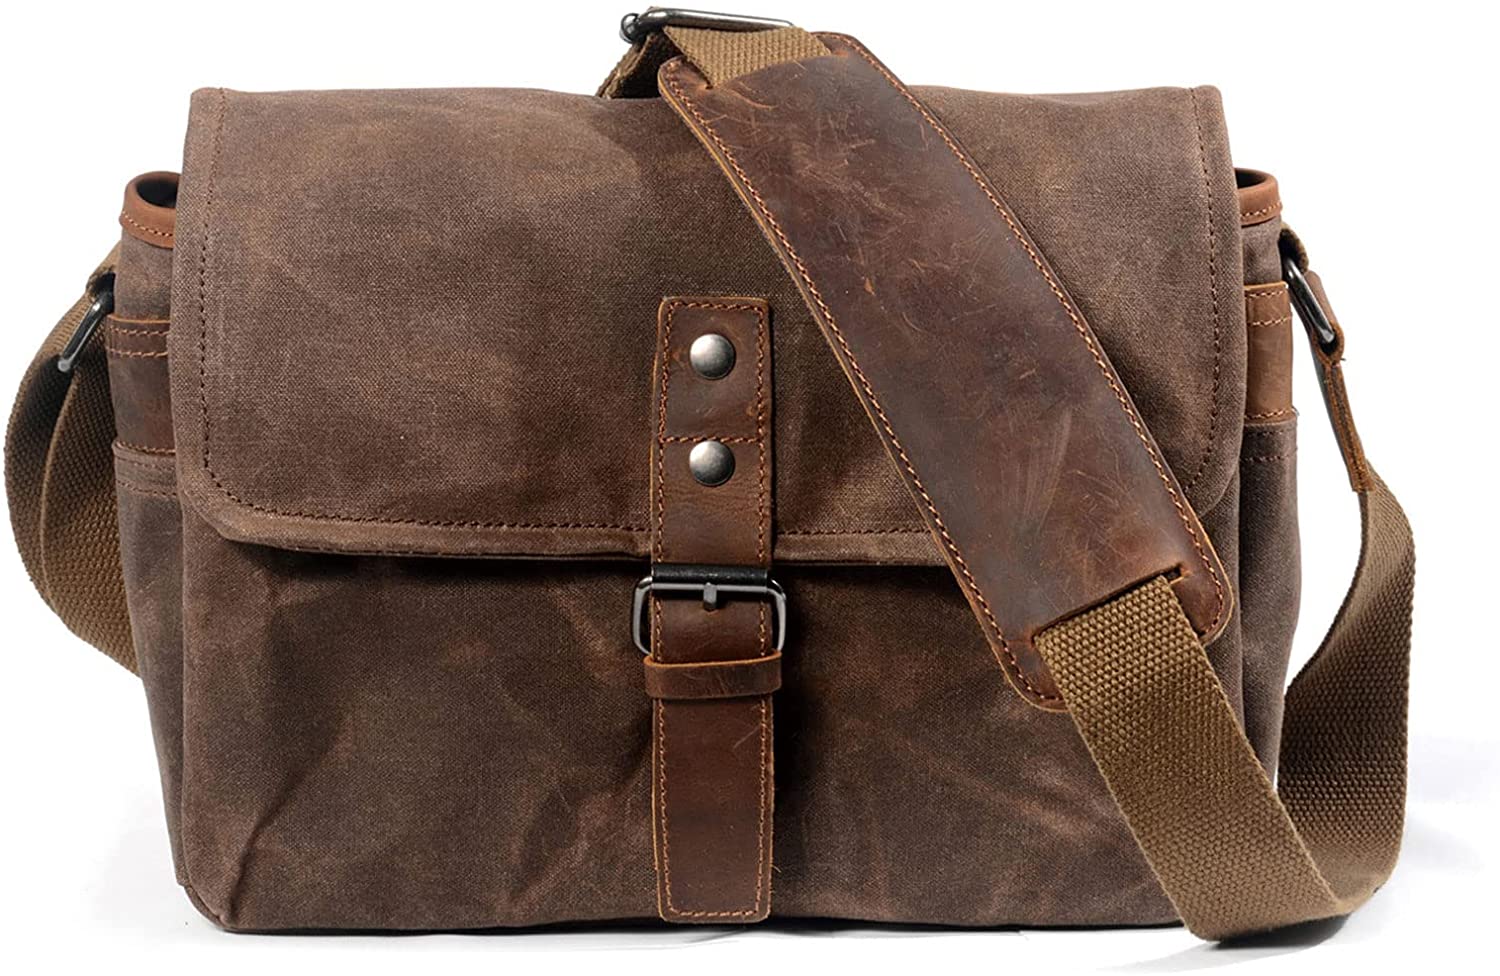
When I travel with my family, I usually only bring one camera (usually my backup camera) and one lens, my d750 body and 24-70mm lens. I use a shoulder camera bag as a “personal item” on a flight.
3. Going Through Security
It’s very likely that after scanning your bag, the TSA agent is going to want to manually check it as well. Once they open it, be prepared to have your items removed from your bag and inspected. It’s important to remember that not everybody knows the $$$ value of your gear or knows how to properly handle it. However, if you are polite about it, you could ask them to allow you to remove it from the bag yourself and place it on the table for them.
Pro Tip! Remove all memory cards from your camera and place them in a separate bag (or your personal item bag). On one occasion, TSA took my camera away to look through my images from my trip. However, they had never checked my memory cards whenever I had them stored in a different location.
*Are there any topics that you’d like to see covered in future blog posts? You can ask me anything HERE! I look forward to hearing from you!*
*For your convenience, this post contains affiliate links. When you use these links we may earn a small commission at no additional cost to you. This helps us to be able to continue sharing free photography tips and resources like this with you.


