

Over the past couple of weeks on the blog I’ve shared my best tips for how to style wedding details. If you didn’t read my previous blogs, here’s what you’ve missed:
1. How you can make a styling board in under 5 minutes
2. The 3 composition rules for more dynamic images
Today, I want to give you even more tips that will increase the visual interest of your flat lay images. Think about it this way: when you look at a picture, your eyes read the image just like they would read a page of text. That’s why the 3 composition rules are so important to create dynamic images that will captivate the viewer.
How to Style Wedding Details 101
1. Use a small aperture (f stop).
I shoot most of my flat lays at f/4 to ensure that all the layers are in focus.
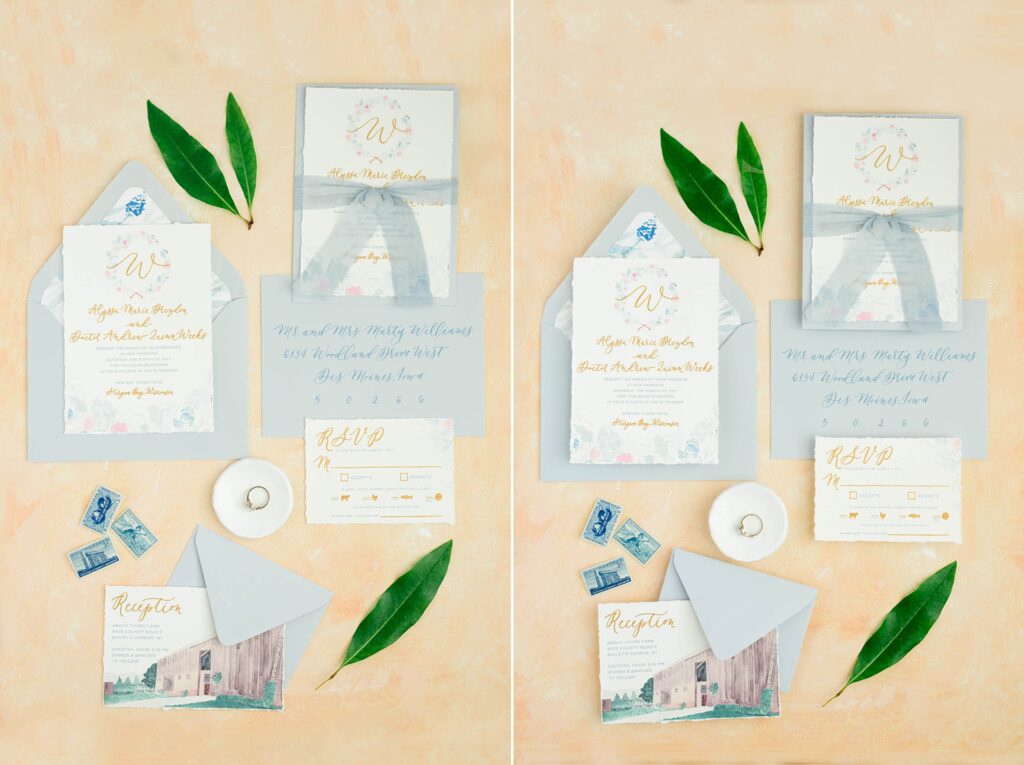
2. Use risers to add dimension to your image.
My favorite risers are: acrylic blocks, lens caps, or makeup pads. In the example below, the image on the left looks flat and has no dimension. The image on the right, however, looks more dynamic because the risers help add dimension to the overall frame. Click here to shop my acrylic blocks and favorite styling items!
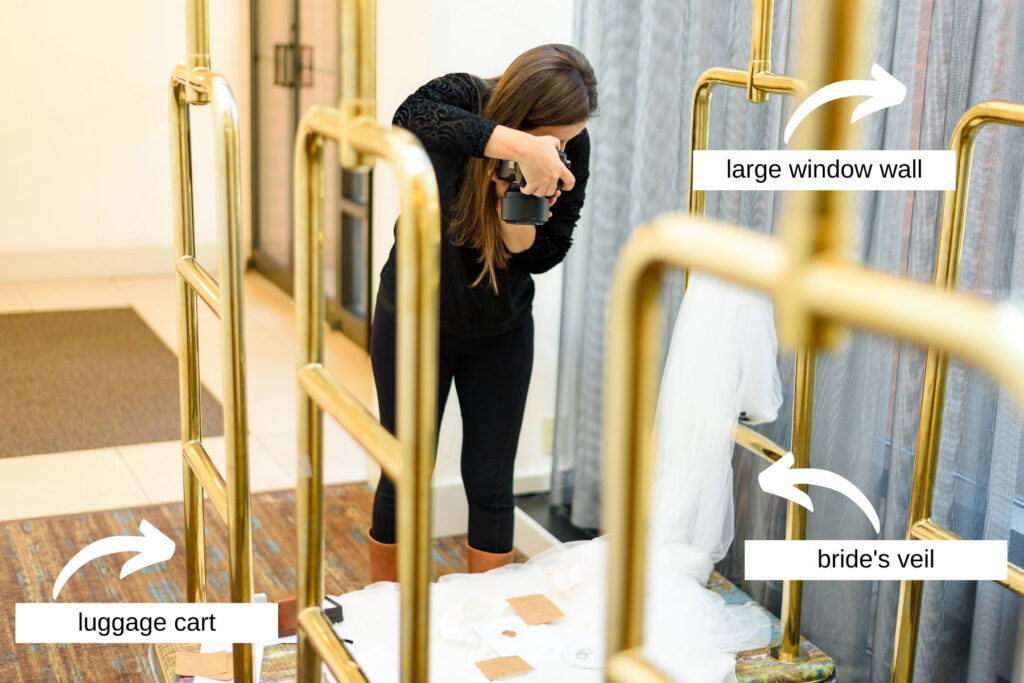
3. Shoot near a big source of natural light like a window or door.
I personally prefer the light to be directional in my images, with the light source coming from the left or right of my frame, not the top or bottom.
4. Use a white reflector.
Use a white reflector as needed to bounce light back into the subject from the opposite side of your main light source.
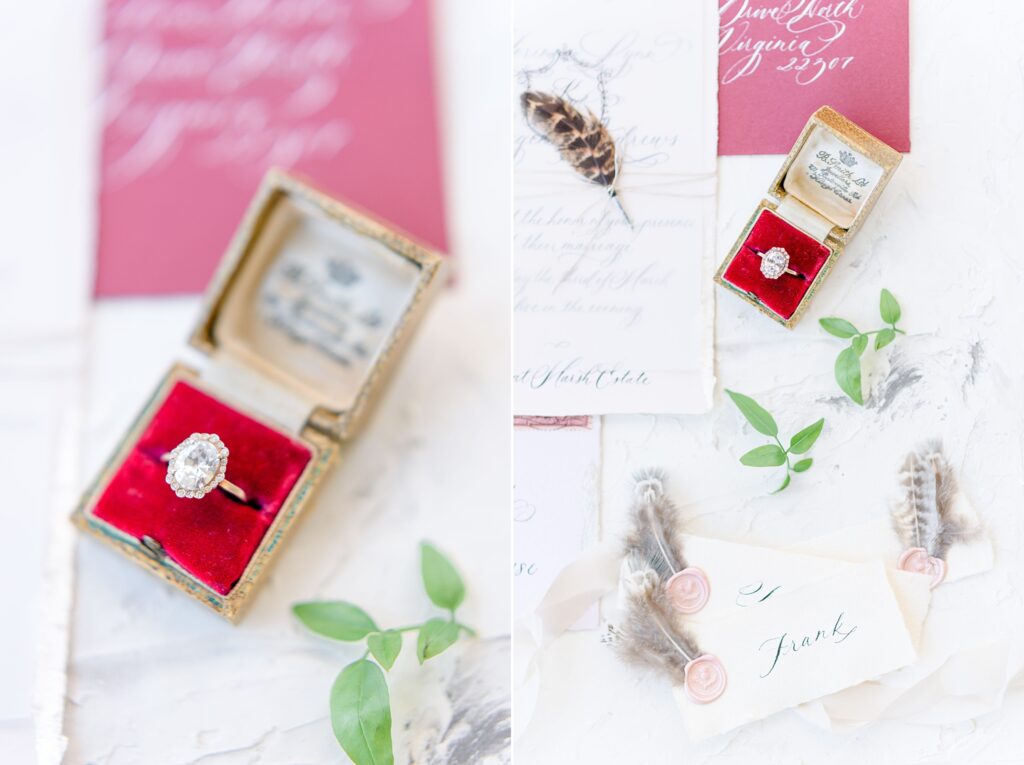
5. The Rule of Odds.
Use the rule of odds for a strong visual interest. Studies have shown that things are more pleasing to the eye when grouped in odd numbers. When styling your flat lay photograph, make sure to have a focal point grouped in 3 (or another odd number). I promise it will make a difference.
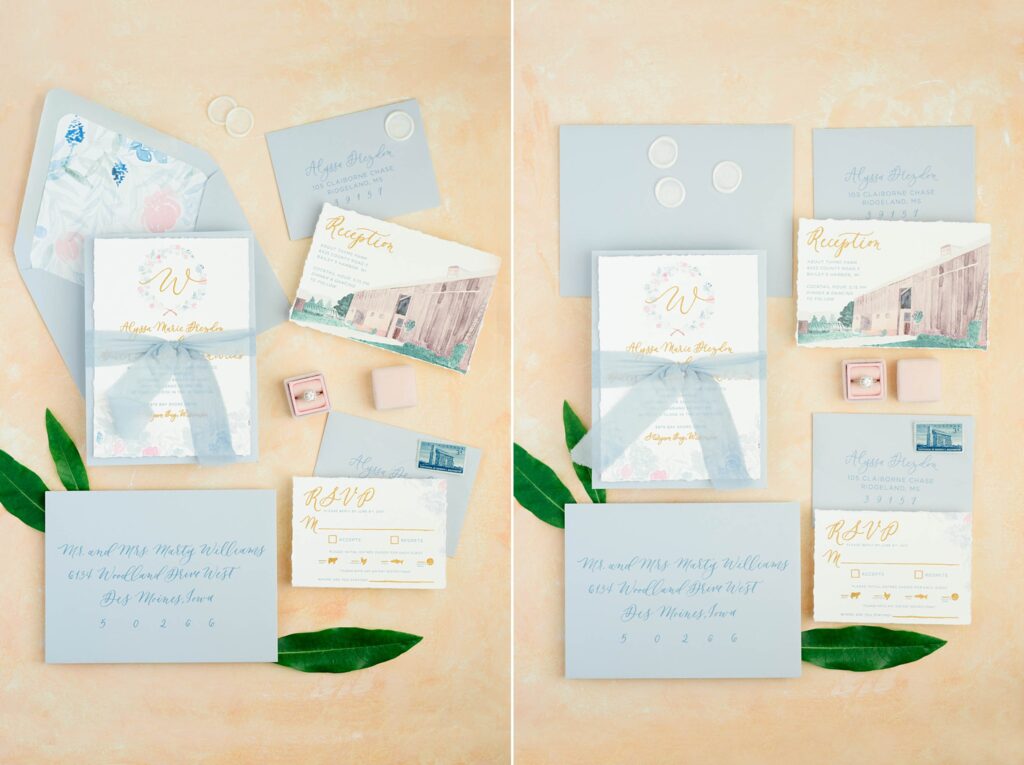
6. Be aware of harsh lines.
Harsh lines are not aesthetically pleasing to the eye. In the example below, I used the same exact elements in each frame. However, the image on the left looks more dynamic than the image on the right. Why is that? Having all the paper lined up at the top in the second photo creates a harsh horizontal line that has no movement. The eye doesn’t travel from one point to another, but instead stops right in the middle. There is no movement in the second frame.
7. Use a 50 mm lens.
My favorite lens to photograph flat lays, particularly the invitation suite, is my 50 mm lens.
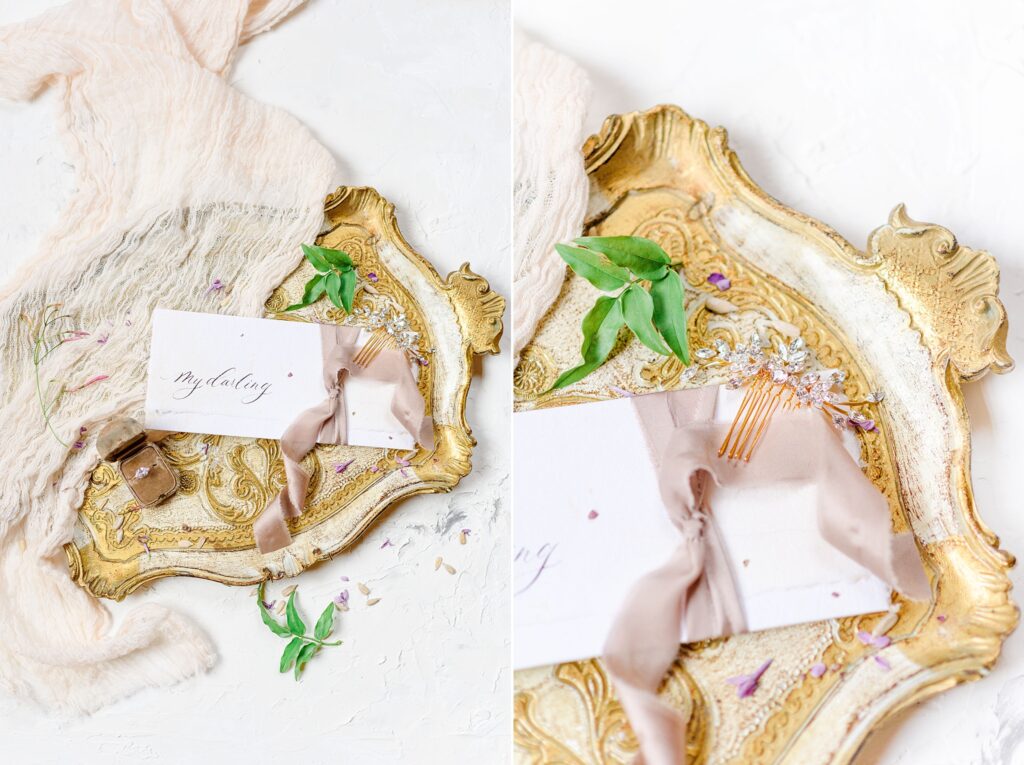
8. Cropping.
Cropping can be a powerful compositional tool when used with intention. Crop objects partially out of the frame to create a more dynamic image.
9. Color.
Use color to balance out an image and create dynamic images that captivate the eye. To add movement to an image you can use different colored ribbon, flowers, etc.
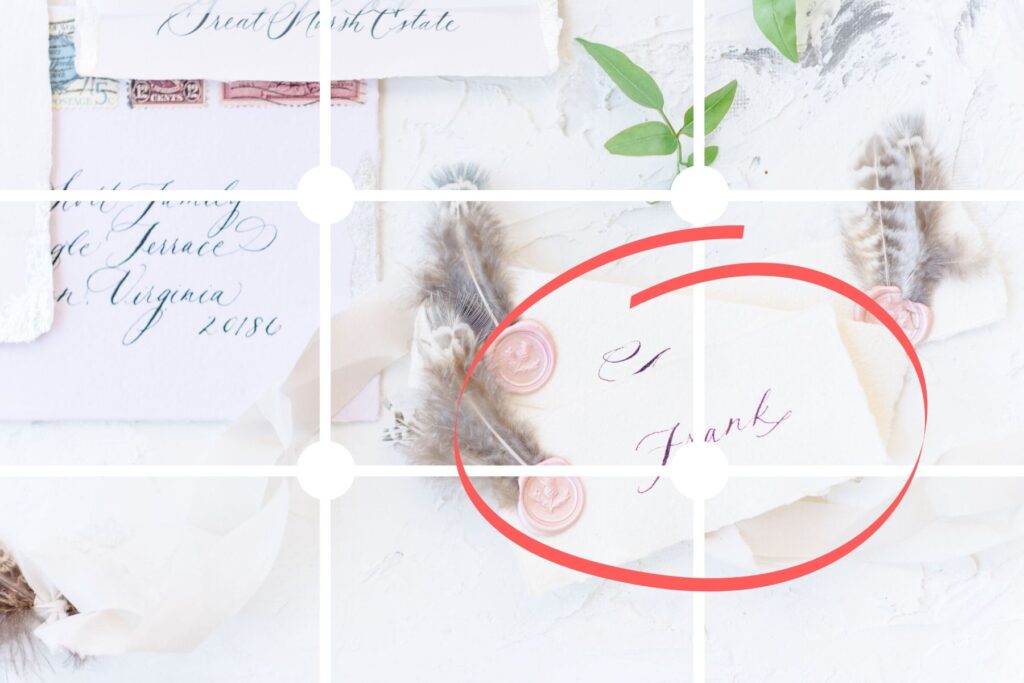
10. The Rule of Thirds.
The basic principle behind the rule of thirds is to imagine breaking an image down into thirds (both horizontally and vertically) so that you have 9 parts (see image below). Studies have shown that our eyes naturally go to one of the intersecting points rather than the center of the shot. For more visual interest, place your main piece in one of the gridlines.
These are my top 10 tips for better flat lay images. If you have other tips or tricks that you use to add dimension to your wedding flat lays, I’d love to hear it. Head over to our Facebook group and let me know!


