

Let’s chat about how to find the best light for your photos! You might have heard that in order to take good pictures you must “find good light”. But what does that actually mean?! Isn’t the background the one thing that makes an image look good?
Well, not necessarily. Here’s why!
Your main goal when taking pictures should be to evenly expose your subject in order to have beautiful skin tones. If an image is shot in harsh, uneven lighting, it will result in some blown out highlights or super dark shadows that will be distractive and take away from your subject, who should actually be the main focus of the image.
Make sure to identify the source of light and the direction it is hitting your camera from. Here’s how to analyze the light around you!
1. Full Sun
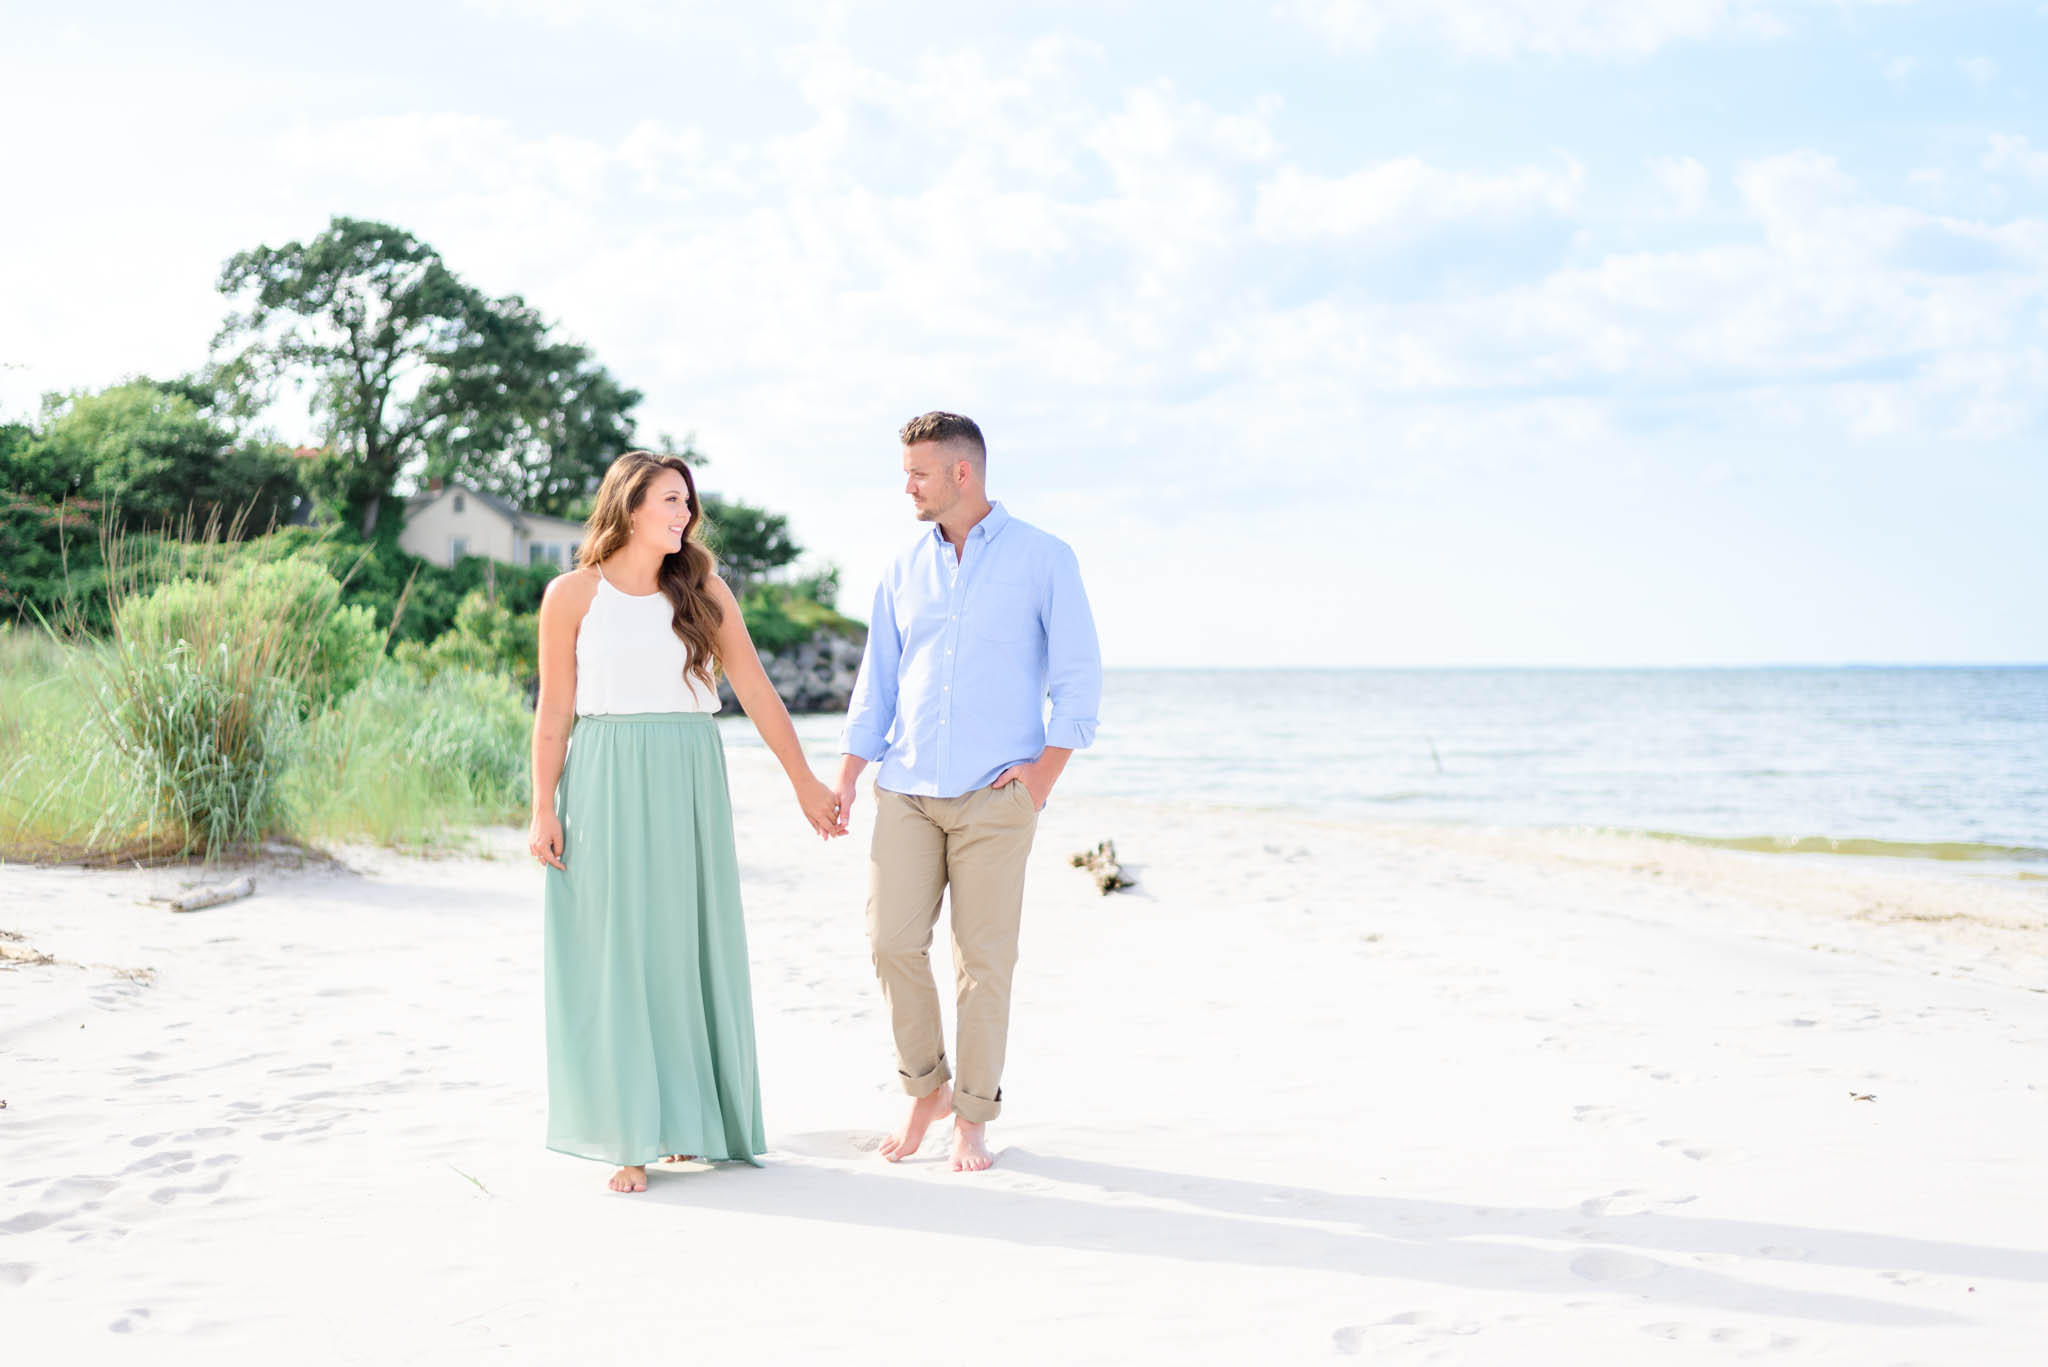
If the sun is high in the sky, we call this “harsh light”. Whenever you shoot in harsh light, you want your subject to be backlit. In other words, you’ll want to position your clients with their backs towards the sun. Why? Because the sun is so harsh that they will be squinting the entire time, or their faces will be bright yellow.
If you are shooting in harsh light, make sure you have your subjects face their shadow instead. This will ensure that their eyes are not squinting and that you have even lighting on your subjects. This will allow your subjects to be “backlit” which will also create a beautiful glow around their hair line.
2. Shaded Areas
If you’re shooting while the sun is still high in the sky, you might want to find a tree or building that provides partial shade. The branches will block the harsh light from coming into your lens and your subject will be evenly lit. However, you need to also ensure that the shaded area is actually “open shade”. Meaning, if you place your subjects in the shade while also facing a dark area (another tree or wall), you might not have enough available light for them to be evenly lit. Ideally, you’ll want to have access to the sky (if you look up you can see the sky) so that there is enough available light for your clients to be evenly lit.
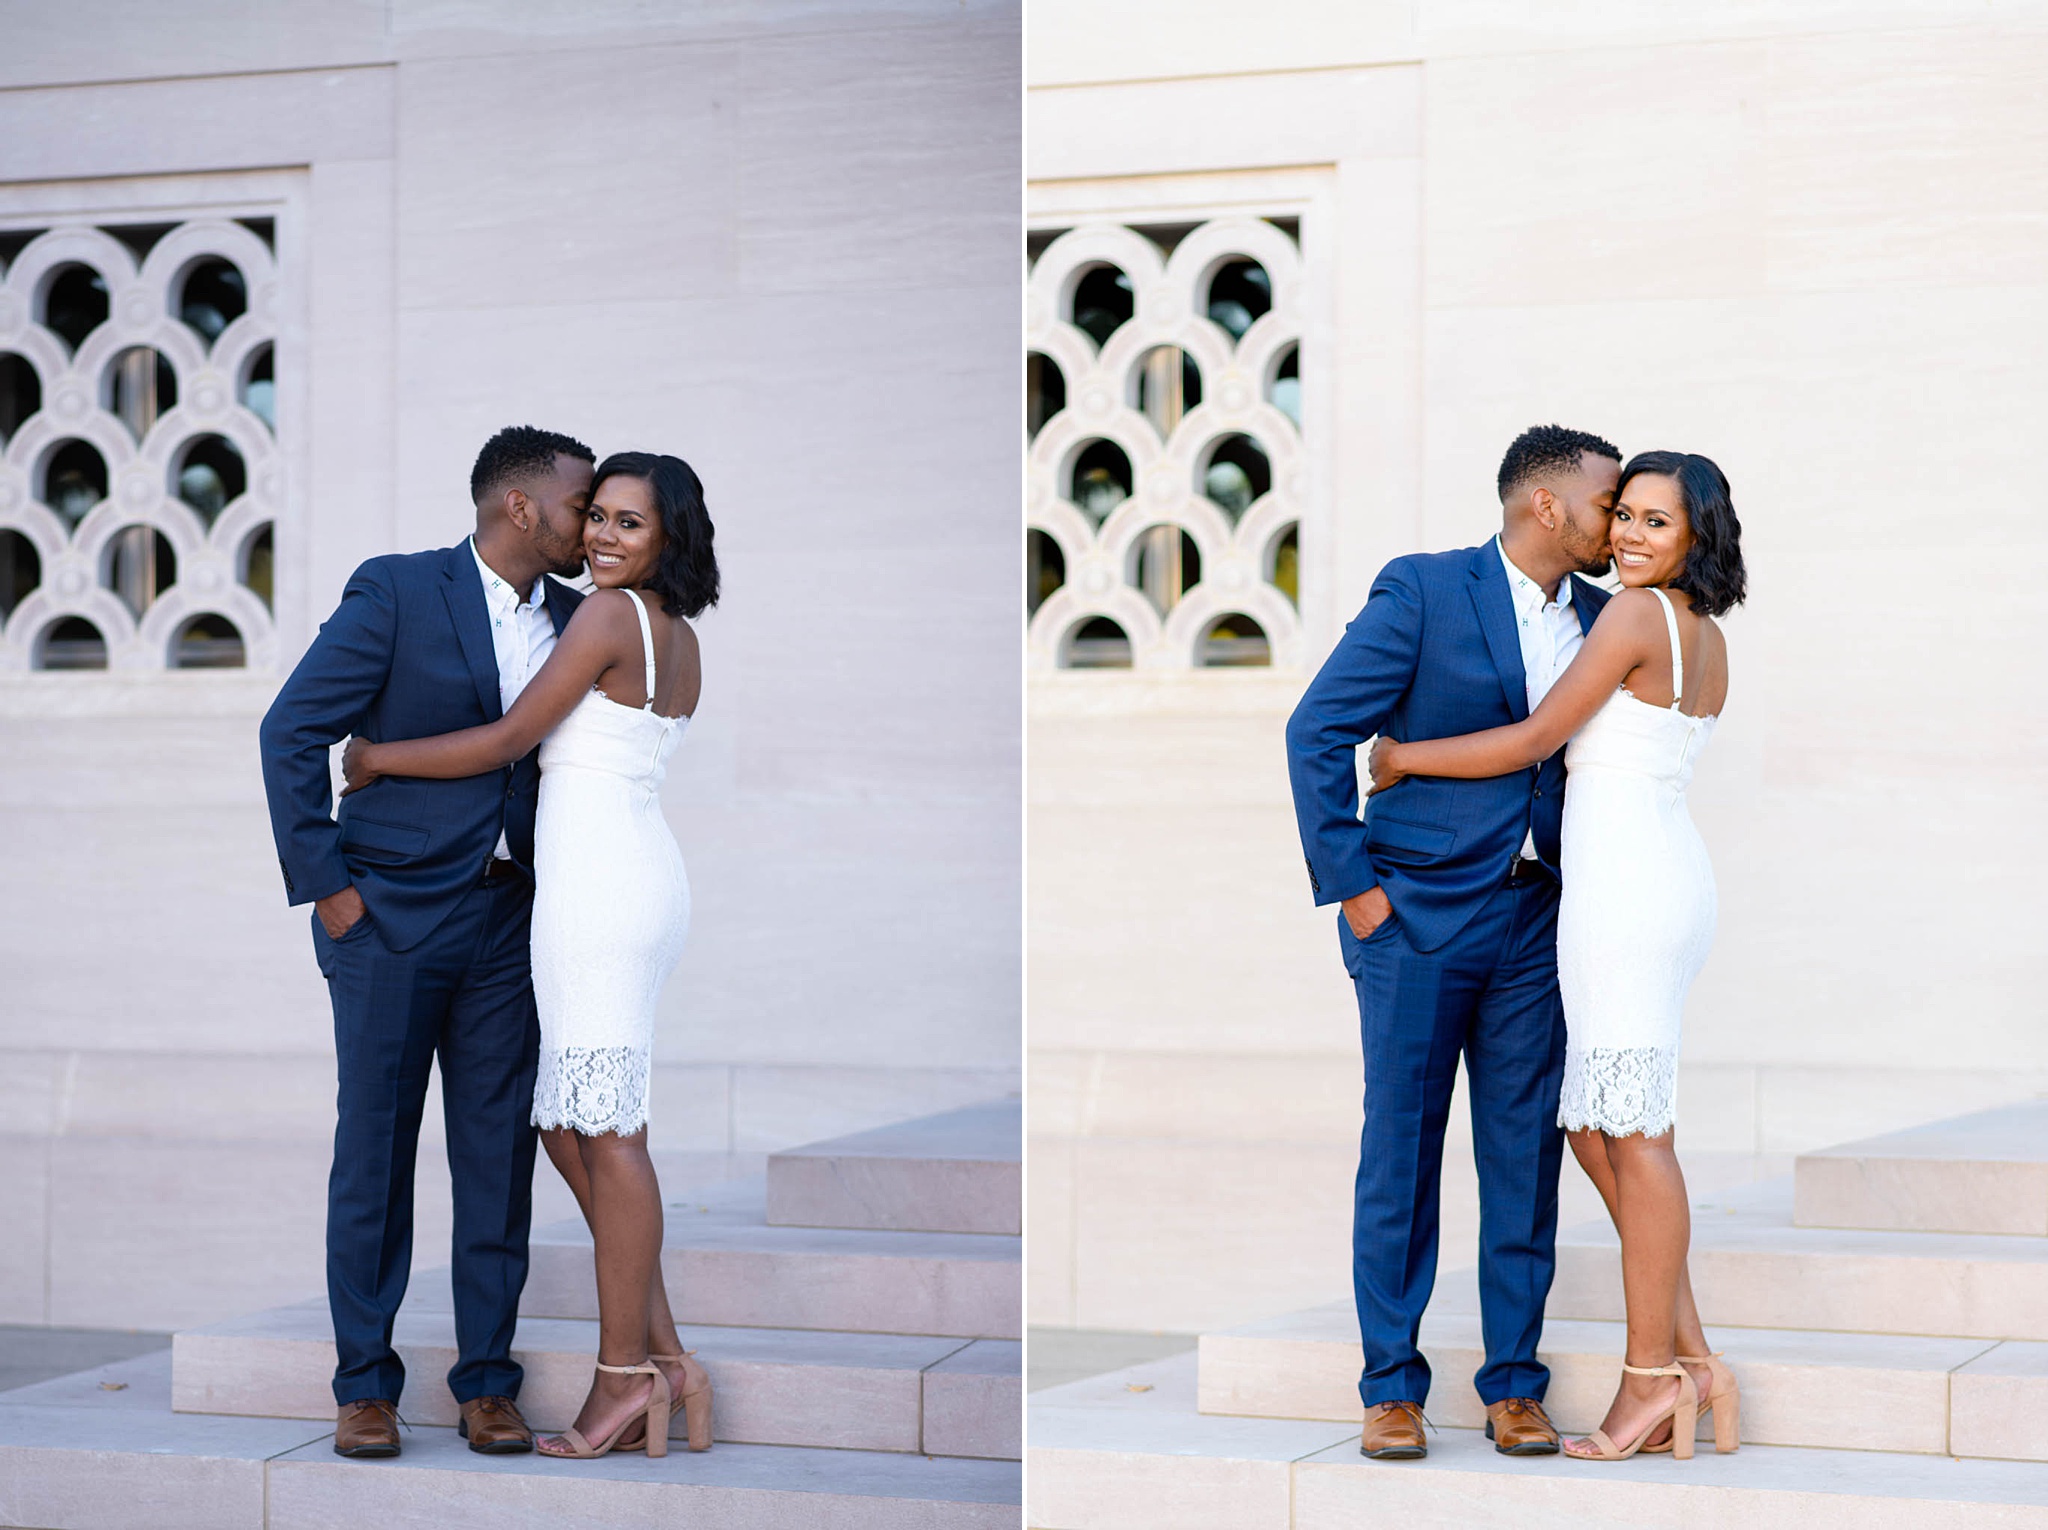
(Left photos unedited, right photo edited with the Bright & Clean Presets)
3. Overcast Sky / Cloudy Days
If the sun is behind clouds and the light is diffused, you’ll want your clients to face and look into the direction of the sun in order to avoid dark circles under their eyes. This is completely the opposite of what you want to do on sunny days.
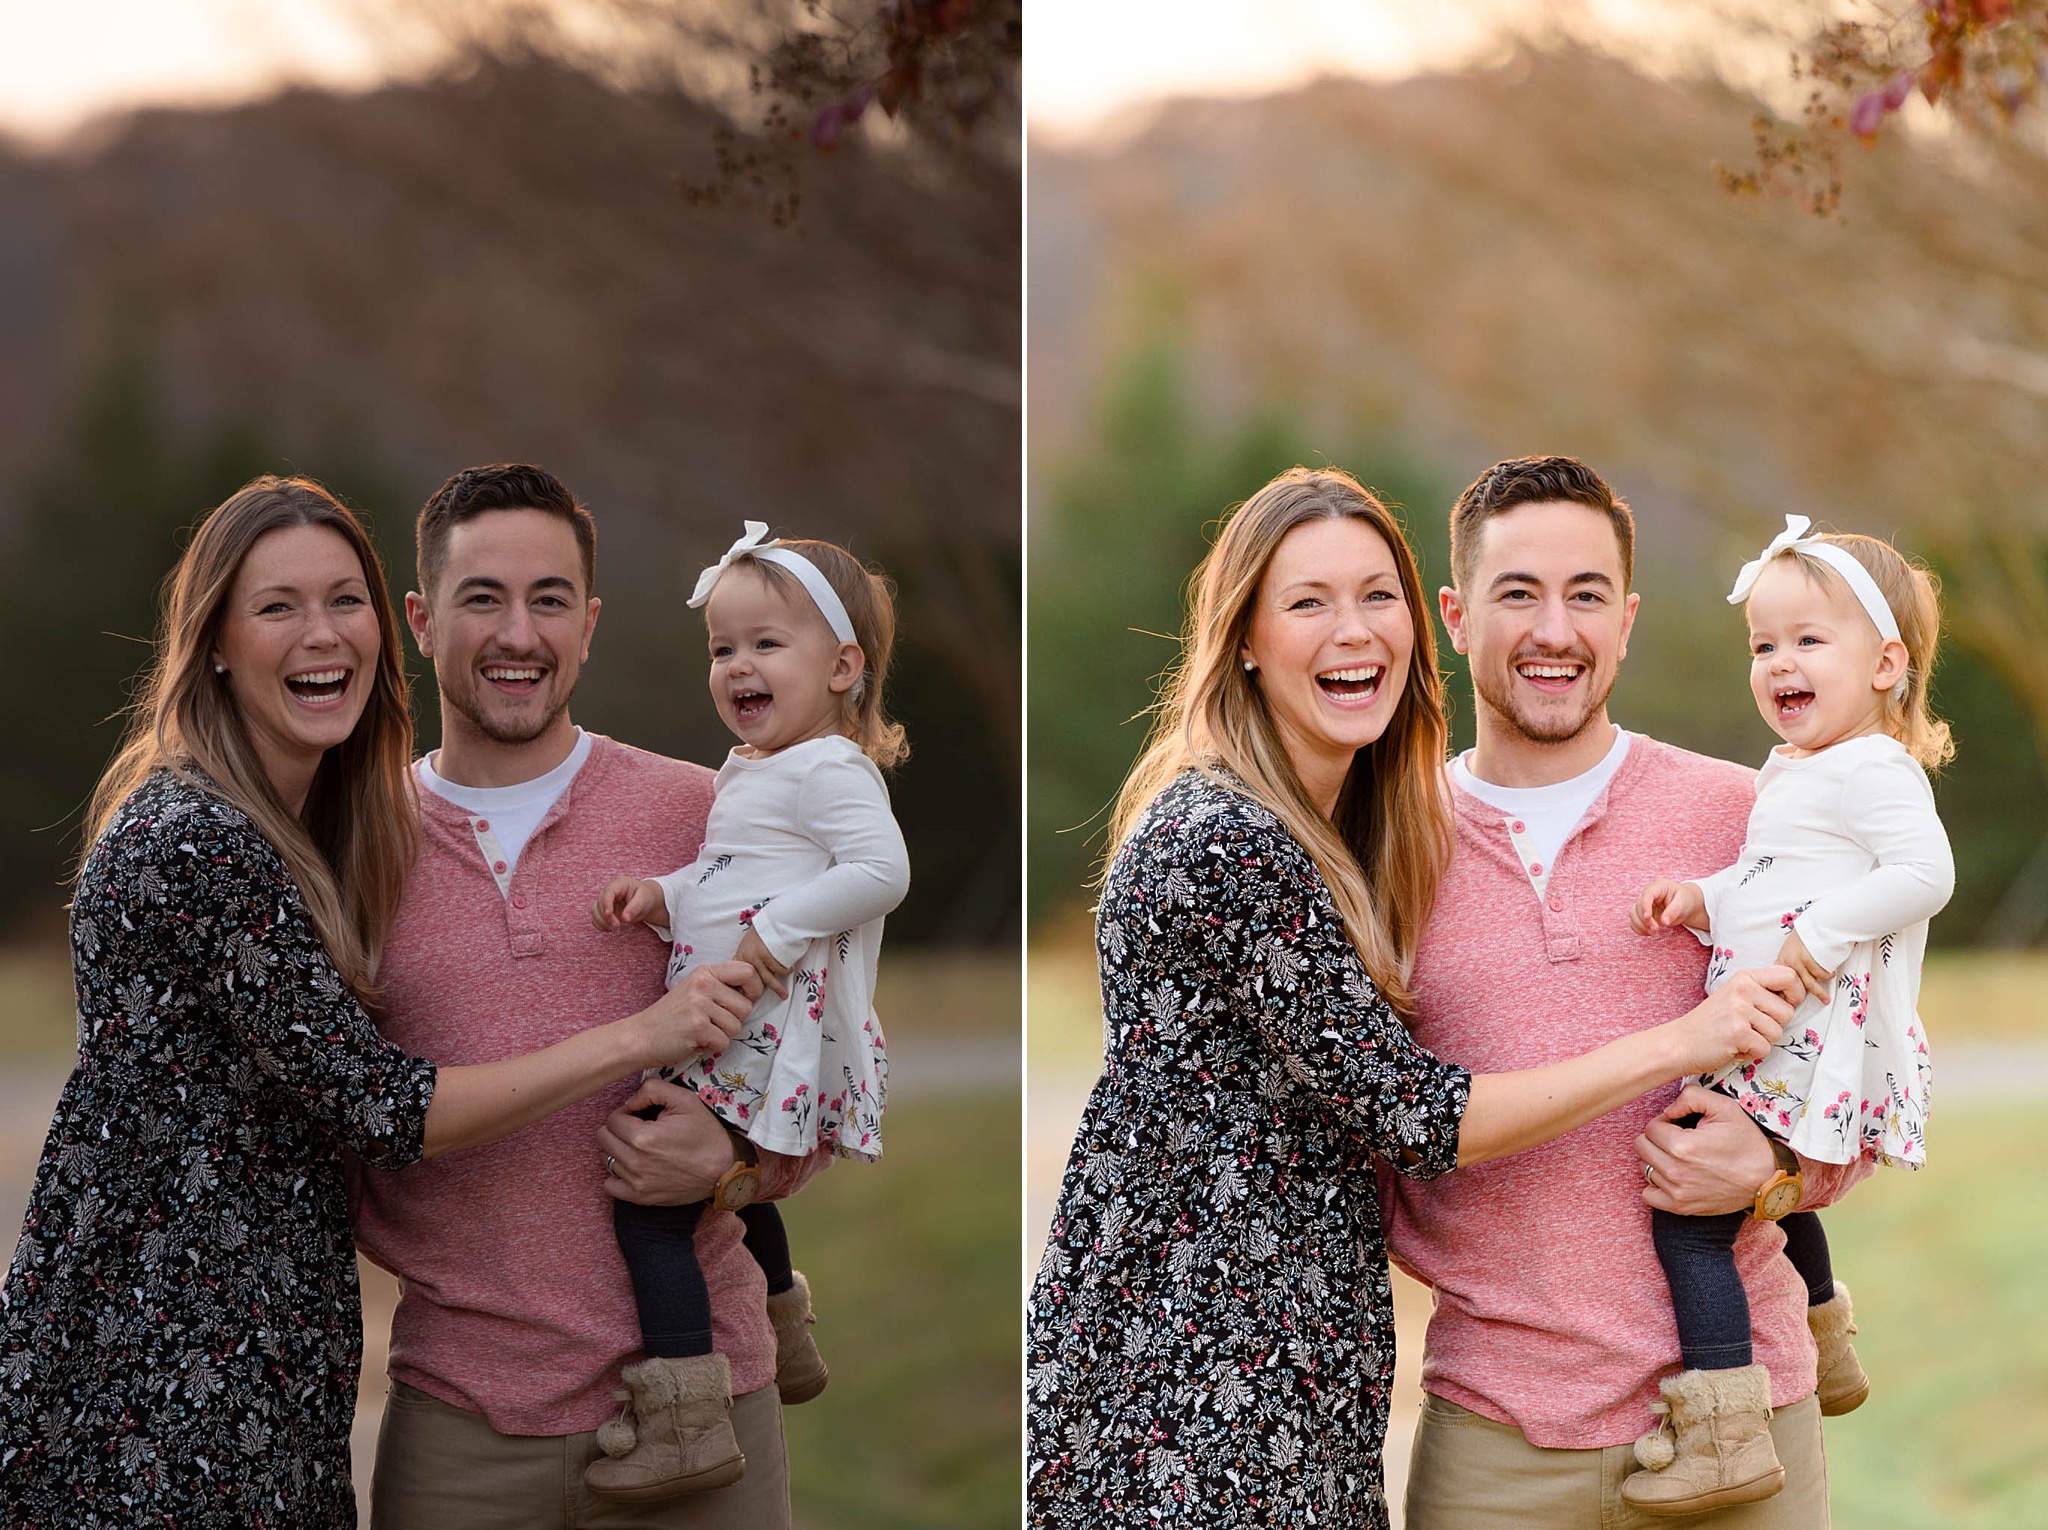
(Left photos unedited, right photo edited with the Bright & Clean Presets)
4. Indoors
If you’re shooting indoors, try looking for a large source of natural light (large window or door) and have your subject face the main source of light.

Conclusion!
Sunny Days: subjects face away from the sun
Shaded Areas: subjects face away from the sun, but make sure to have access to the sky
Overcast Days: subjects face the direction of the sun
Indoors: subjects face main source of natural light (door or window)
Did you enjoy these tips on how to find the best light for your photos? Then make sure to join our Facebook group for more photography lessons.
![]()


