Last week I asked the photographers in my ATP Facebook group the following question:
What’s something you really need help with in your business?
The majority of them answered: workflows. (If that’s you, thank you for joining the conversation!)
I get it, workflows are SO important! I have a workflow for EVERYTHING in my business. I have a booking workflow, wedding workflow, post wedding workflow, editing workflow, posing workflow, you name it… I have a system for it! I streamlined my business as much as I possibly could so that I didn’t have to waste time on tasks that could be automated.
So, if you’re curious about what systems I have set in place for myself and how I do things in my business, today, I’m sharing 3 things you need in your photography workflow. I’m also giving you the best tools to use, like HoneyBook, whether you’re just starting out, or have been a photographer for a while.
Setting up workflows in your business is one of the smartest things you can do to set yourself up for success and avoid burnout. Workflows save you so much time and give you the freedom to do the things you really love to do, like spending time with your family.
Before I implemented workflows into my photography business, things would fall through the cracks all.the.time! Like… forgetting to send out questionnaires, or even worse, the awkward “you haven’t paid your remaining balance” email 30 days before the wedding. Yuck! Now that is completely automated in the backend of my business and it basically runs itself.
1. Set Up Wedding Workflow Automations in HoneyBook
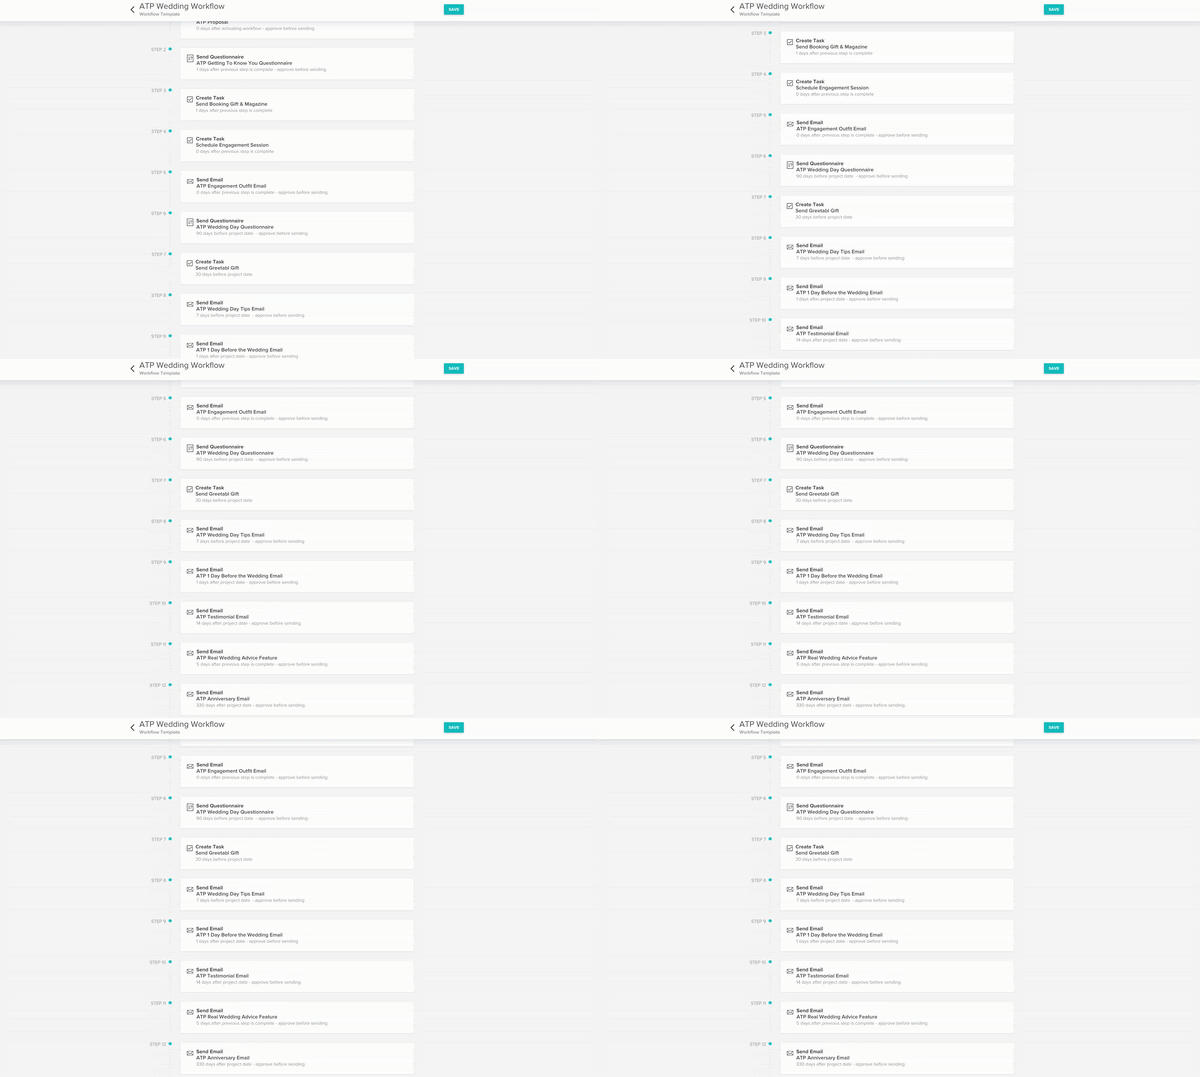
First of all, if you don’t already use a CRM software, I highly encourage you to do so. I love and use HoneyBook in my business. I have a 12 step wedding workflow, and 9 out of the 12 steps are completely automated.
Send a questionnaire 60 days before the wedding? HoneyBook does it for me. Send payment reminders? HoneyBook does it for me. No more awkwardness between the clients and I. Having a system like HoneyBook in place not only helps with automating tasks in your business, but it makes you look prepared and professional.
Want a peek inside my own wedding workflow? Here is a HoneyBook review that goes over my 12 step wedding workflow in detail. Don’t have HoneyBook yet? Try it for 50% OFF here! (If you currently have a HoneyBook account and still want to take advantage of this opportunity, make sure to use the code: alina.)
2. Set Up Your Questionnaires
HoneyBook allows you to create your questionnaires inside the platform, and once they are set up, you’re able to use and reuse them over and over again. You can even incorporate them into a workflow and have a pre-written email to go with them. HoneyBook will automatically send this out for you at the right time in the process after a couple books you. How awesome is that?!
So what does my questionnaire workflow consist of? I’m glad you asked.
Rather than sending one looong questionnaire, I like to break mine down into 3 shorter ones. Here’s why!
If you send your questionnaire right after a couple books, they might not have all the details flushed out yet, especially if they book a year or more in advance.
If you send it right before the wedding, then you miss out on information that you could use in their engagement session blog post… like how they met, or how he proposed.
However, if you break it into multiple questionnaires and reach out to your couples at different stages during the wedding planning process, they’ll feel well taken care of, and it shows that you genuinely care about them because you stay in touch throughout the entire process.
So, my questionnaire workflow looks like this:
– Getting to Know You Questionnaire
– Wedding Day Questionnaire
– After Wedding Questionnaire
I use the Getting to Know You Questionnaire to learn more about my couples so that I have a discussion base during their engagement session. I also use the answers to write their engagement photos blog post.
I use the Wedding Day Questionnaire to create their wedding day timeline, as well as gather information about the vendor team that I can tag in my social media posts after the wedding (free marketing).
And lastly, I use the After Wedding Questionnaire to learn more about their wedding planning process, what they think went well, what they’d do different, etc. I also feature their answers in a separate blog post called “Real Wedding Advice”. This is a great way to provide valuable advice to new brides planning their own wedding, as well as create a piece of content that is easy to put together.
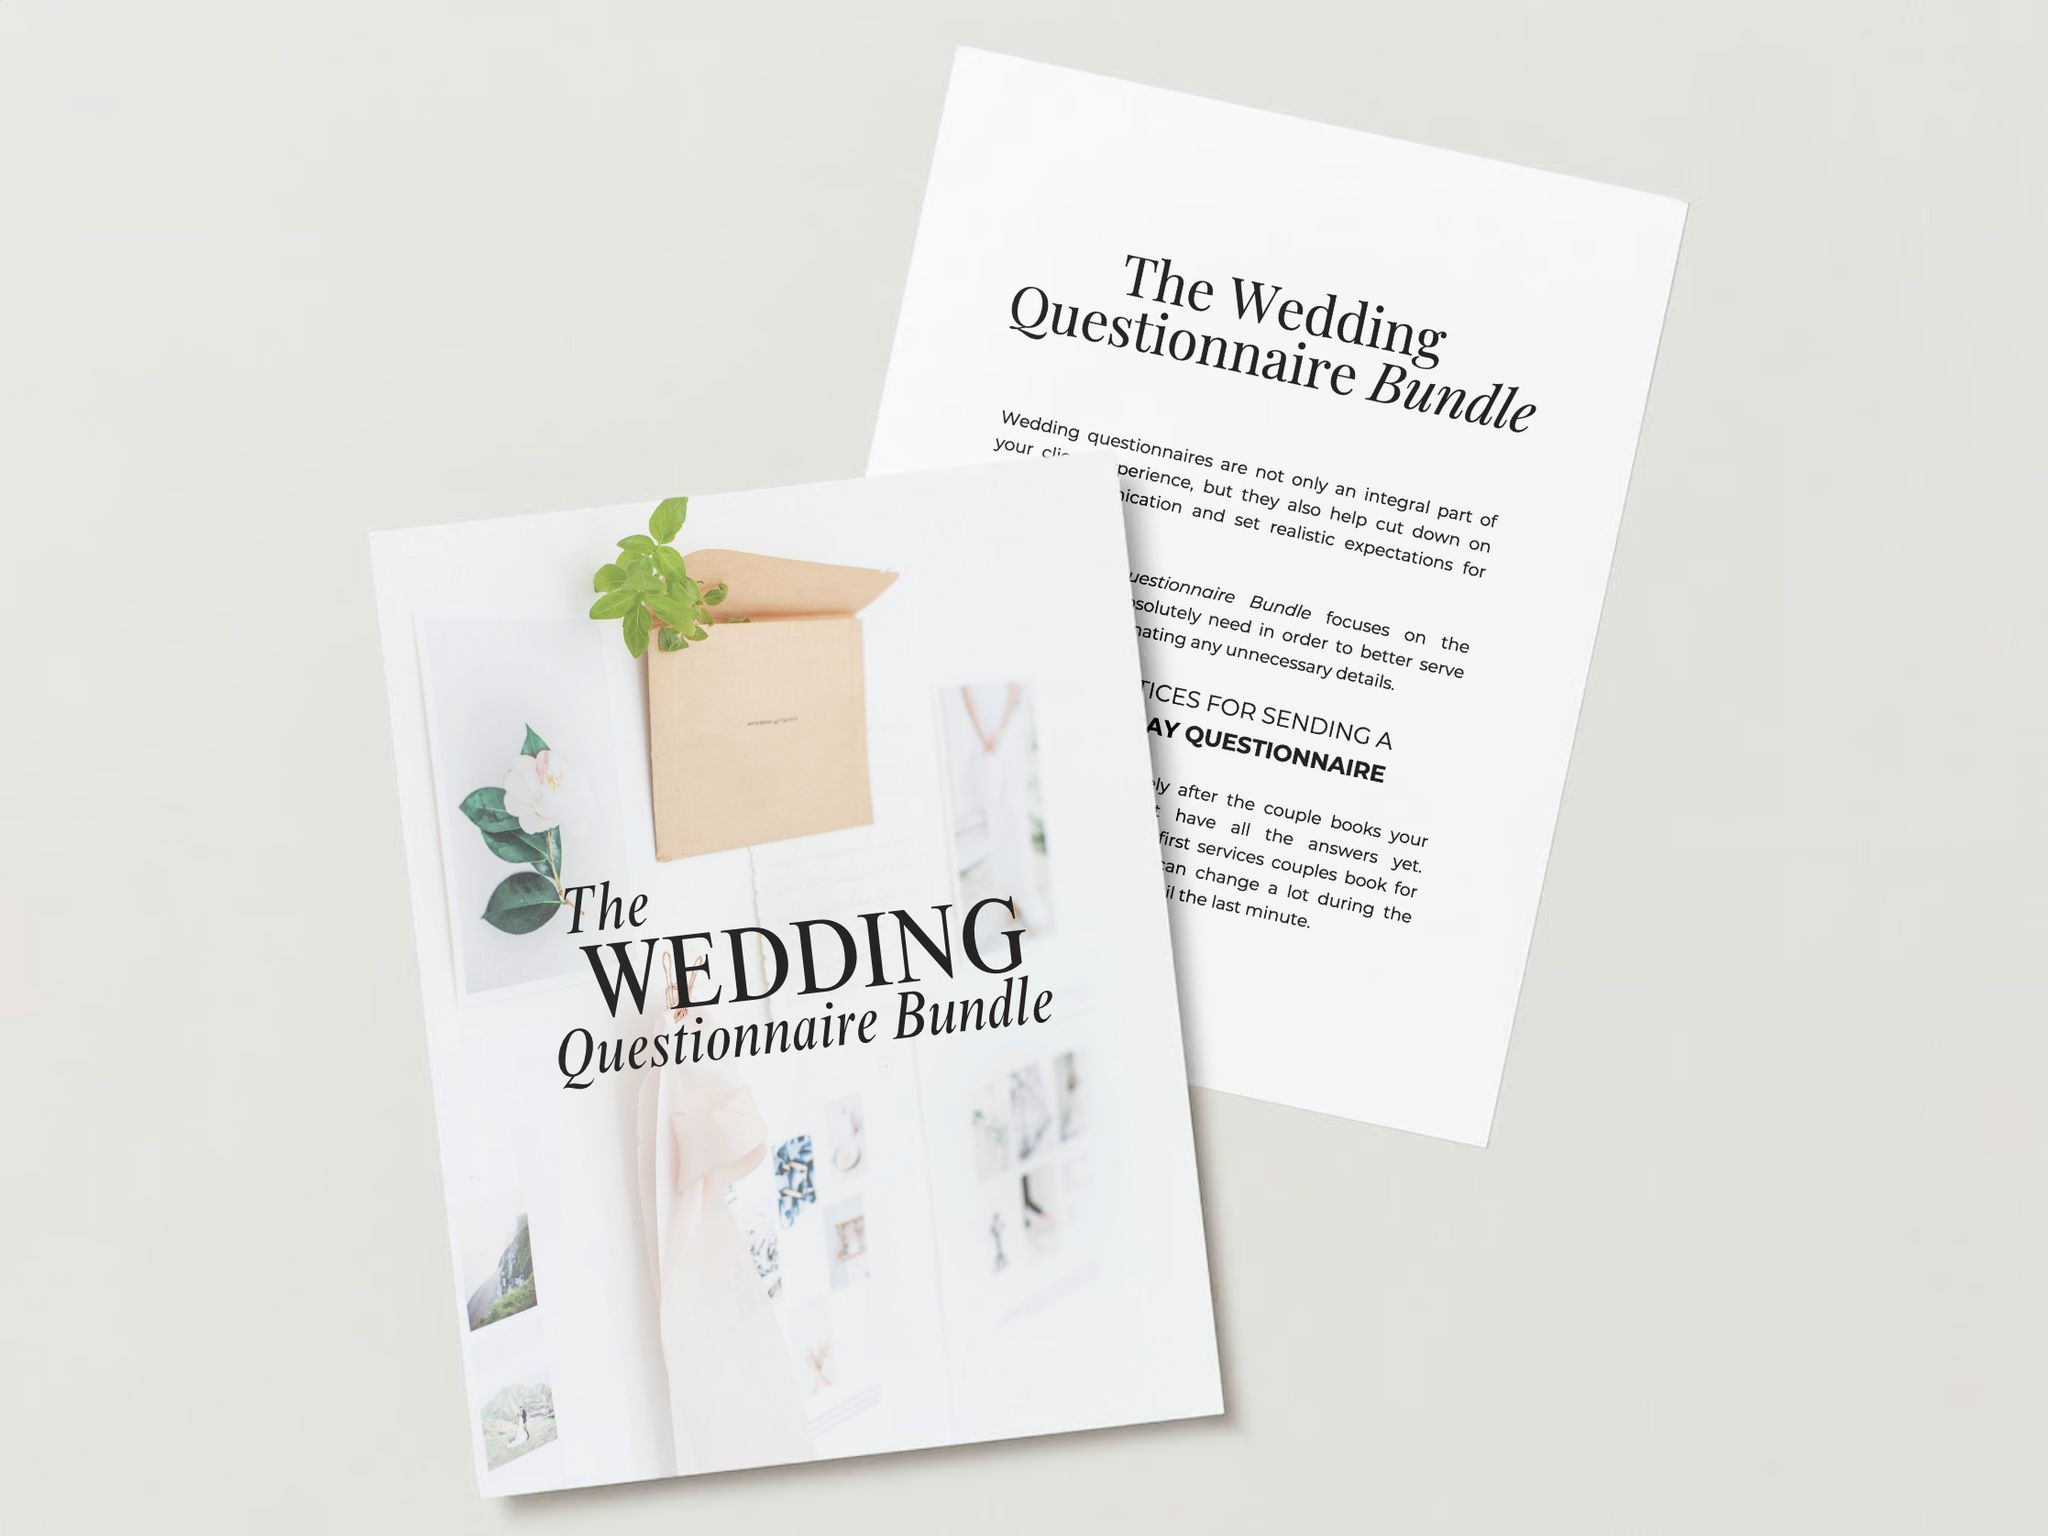
Want my exact questionnaires that I send my couples? You can snag them here! ⬇️
Want my exact questionnaires that I send my couples? You can snag them here.
3. Set Up Your Affiliate Marketing Workflow
Here’s an easy way to get started with affiliate marketing. Set up your own Amazon store and link to different items that brides might be interested in for their wedding day. For example, one week before the wedding, I send all of my brides an email with “best tips” for their wedding day. One of the tips is all about how to make sure that their detail shots stand out, and I include a link to my “Styling Items” that they might want to check out. Almost every single one of my brides ends up purchasing one or more ring boxes. You could also do favorite session outfits, etc.
Your Amazon Store page not only serves your brides who want their detail shots to be unique, but you can also share your favorite items on social media or in a blog post.
And there you have it: 3 Things You Need in Your Photography Business Workflow. Which thing will you implement this week?

*For your convenience, this post contains affiliate links. When you use these links we may earn a small commission at no additional cost to you. This helps us to be able to continue sharing free photography tips and resources like this with you.

