A lot of people think that the way to achieve light and airy images is through editing.
While editing plays a major part in it, the decisions you make before shooting are crucial in achieving this photography style.
Today, I’m going to cover everything you need to know about light and airy photography from location scouting to lighting, client outfits, camera settings, editing tips, and more.
What defines the light and airy photography style?
Light and airy is defined by soft, muted colors with no strong or dark shadows. I always say that in order to achieve a light and airy editing style you have to shoot with a light and airy style in mind first: 90% of the work is done in camera. That’s why light and airy presets will only work if you do these things first.
Characteristics of Light and Airy Photography
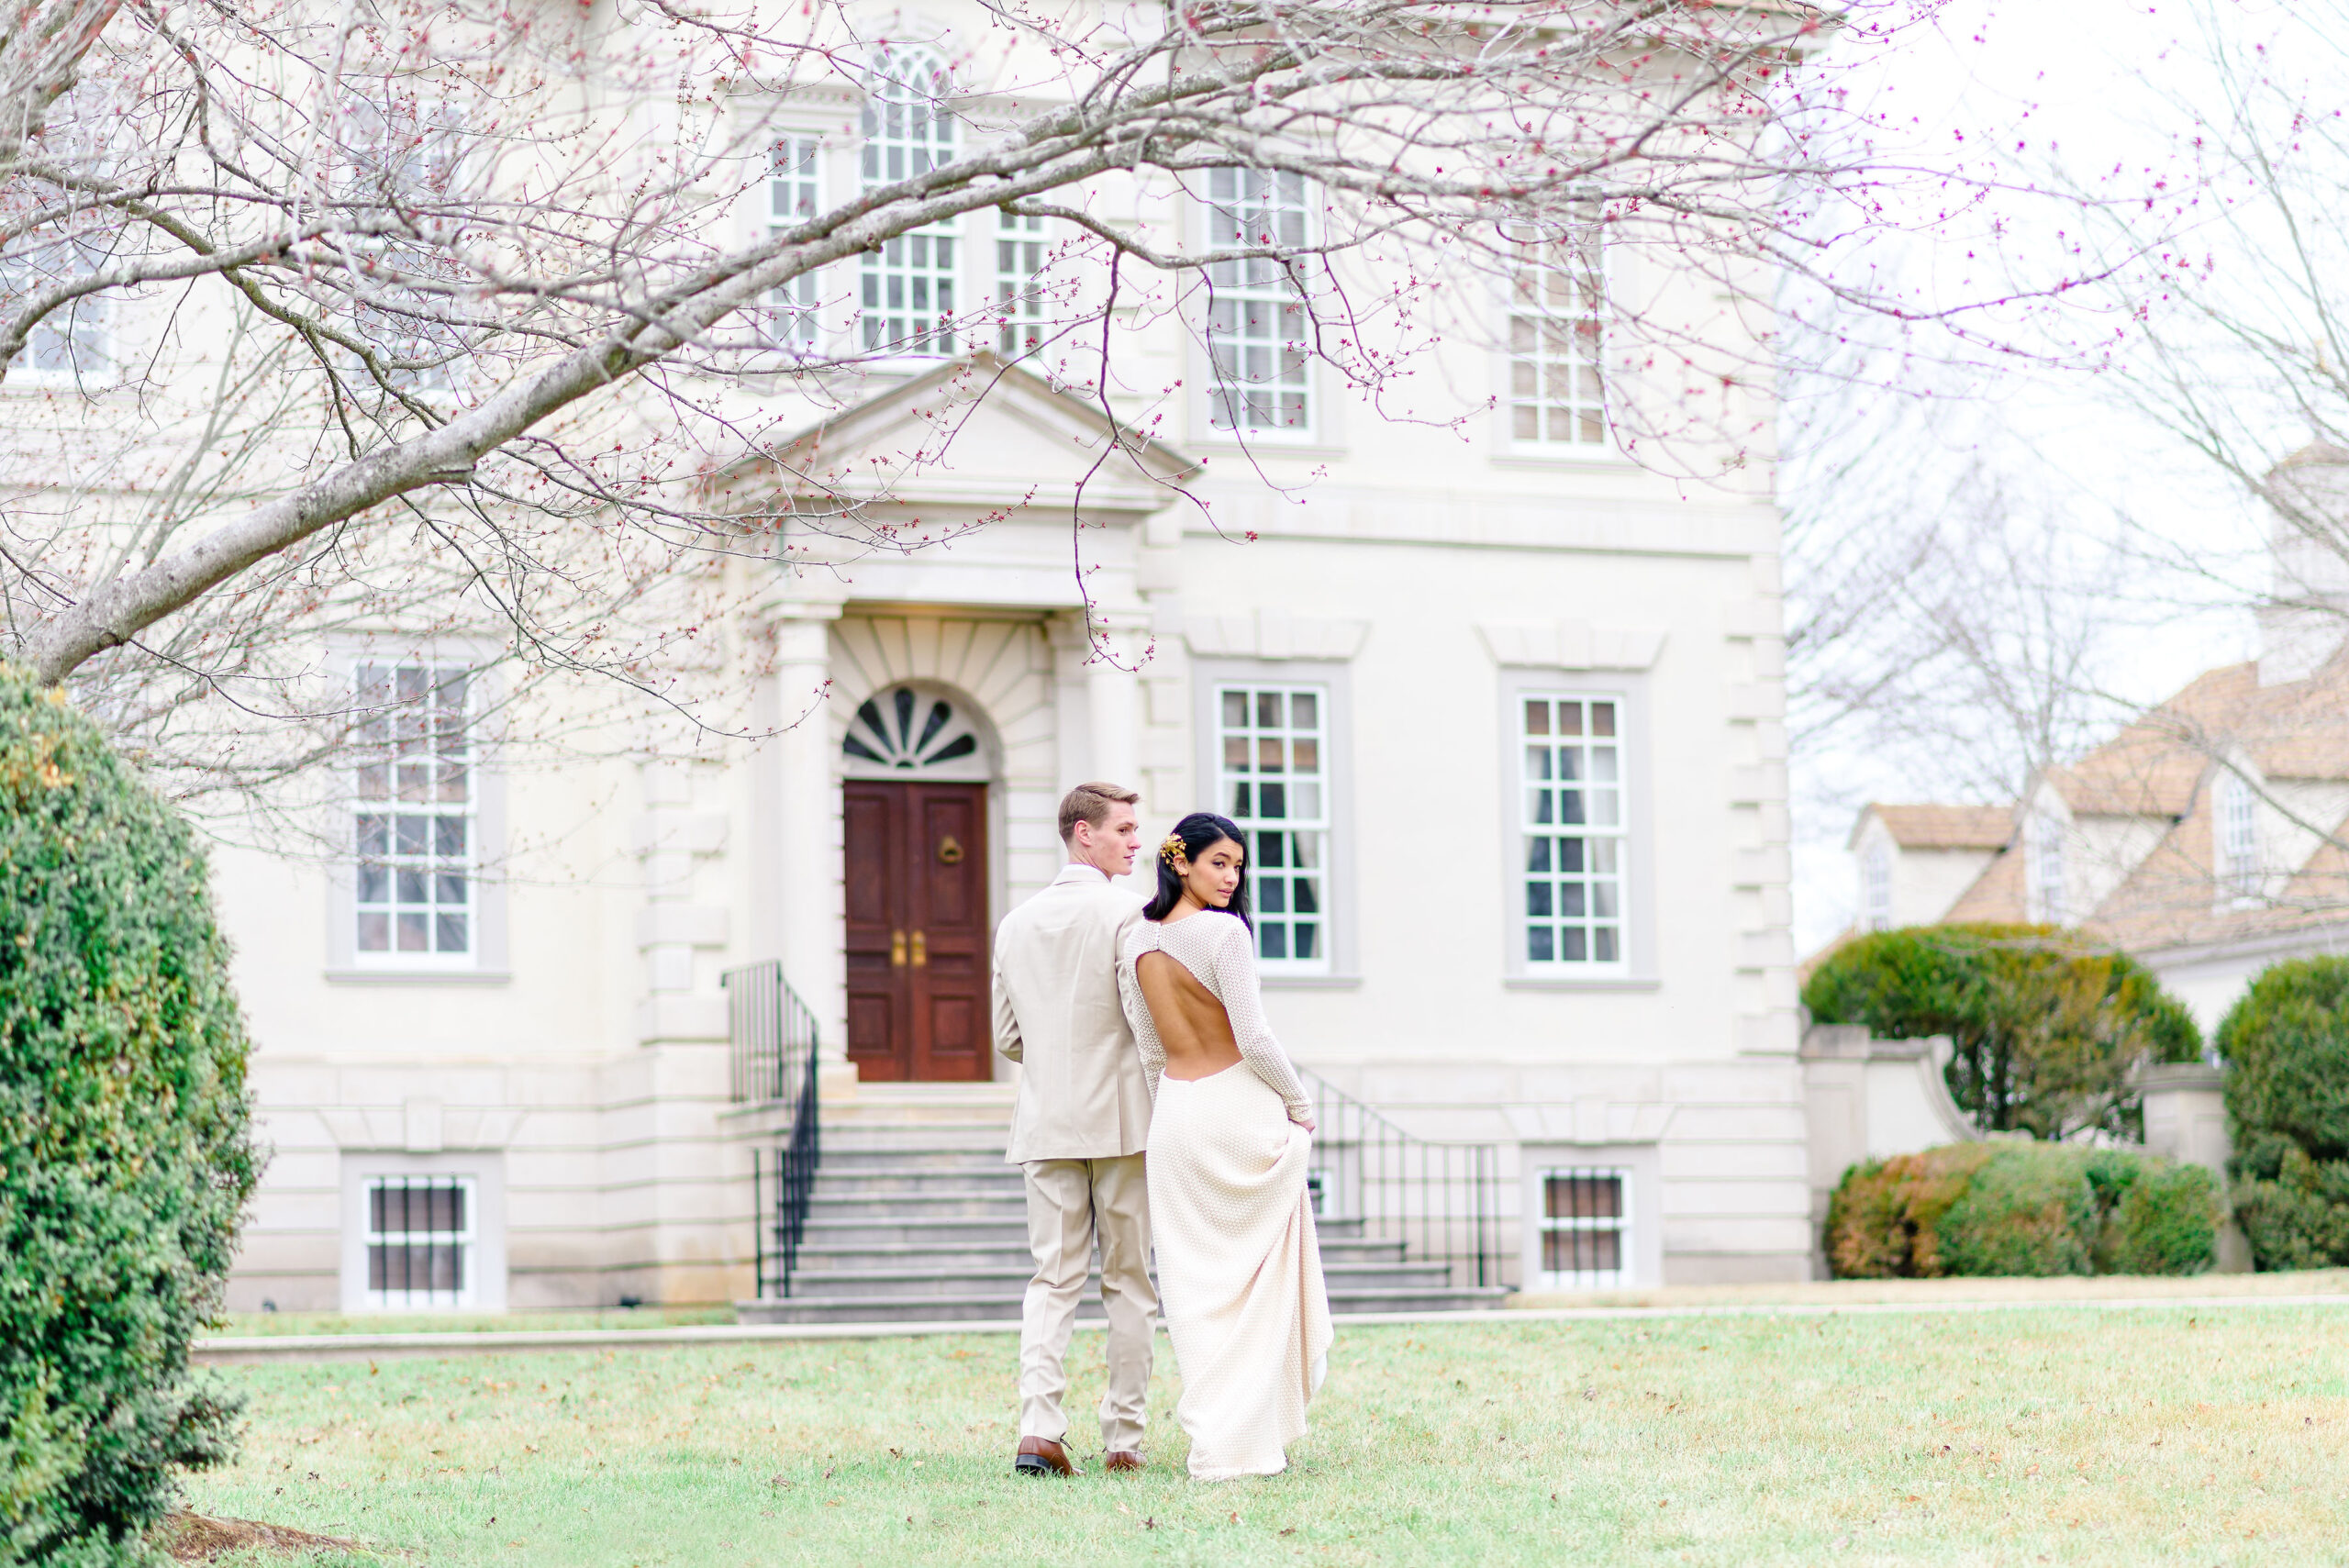
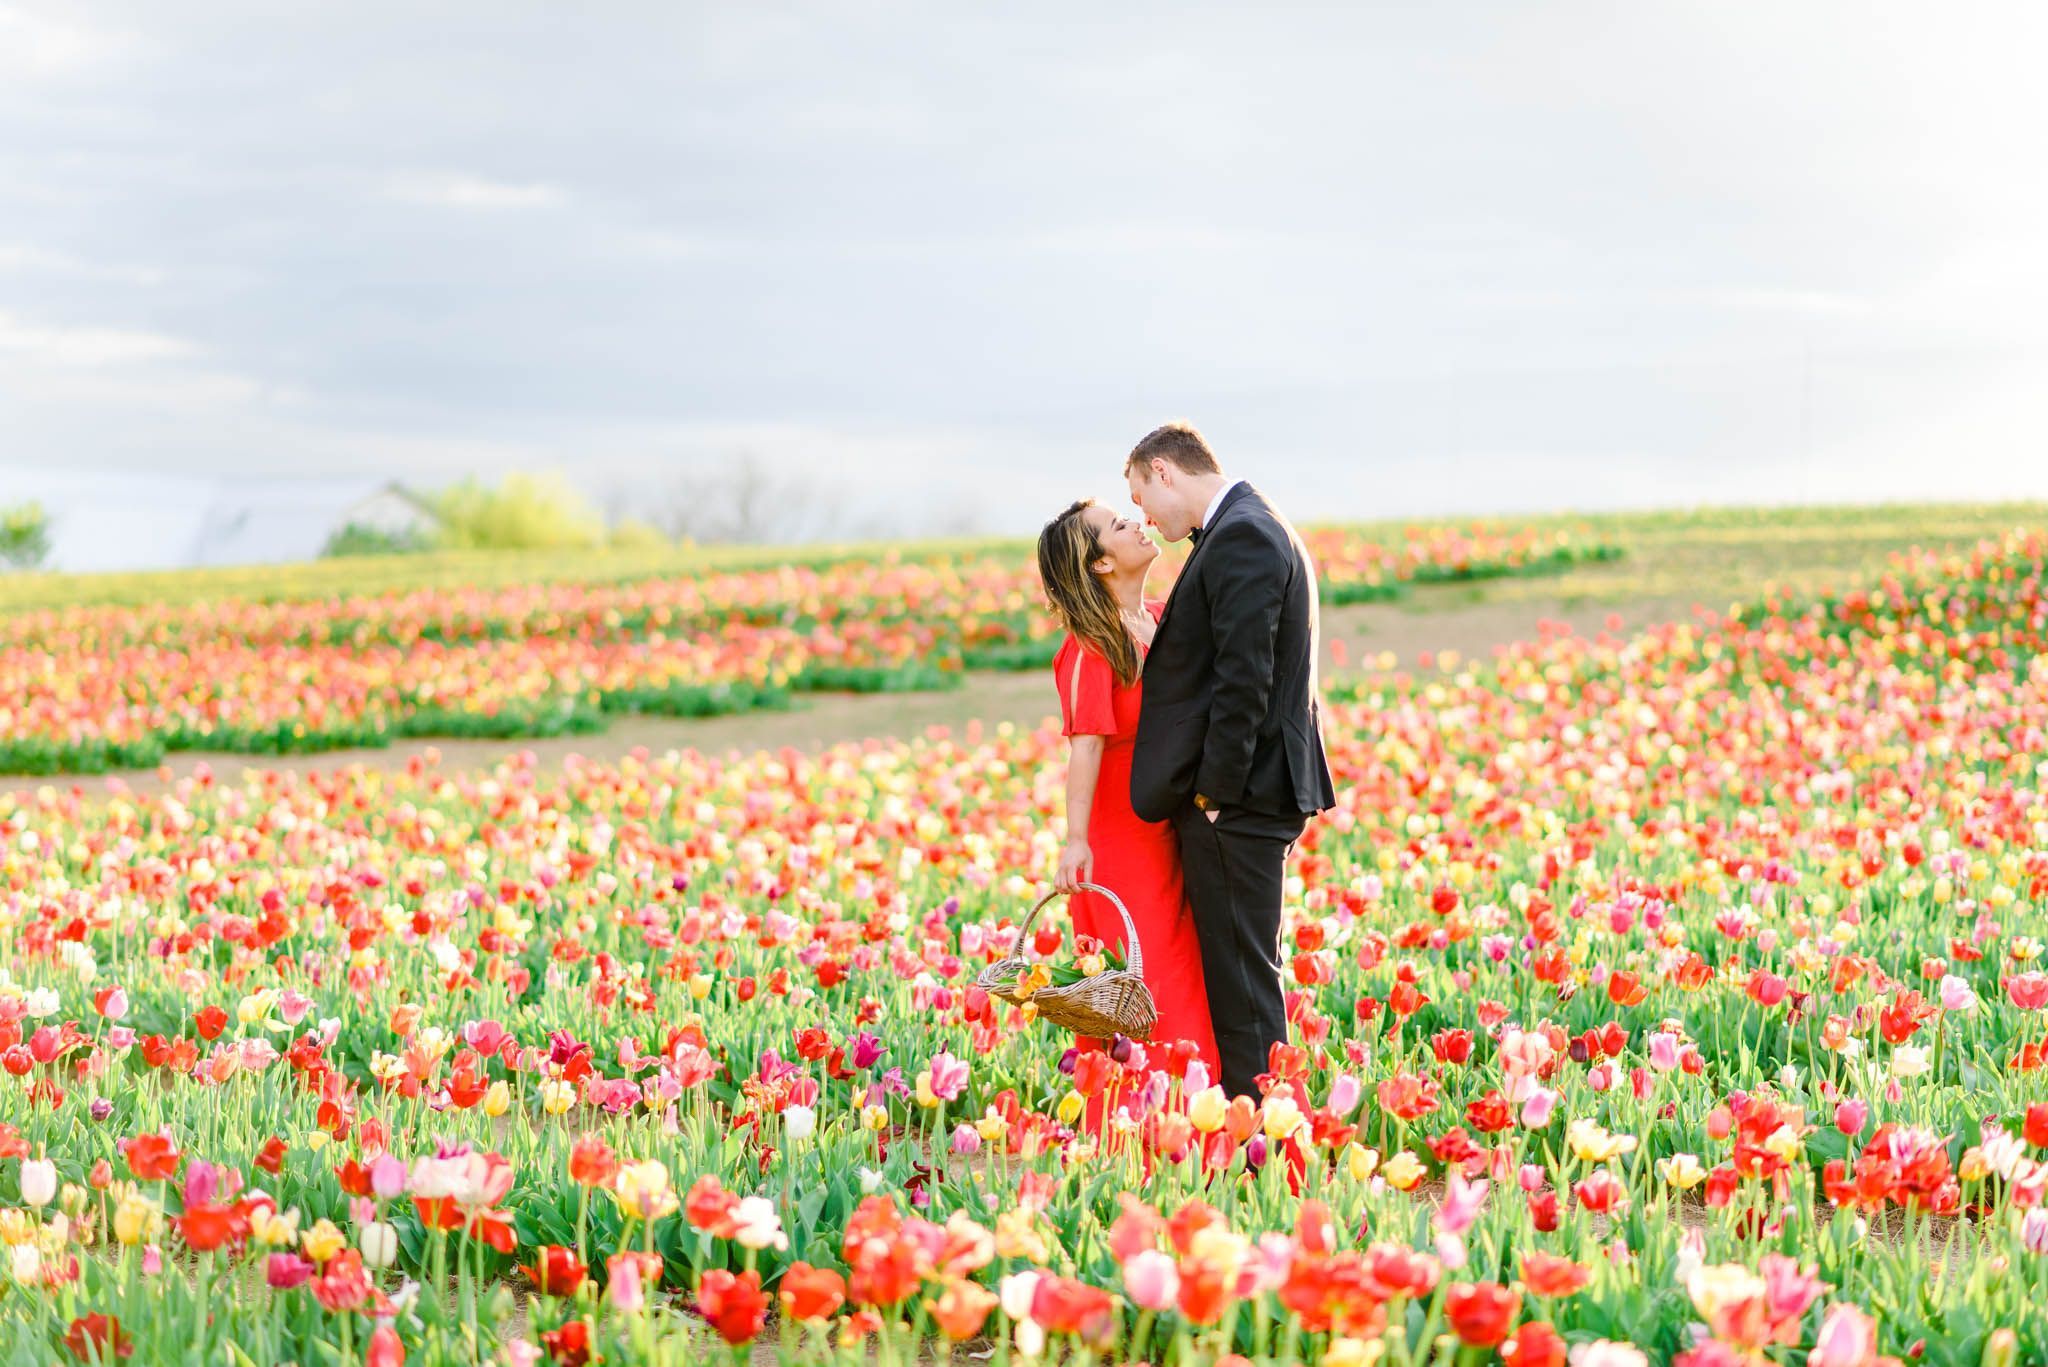
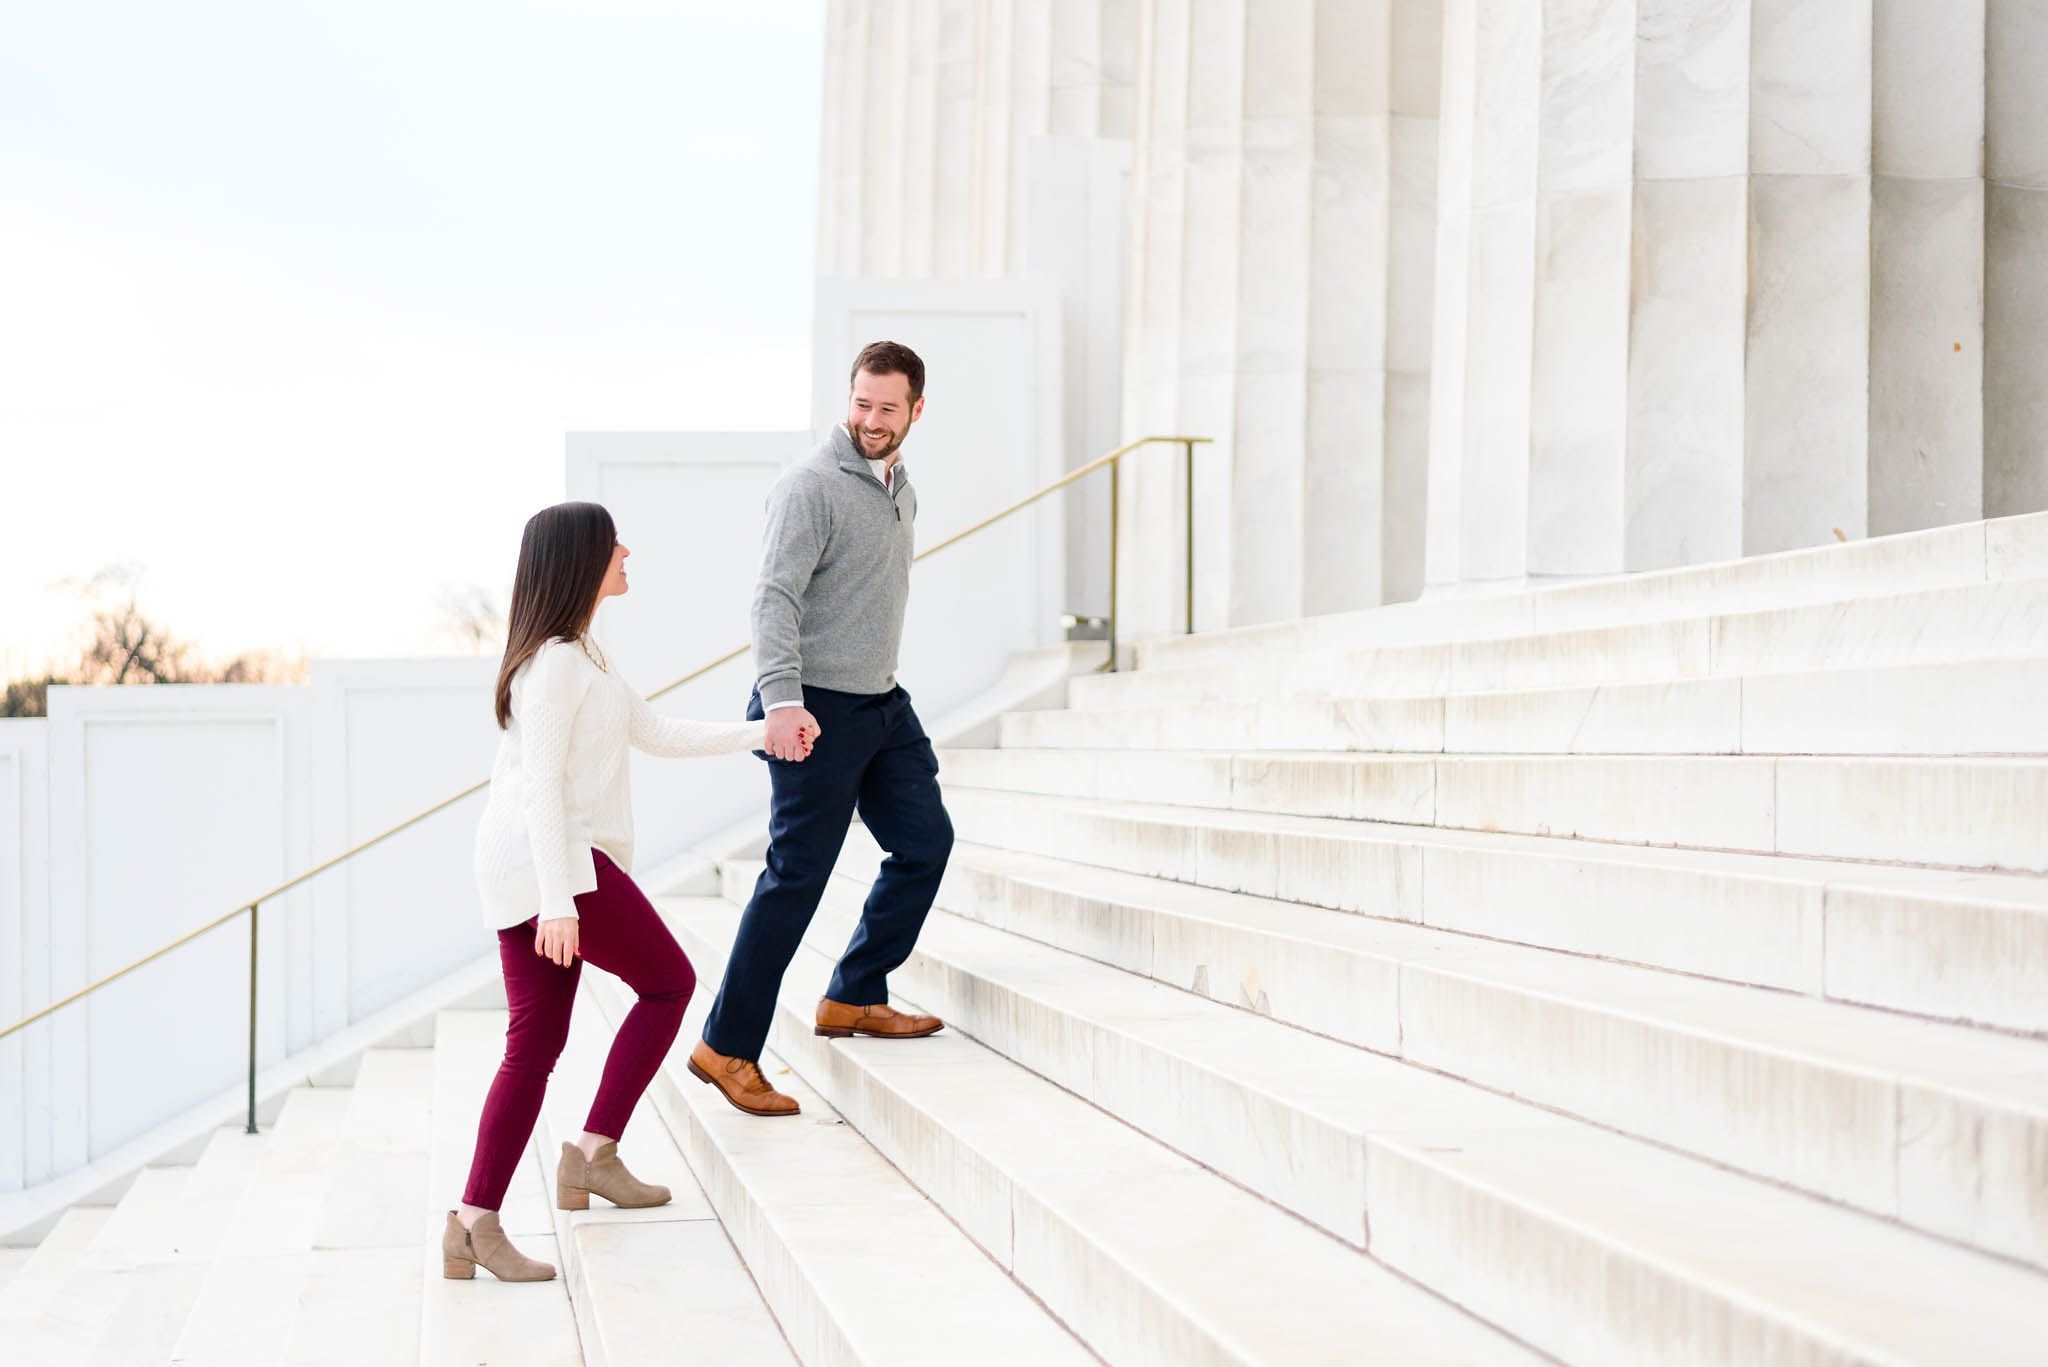
When I think of light and airy, I think of images that have: clean light, warm tones, simple, and clean backgrounds.
👉 Clean Light
Light and airy images have clean, even lighting, and soft shadows; they avoid harsh sunlight that can create heavy contrast and dark shadows.
👉 Warm Tones
Light and airy images feel warm and cozy without going overboard on the orange side.
👉 Simple and Clean Backgrounds
Light and airy images use light colored backgrounds that are simple and clean with minimal distractions.
How to Take Light and Airy Images
- Location
When it comes to location, it’s best to shoot in open areas that have great natural reflectors.
Firstly, look for open fields or light colored walls if you’re shooting in an area surrounded by buildings. Also, make sure to stay away from dark tree trunks and buildings (especially red brick buildings). Instead, try to find thin branches that can act as natural diffusers.
These decisions will help you create a subtle backdrop that won’t visually weigh down or overpower the photo with dark, heavy colors.
Secondly, make sure that you take advantage of the natural reflectors around you.
You’ve probably heard this term tossed around, but what exactly is a natural reflector? Simply put, it’s anything that bounces natural, clean light onto your subjects. Think of things like: white walls, sidewalks, gravel, light colored sand, or buildings with light colored exteriors.
When the sun hits these light colored surfaces, the light that bounces off is clean and beautiful. On the flip side, if you were to place your clients in an area surrounded only by green grass, the light that bounces back onto their skin will give them a greenish tint which is pretty tricky to fix in editing.
- Lighting
Now that you found a clean background for your photos, you also need to make sure that your subject is lit properly. Not all light is the same, and the way you use the light available to you determines your photography style.
You’ve likely heard about “golden hour”. It’s that beautiful time just before the sun sets when the light is soft and creates a beautiful glow. It’s the perfect time of day to take light and airy photos.
However, during wedding days, you can’t always schedule everything during that beautiful golden hour. Sometimes, you have to shoot right in the middle of the day when the sunlight is at its highest. But guess what… you can still keep a consistent light and airy look all day long.
Here’s my secret!
When shooting in harsh light, I like to position my clients so that the sun is behind them. In photography, this is called “backlit.” Then, I adjust the camera settings to make sure their skin tones look just right so that my photos have that airy, dreamy feel.
Here’s how to photograph in different lighting conditions:
Sunny Days: Have your subjects face away from the sun to avoid harsh shadows and squinting. This way, you’ll be able to capture soft, even lighting on their faces.
Shaded Areas: When shooting under the high midday sun, look for a tree or building that provides shade. This way, the branches will act as a natural diffuser, preventing harsh light from overpowering both your lens and your subject. The most important thing when shooting in shaded areas is to make sure that your subjects have access to the sky. So, find a shaded spot with a view of the sky to get that nice even lighting on your subjects.
Overcast Days: On cloudy days, have your subjects face the direction of the sun. The clouds act as a natural diffuser, providing soft and even lighting for your photos.
Indoors: When shooting indoors, position your subjects facing the main source of natural light, whether it’s a door or a window.
- Camera Settings for Light and Airy Photography
In light and airy photography, the camera settings can vary depending on the situation, but here’s a good starting point.
Wider Aperture (f/1.2 to f/2.5): Think of this like the eye of your camera. Wider means more light gets in, making your photos brighter and dreamier. The wide aperture also helps with creating a blurry background.
Low ISO: ISO is the camera’s sensitivity to light – the lower, the better. Keep it low to avoid grain in your photos.
Shutter Speed (starting at 1/250): Now, think of shutter speed as how fast your camera blinks. In light and airy photography, you want a pretty quick blink (1/250 is a good starting point). It helps avoid blurry photos, especially if your subject is moving.
Now, if it’s a super bright day, you might want to make your shutter speed a little faster in order to let in less light. And if you’re taking pictures of someone who moves around a lot, like a child, you might want to speed up the shutter in order to freeze their movement in the photo.
- Compression
Ever wondered how photographers achieve that dreamy, blurry background that makes the main subject pop? It’s because of compression.
What is compression?! Compression is essentially the distance between your main subject and the background. It’s what gives you that creamy bokeh or background blur while keeping your subject sharply in focus.
You can create compression by:
➡️ Using a prime lens: The longer the focal length, the more compression you get. I love using my 85mm prime lens for portraits because it creates a beautiful, dreamy bokeh.
➡️ Using a wide aperture: Use a wide aperture (low f-stop) to create a shallow depth of field, focus on your subject, and produce a beautifully blurred background. I usually keep my aperture at f/2 when I photograph portraits.
➡️ Increasing the distance between the subject and the background: Another way to increase compression is by bringing your subject closer to you and farther from the background. This helps to blur the background while keeping the subject in focus.
- Wardrobe
When helping your clients choose their outfits, suggest softer tones like pastels or light neutrals. These hues will enhance the light and airy feel. Avoid bold or vibrant colors that might distract from the soft and dreamy look or feel too busy. Make sure the wardrobe matches the style you’re aiming for by going for neutral colors with soft textures.
How to Edit Light and Airy Photos
It’s no secret that I edit all of my images with the Bright & Clean Presets. Because I follow all of the tips above, these situational presets work for me every.single.time. They are situational because they were designed to give you the same light and airy editing style in all the different lighting situations you find yourself shooting in.
However, here are some general tips that you can follow on your own:
- In Lightroom, click on Lens Corrections → Enable Profile Corrections. This simple step makes a huge difference on its own.
- In the Basic Panel, bring the Blacks and Shadows up to remove any true black out of the image, as well as to soften any dark contrast.
- In the Basic Panel, bring the Highlights down to about -15 and the Whites up to about +15. I personally only bring the highlights down to -15 because otherwise the image will look too dull and the skin tones will suffer.
- When you up the Contrast slider in Lightroom too much, your image will end up looking dark and heavy. In order to keep a light and airy feel, I prefer to up the Darks and lower the Shadows in the Tone Curve Panel instead.
- In the Color Grading Panel, go to Highlights and set the blending to 100. From there I like to keep my Hue around 40 and Saturation between 2-10 depending on the image. The goal is to make your image warm without looking too orange.
- In the Color Mixer Panel, create a “C” with the sliders. So, Hue and Luminance will go up, while Saturation will go down.
And there you have it! These are the most important editing steps to creating light and airy images (without looking washed out).
Get your images to look light and airy with just a few simple clicks! Grab the Bright & Clean Presets HERE to eliminate the guesswork and endless adjustments, and to achieve consistency in every lighting situation.
If you want to take your editing one step further and save hours editing, try out the new Bright & Clean Imagen AI Profile. ⬇️