

How do you take light and airy photos on cloudy days?
I get this question a lot.
Surprisingly, shooting on overcast days can be just as challenging as shooting in harsh midday sunlight.
However, achieving light and airy photos in overcast lighting is actually possible when you follow these tips! 👇
1. Find the Right Location
Look for open areas and avoid dark backgrounds. Instead, try to find light-colored backgrounds, like white or light-colored buildings.
👉 If you’re shooting in a wooded location, look for trees with light-colored leaves (for example, willow trees instead of dark pine trees).
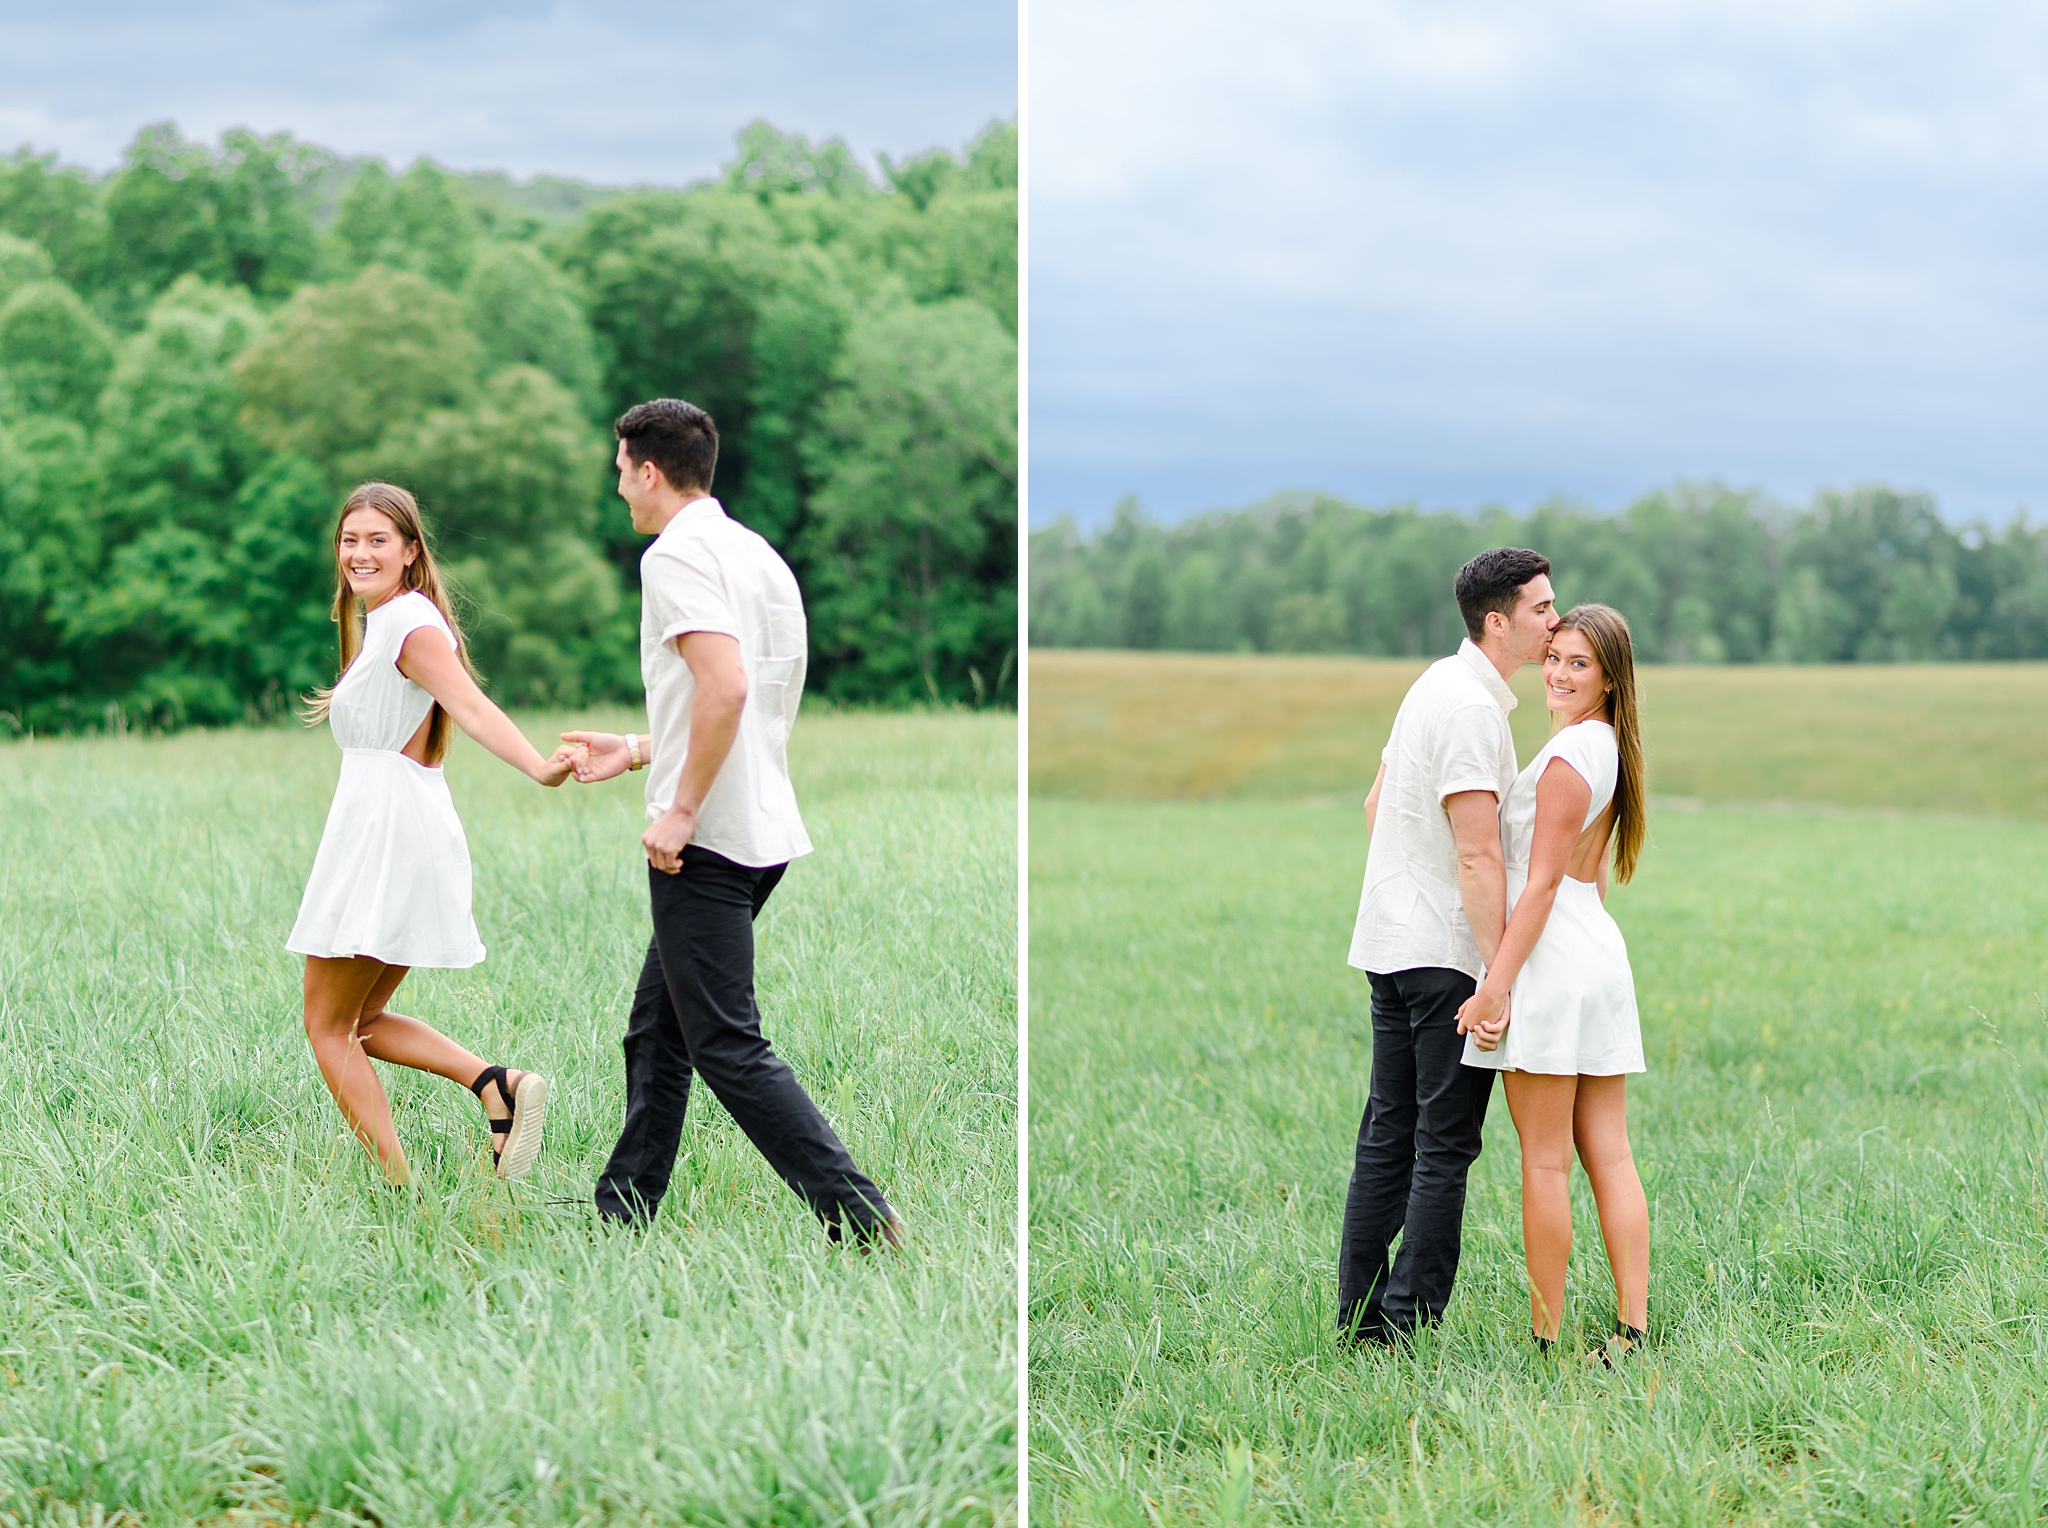
👉 If all you see around you are dark evergreen forests, then pull your subject away from the background to soften the contrast.
In the example below, do you see how much brighter and softer the photo on the right is? That’s simply because I moved the couple away from the dark green trees.
2. Have Your Clients Face the Sun
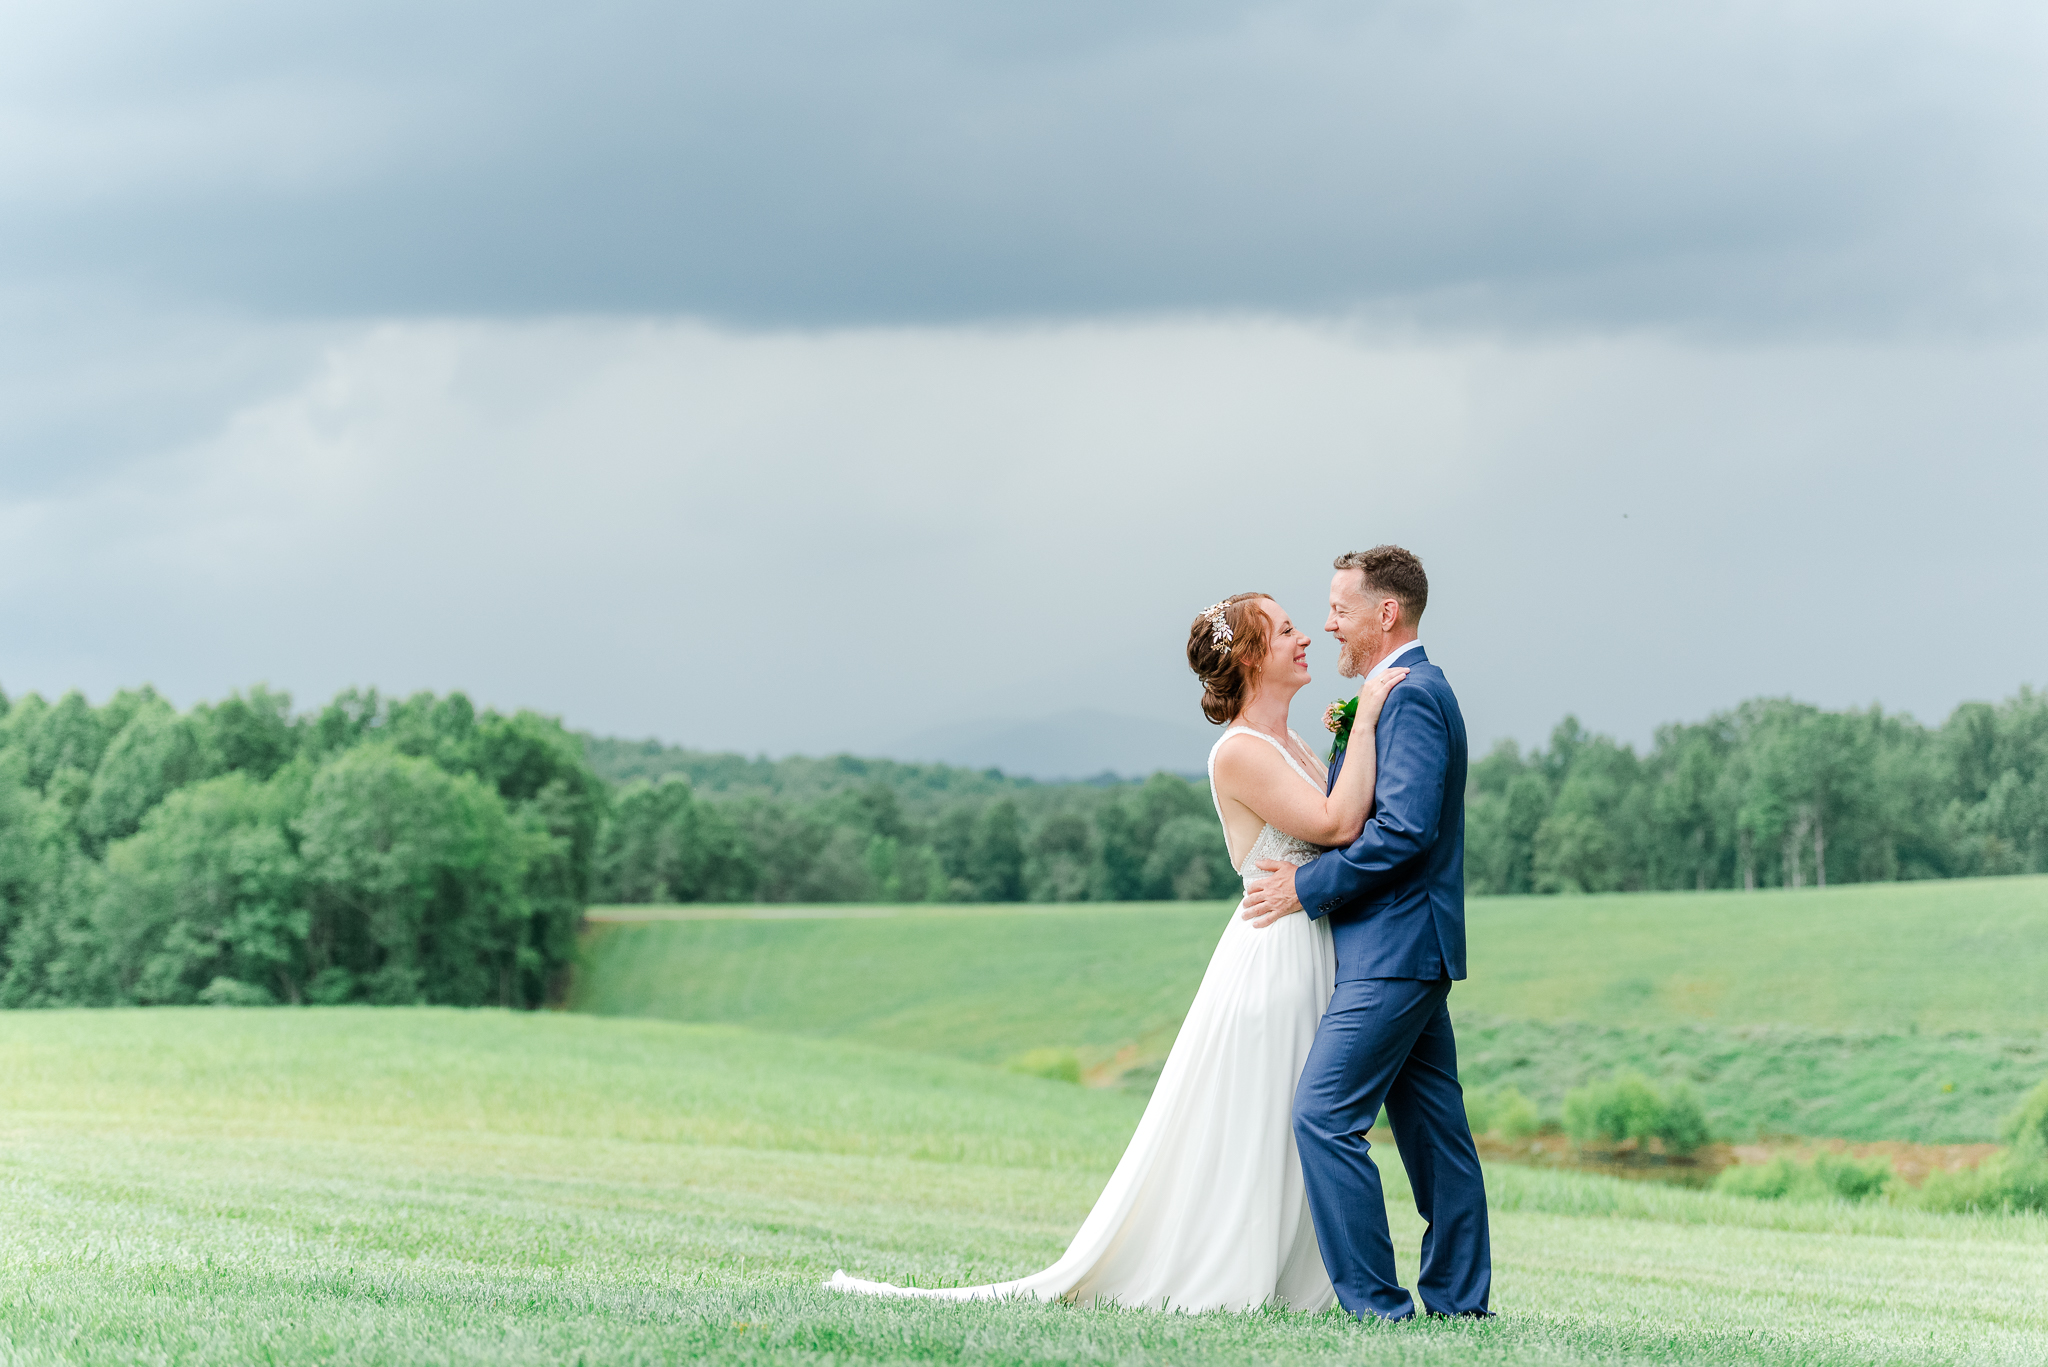
Whenever I shoot with the sun behind my clients on a cloudy day, I make sure they face the direction of the sun.
Why?
Because the sky acts as a huge softbox which provides soft, even lighting across their faces.
If you were to have your clients face away from the sun, the shadows would form dark circles under their eyes.
3. Shoot Earlier in the Day
Most photographers love to shoot during the golden hour – the time just before the sun sets, when the light is soft and creates a beautiful glow.
The golden hour typically occurs about an hour before sunset.
On cloudy days, however, you’ll want to adjust your timing and shoot 3-4 hours before sunset to make the most of the available light.
I particularly love an overcast sky on wedding days!
While the bride and groom portraits are usually scheduled for early afternoon, overcast days give me more flexibility in shooting early in the day.
4. Adjust Your White Balance
On cloudy days, the light that filters through the clouds is usually cooler and tends to have a bluish tint. (See picture on the left. 👇)
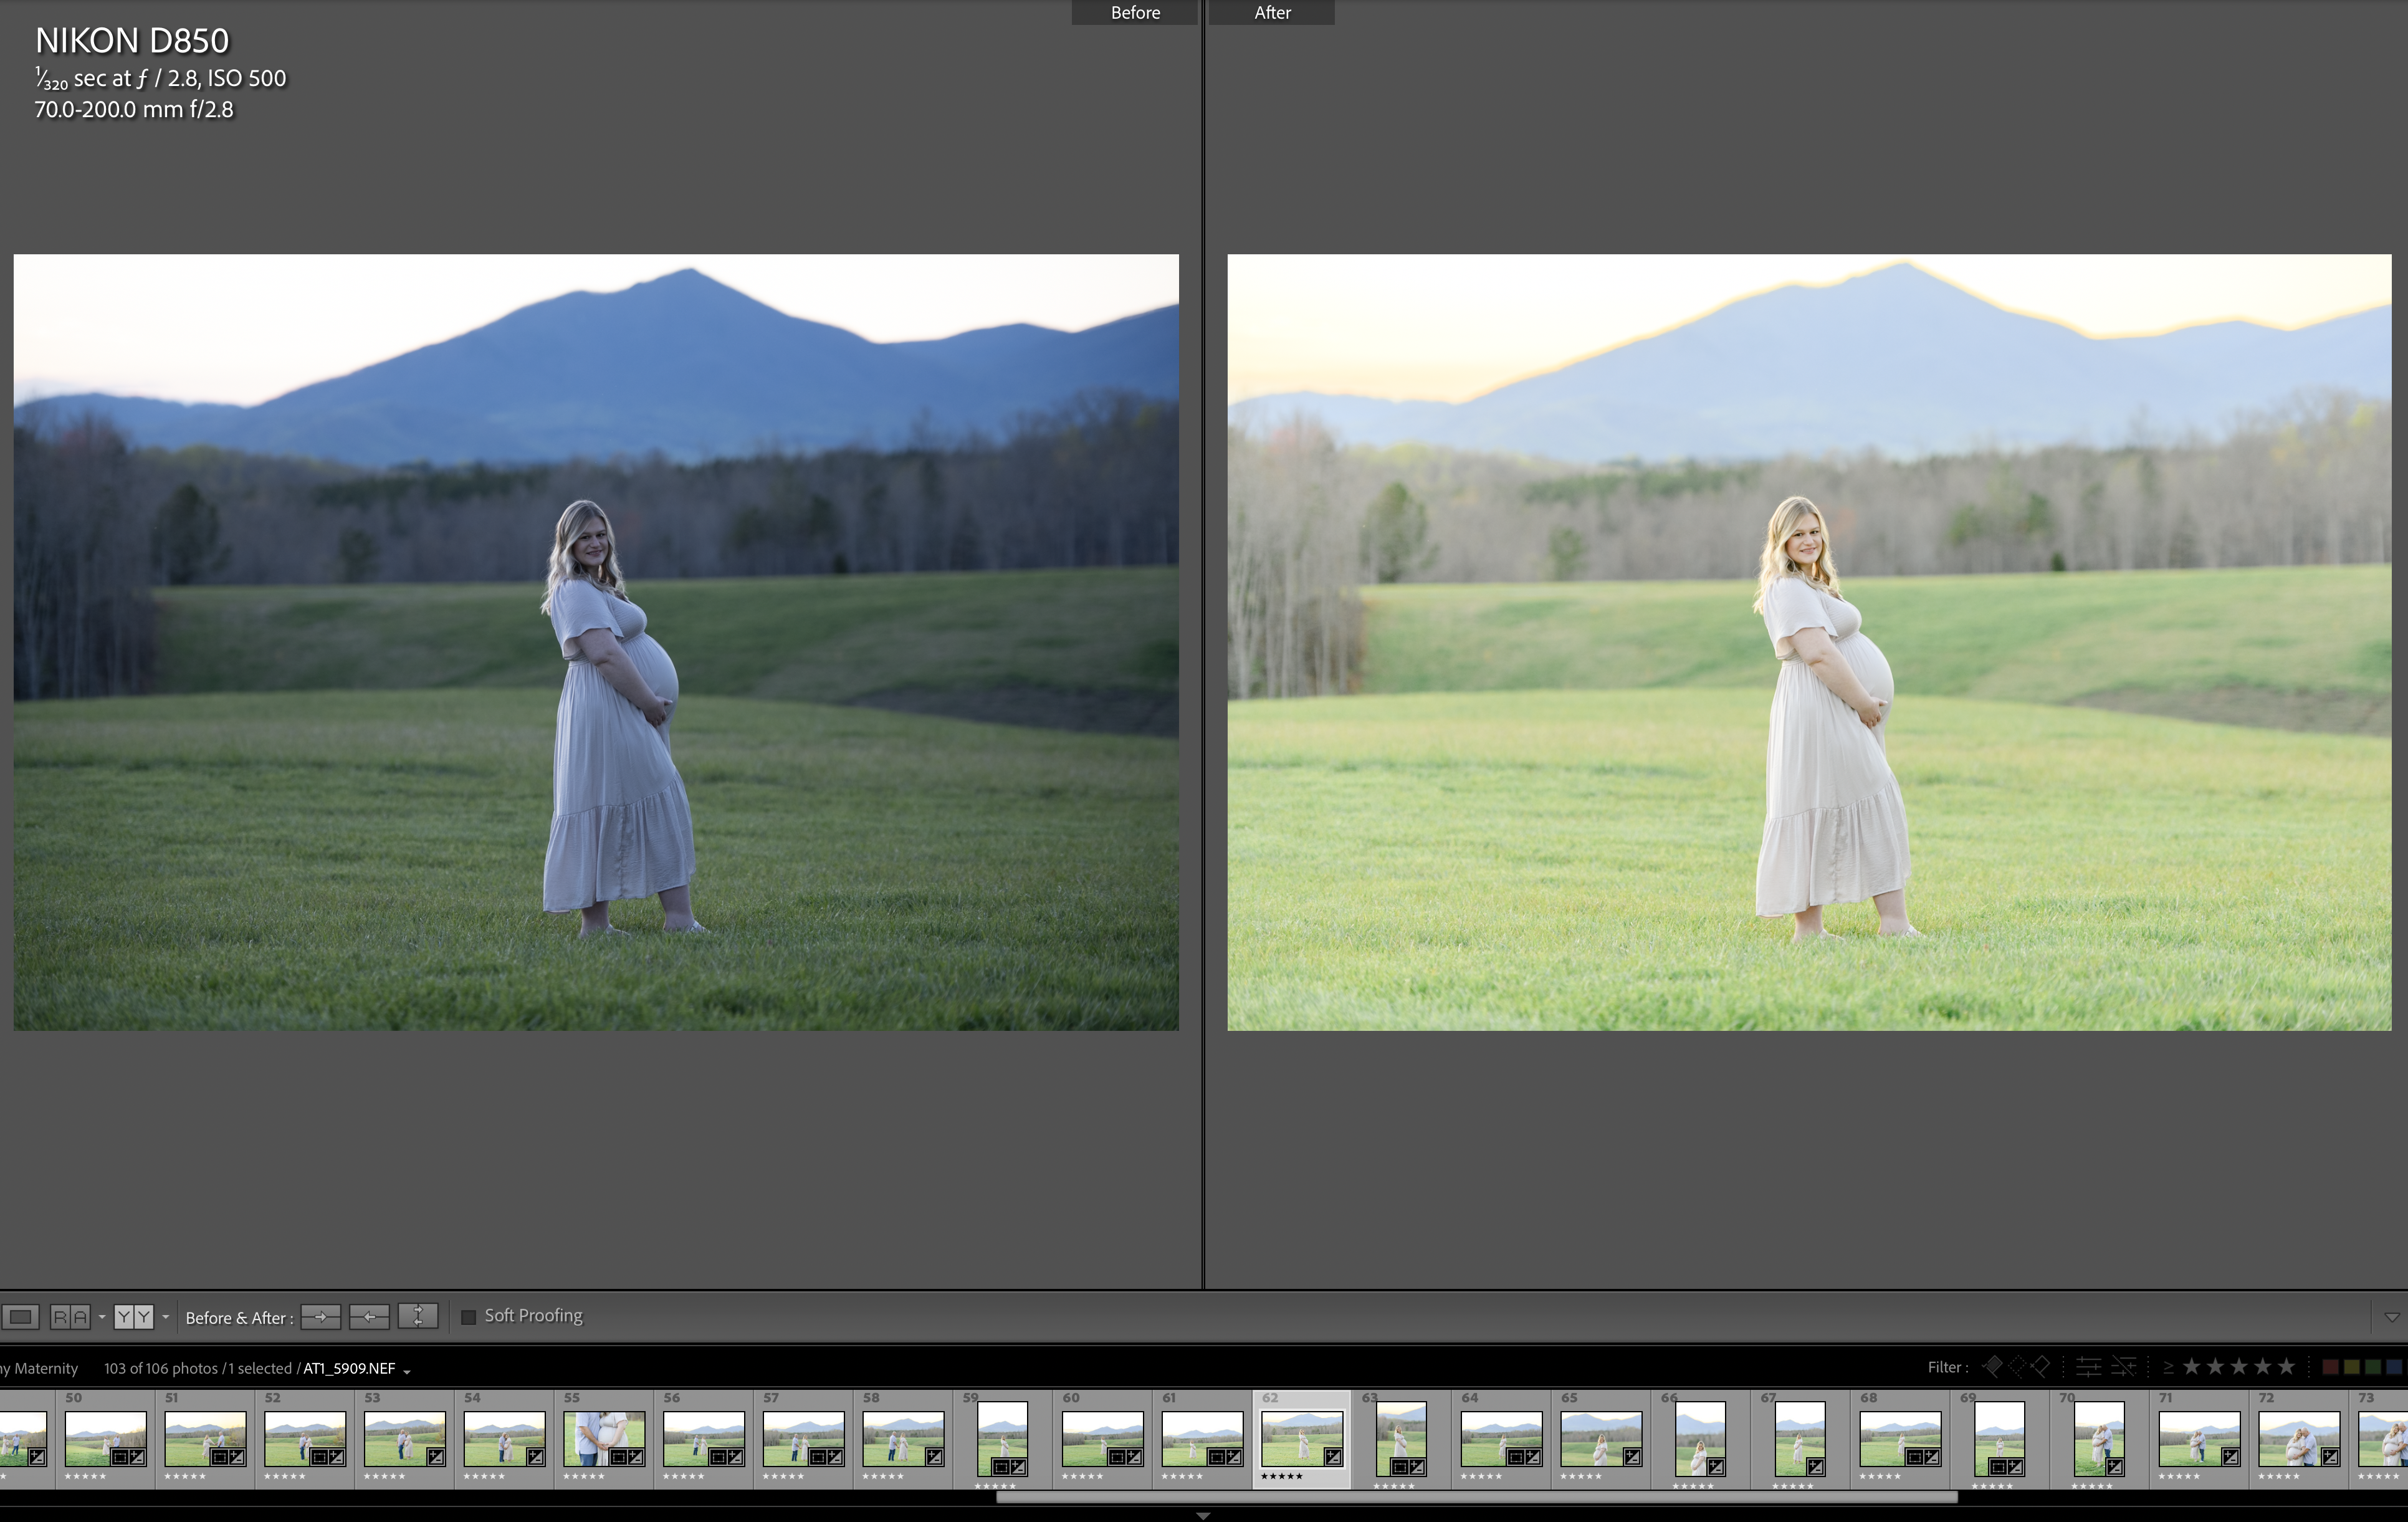
(Edited with the Bright & Clean AI Profile.)
So, if your images look more blue than normal, you probably need to adjust your white balance.
My first step is to change my white balance from auto to cloudy and take a test shot.
A lot of the time, the cloudy white balance will get rid of that blue tint in my photos.
However, if I’m still not happy with what I’m seeing on the back of my LCD screen, I then change my white balance to Kelvin.
I usually set my white balance to Kelvin 6200, take another test shot, and then make adjustments from there.
5. Edit Like a Pro Even on Cloudy Days
In the past, I would use the “Soft Shadows” preset from the Bright & Clean Preset Collection, which helped soften the contrast and lighten the shadows. It also gave my images a soft, warm edit with a little bit of pop, which is my signature style.
Now, I use the Bright & Clean Imagen AI Profile.
It gives me the same results but in a fraction of the time that I used to spend editing my galleries.
Imagen AI uses artificial intelligence to edit my images in my classic bright & clean style in MINUTES.
While a full wedding gallery may take between 20-30 minutes to edit, a portrait or engagement session will take as little as 5 minutes.
Give it a try and see for yourself! 👉 Get 2,000 free edits with this link.
And this is how you master the light and airy style on cloudy days!
Let me know if these tips work for you, and make sure to send this blog post to a photographer friend who might find it helpful as well!

Yes, I want to automate my editing! >>


