Are you photographing your first wedding soon? This is part two of the Tips for Shooting Your First Wedding series! In today’s blog post we’re going to focus on photographing the ceremony, portraits (bride & groom, family formals, bridal party), and reception. Let’s start with the ceremony!
The Ceremony
If this is your first time photographing a wedding, here are a few key shots that you need to make sure you photograph:
- the processional
- the bride walking down the aisle
- the groom’s reaction
- a back shot of the bride walking down the aisle
- the first kiss
- a wide ceremony shot of the guests
- the recessional
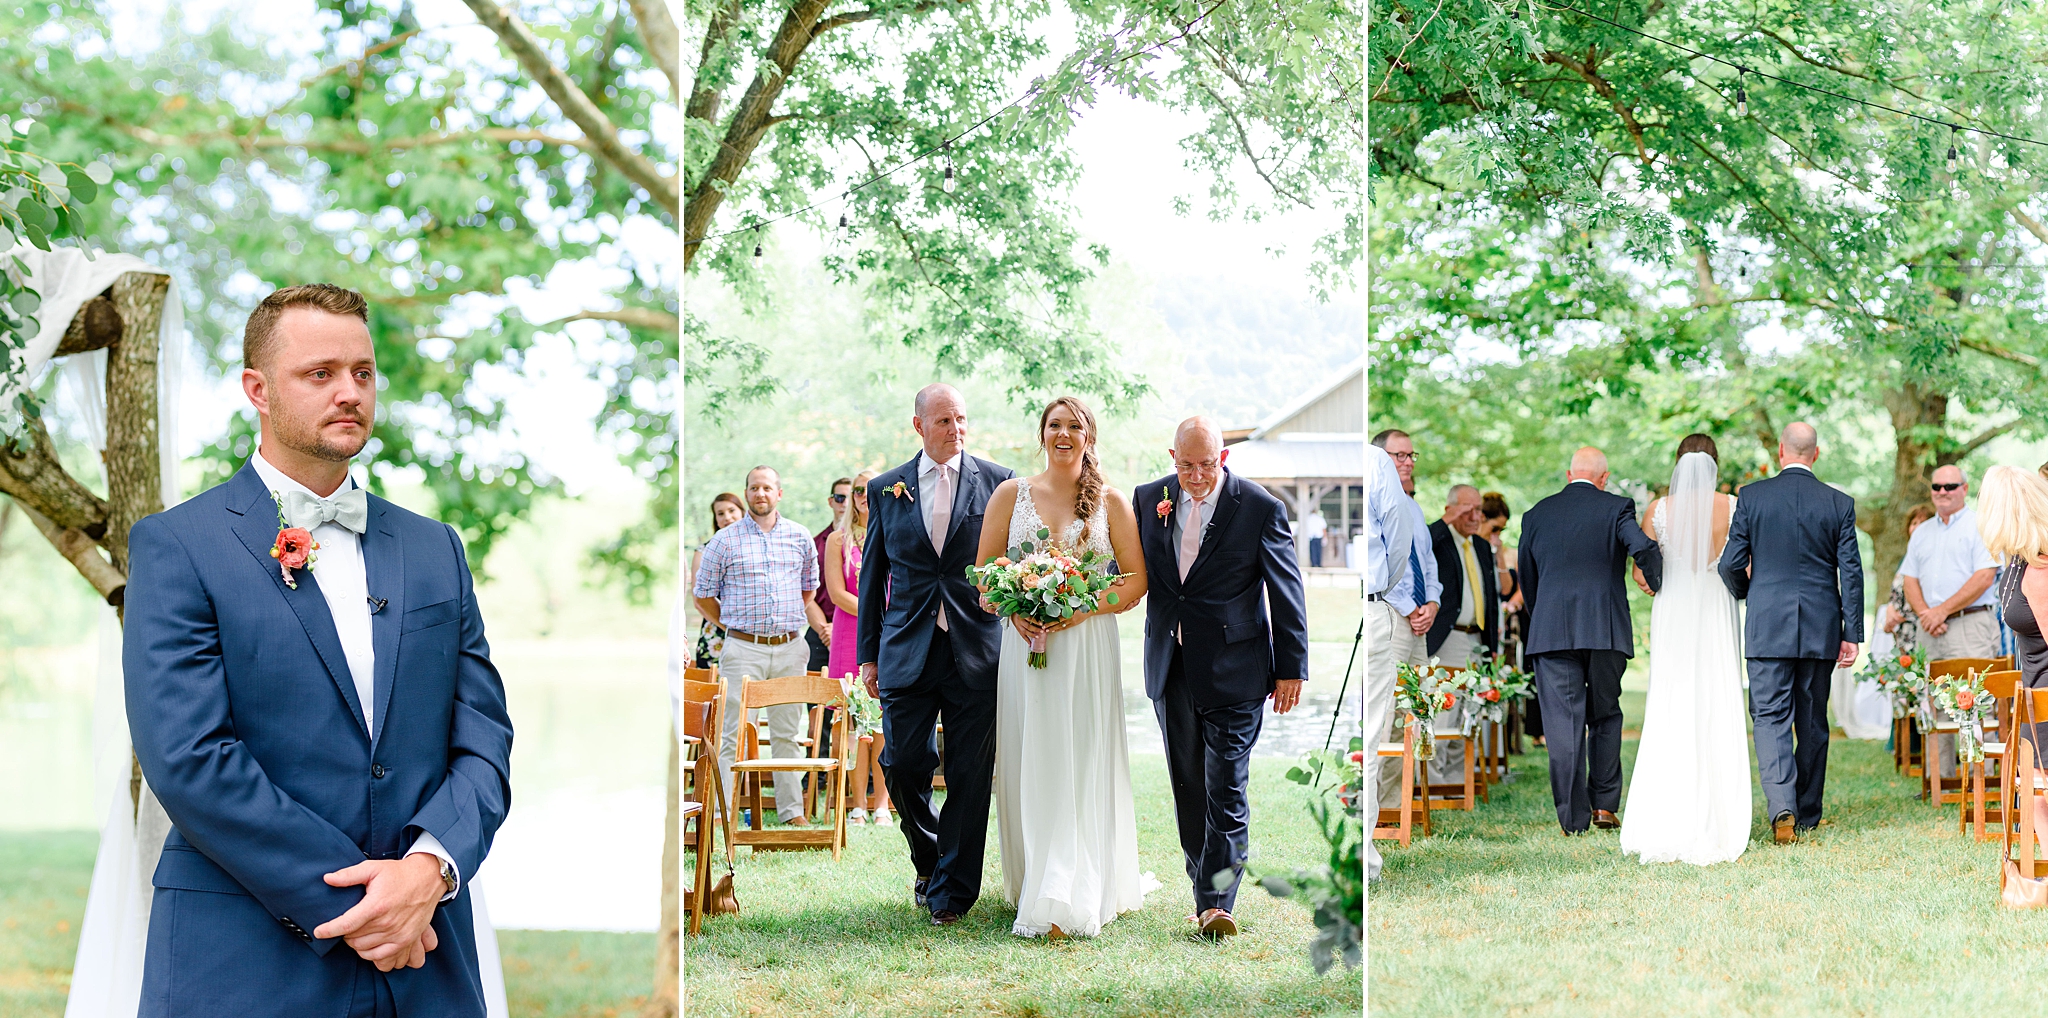
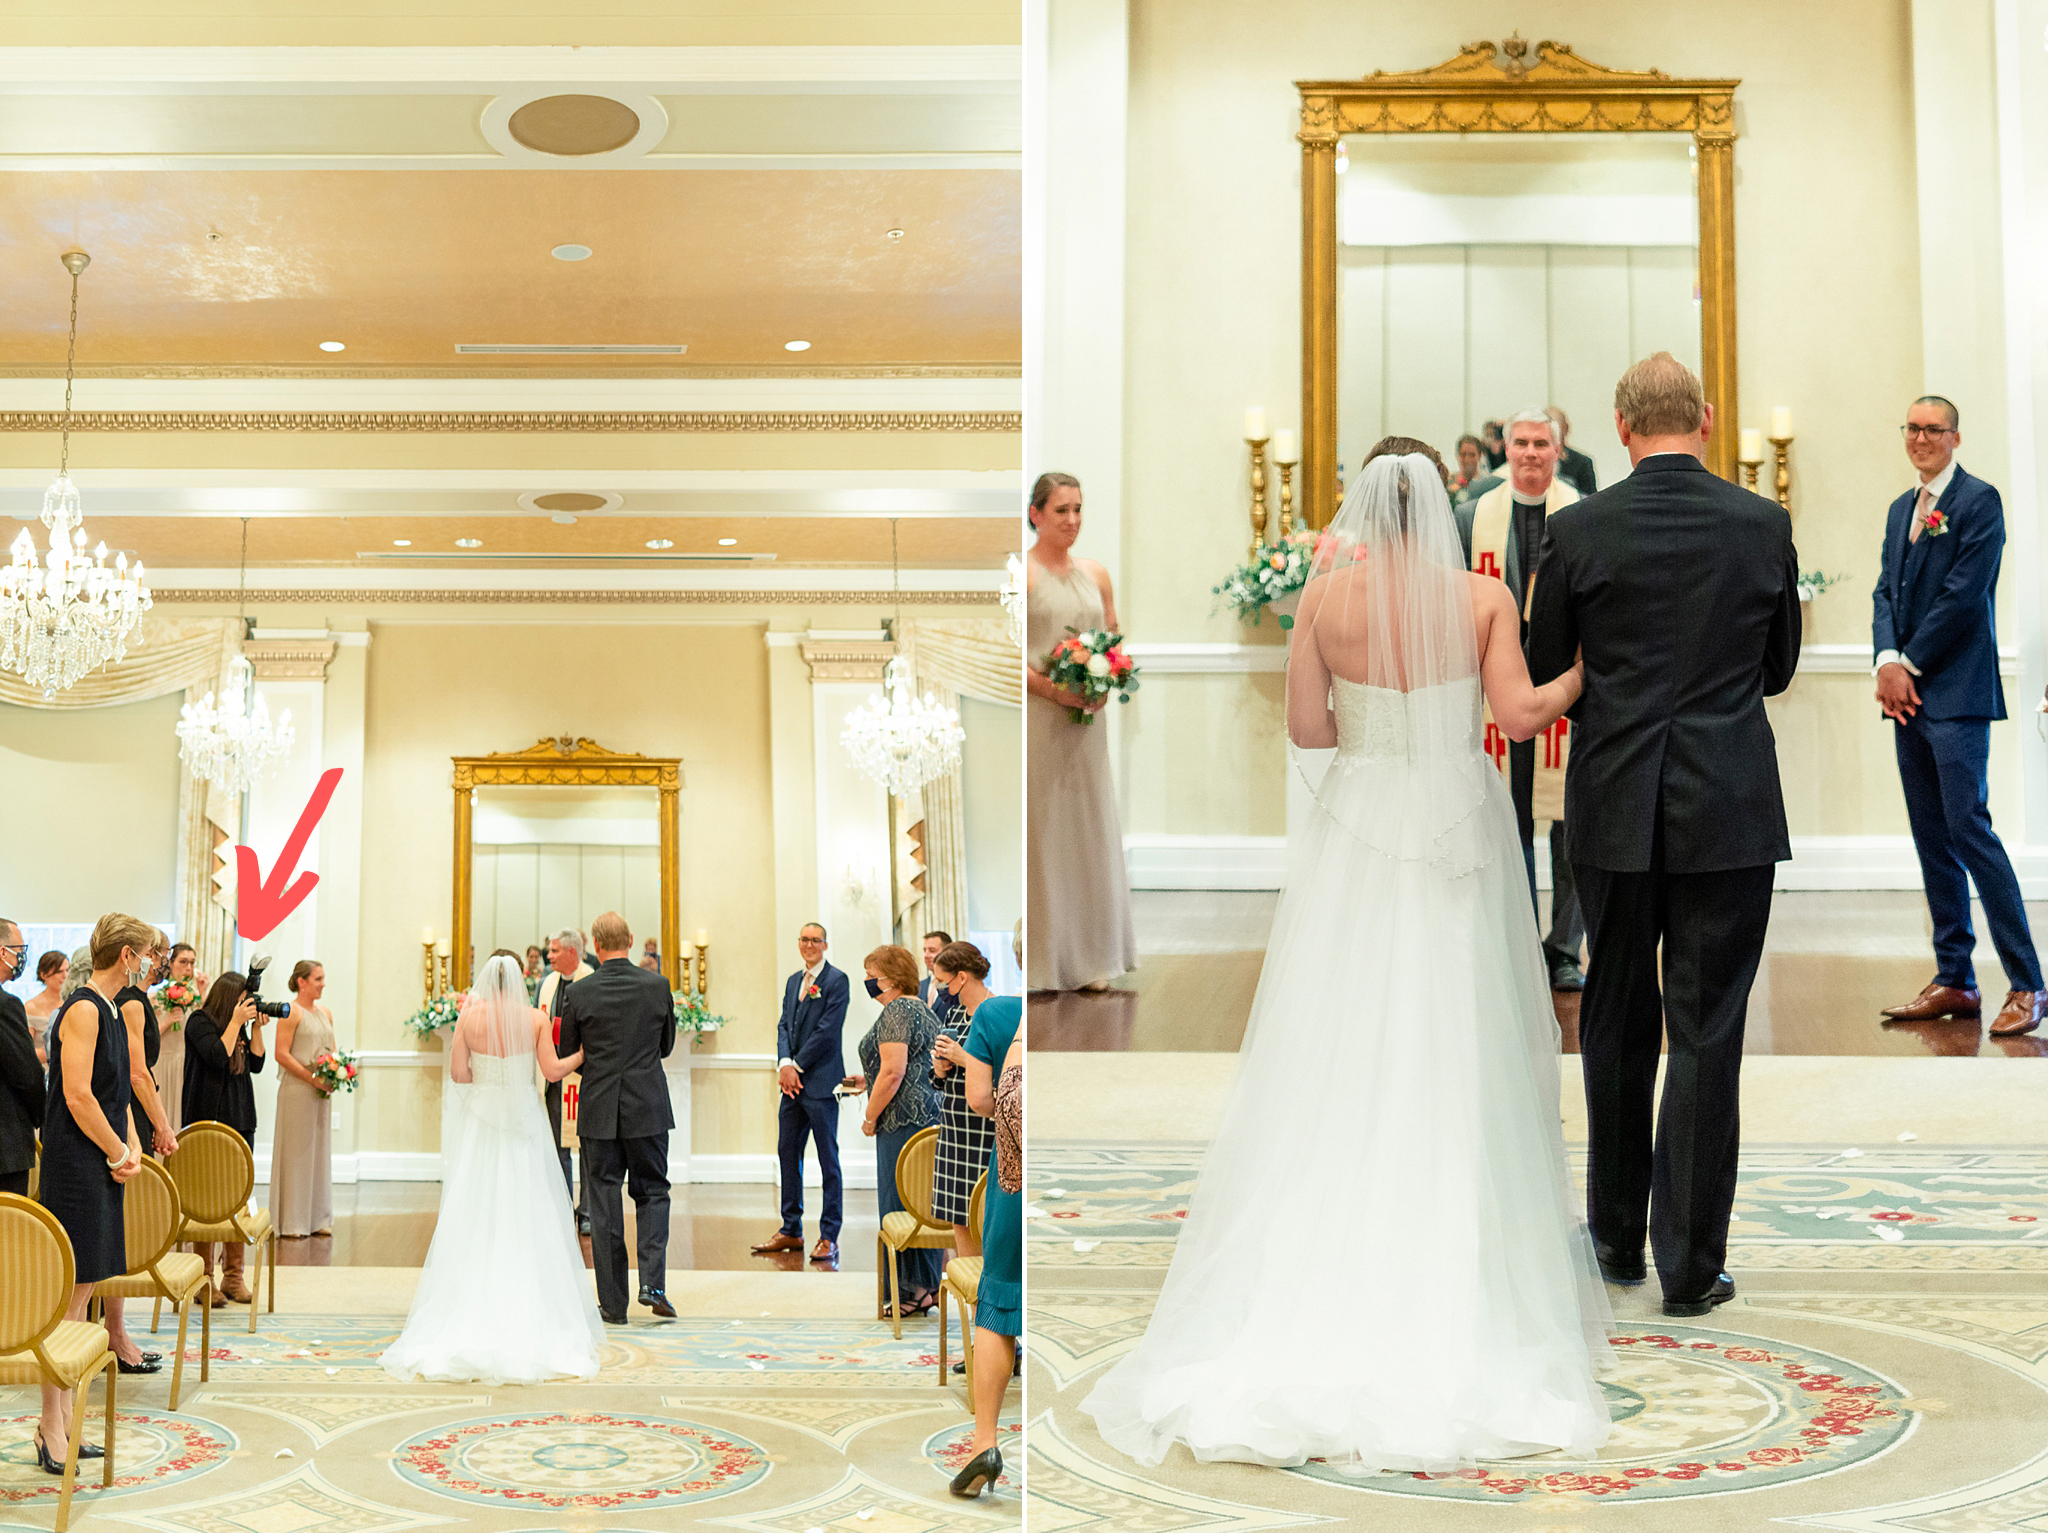
I usually stand in front of the first row to get the “walking down the aisle” and “groom’s reaction” shots, while my second shooter focuses on the back shot of the bride walking down the aisle. As soon as the bride gets to the altar, I walk around to the back and stay there until the first kiss. I use my 70-200mm lens to photograph ceremonies because I like to be as far away as possible so that I’m not disruptive.
The Portraits
Family Formals
We go into family formals as soon as the ceremony is over while everyone is still there. I like to start with the grandparents so they don’t have to stand for long periods of time. If you read Tips for Shooting Your First Wedding Part 1, you know that I already have a list of everyone’s names so things are organized and go smoothly. One tip for shooting a group standing in a single row, but in a semi-circle instead of a straight line (this happens a lot during family formals), is to always focus on the person closest to the camera to ensure that everyone is in focus. The reason for this is that the depth of field (how much of your image is in focus) extends approximately 1/3 in front of your focus point and 2/3 behind it. So by focusing on the person closest to the camera, this will ensure that the people who are slightly behind will still be in focus. For group shots, I like to use an aperture of f/3.2-f/3.5.
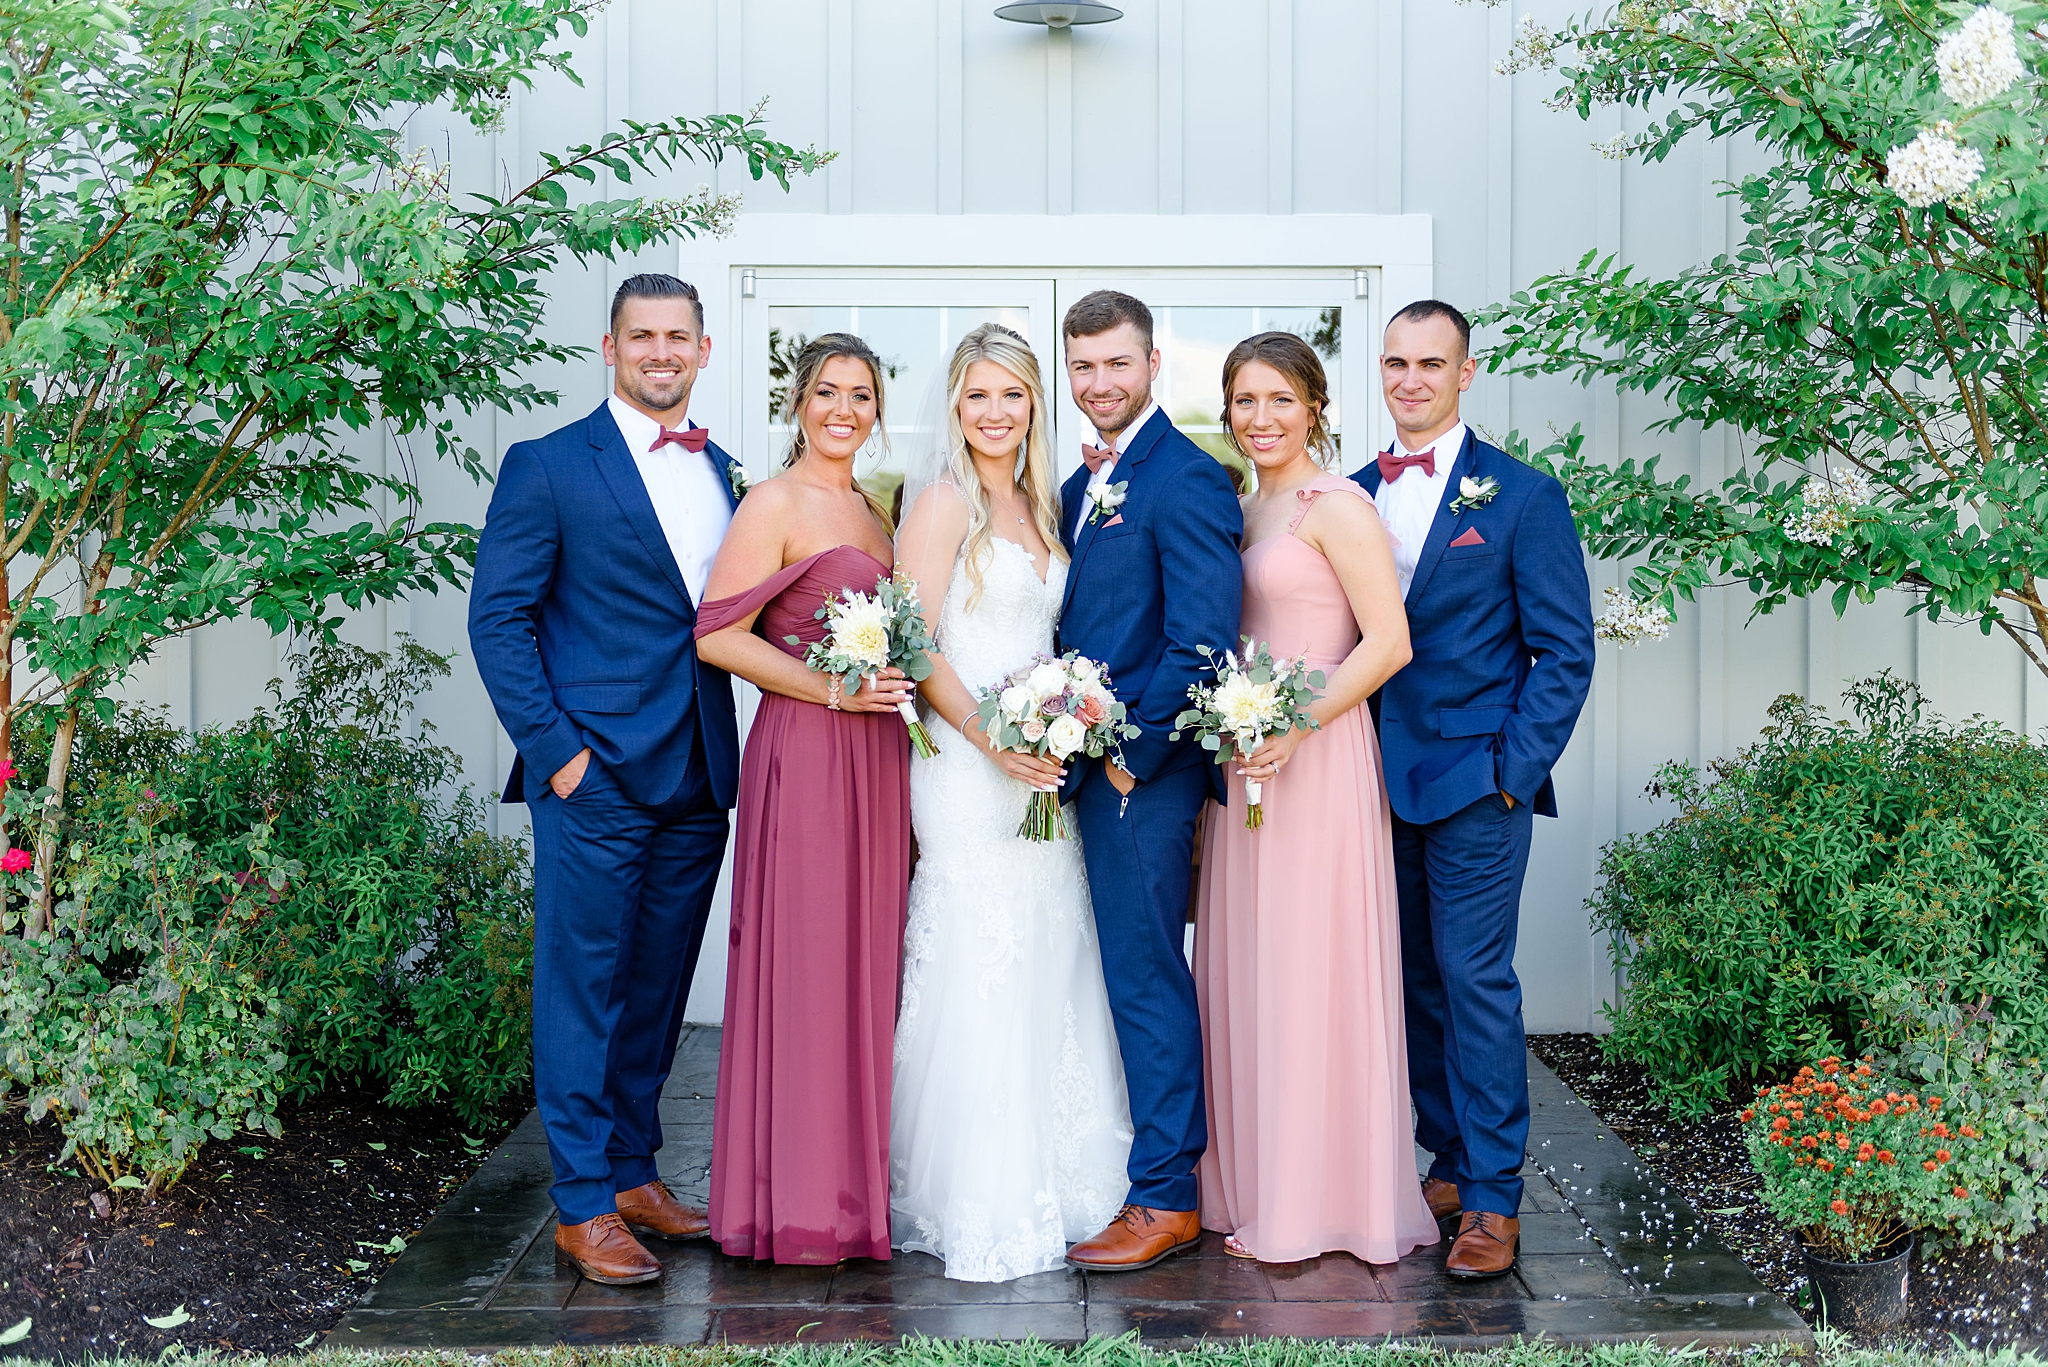
(Pro Tip: Ask the guys to put their hands in their pockets.)
If you need more help with focus, you can read my How to Get Everyone in Focus During Group Photos blog post.
Bridal Party
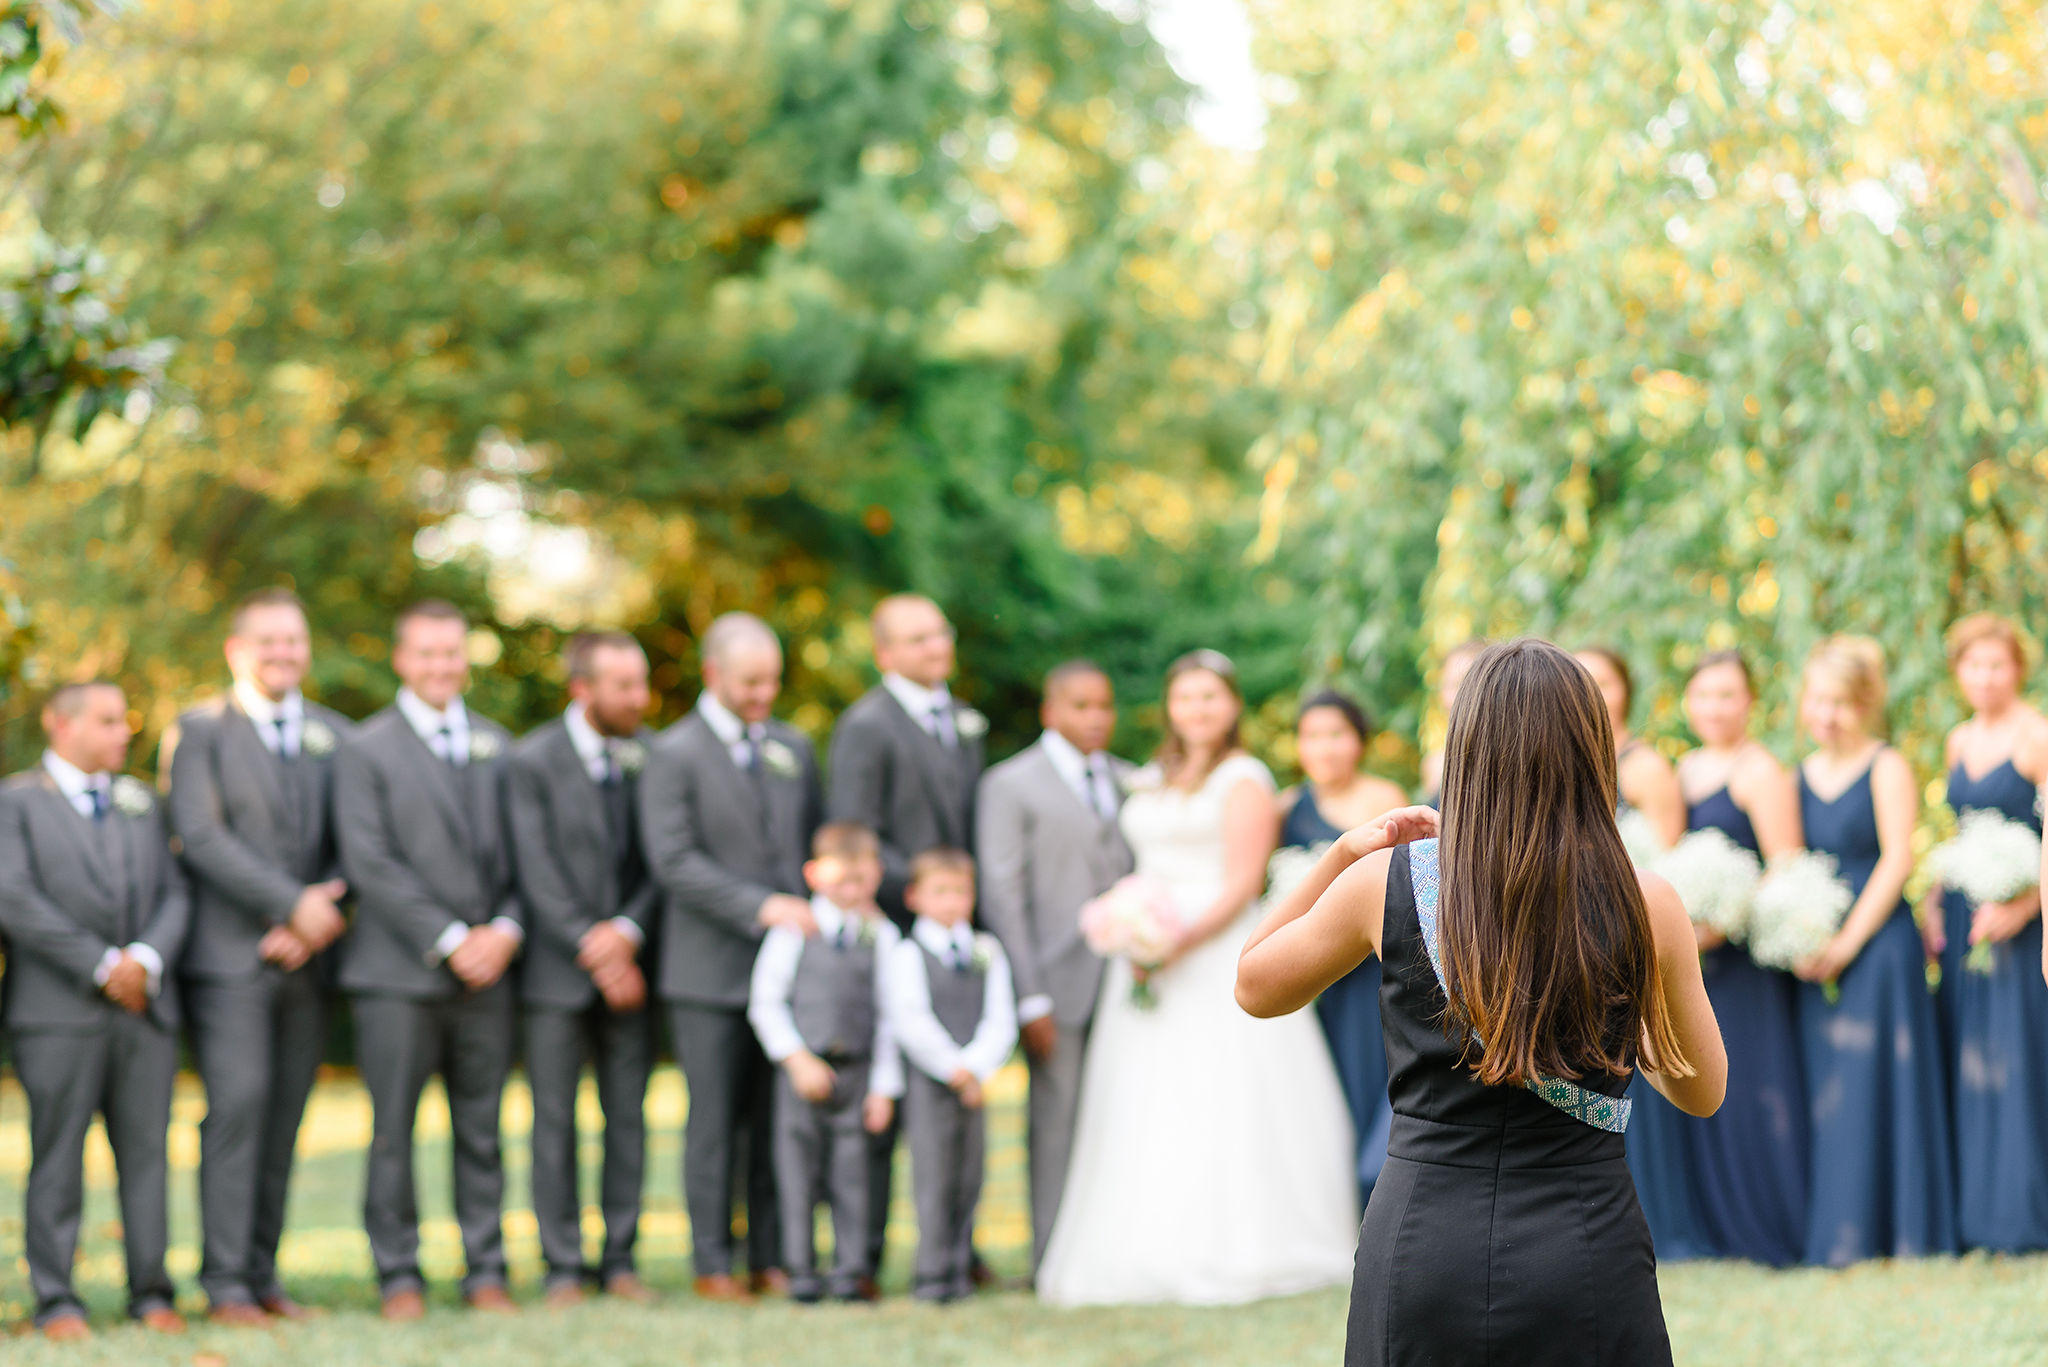
Bridal parties can be challenging to photograph depending on the size. My best tip is to be assertive and in control. I know it sounds intimidating, especially if you’re an introvert like me, but if you don’t look like you “know what you’re doing”, they are not going to listen to you. What I like to say is “Guys, I know it’s hot/cold and that you want to go enjoy the reception, so I’m going to make this really quick. Let’s start with….” That usually gets their attention and cooperation. I like to use an aperture of f/3.2-f/3.5 to photograph bridal parties.
Bride & Groom Portraits
I like to use an aperture of f/2-f/2.2 for bride and groom portraits. Remember that if it’s an overcast day, you’ll want to have your subjects face the sun. If it’s a sunny day and you’re shooting outside with no shade, have your subject face their shadow. Use light backgrounds (white porch, grey building, etc.) for a more light and airy style. Avoid busy backgrounds as much as possible. Have a few core poses in the back of your mind at all times. Your clients will feel more at ease if they know that you are in control. For more posing help, you can check out these blog posts:
- 3 Easy Tips for Posing the Bride on a Wedding Day
- 5 Easy Tips for Posing the Groom on a Wedding Day
- 3 Secret Posing Tips Every Photographer Needs to Know
- One Foolproof Way to Improve Your Posing TODAY
The Reception
Make sure to get to the reception area before the guests arrive so that you can photograph the decor untouched. Take table shots, close ups of the center pieces, the sweetheart table, a wide shot of the reception room, etc.
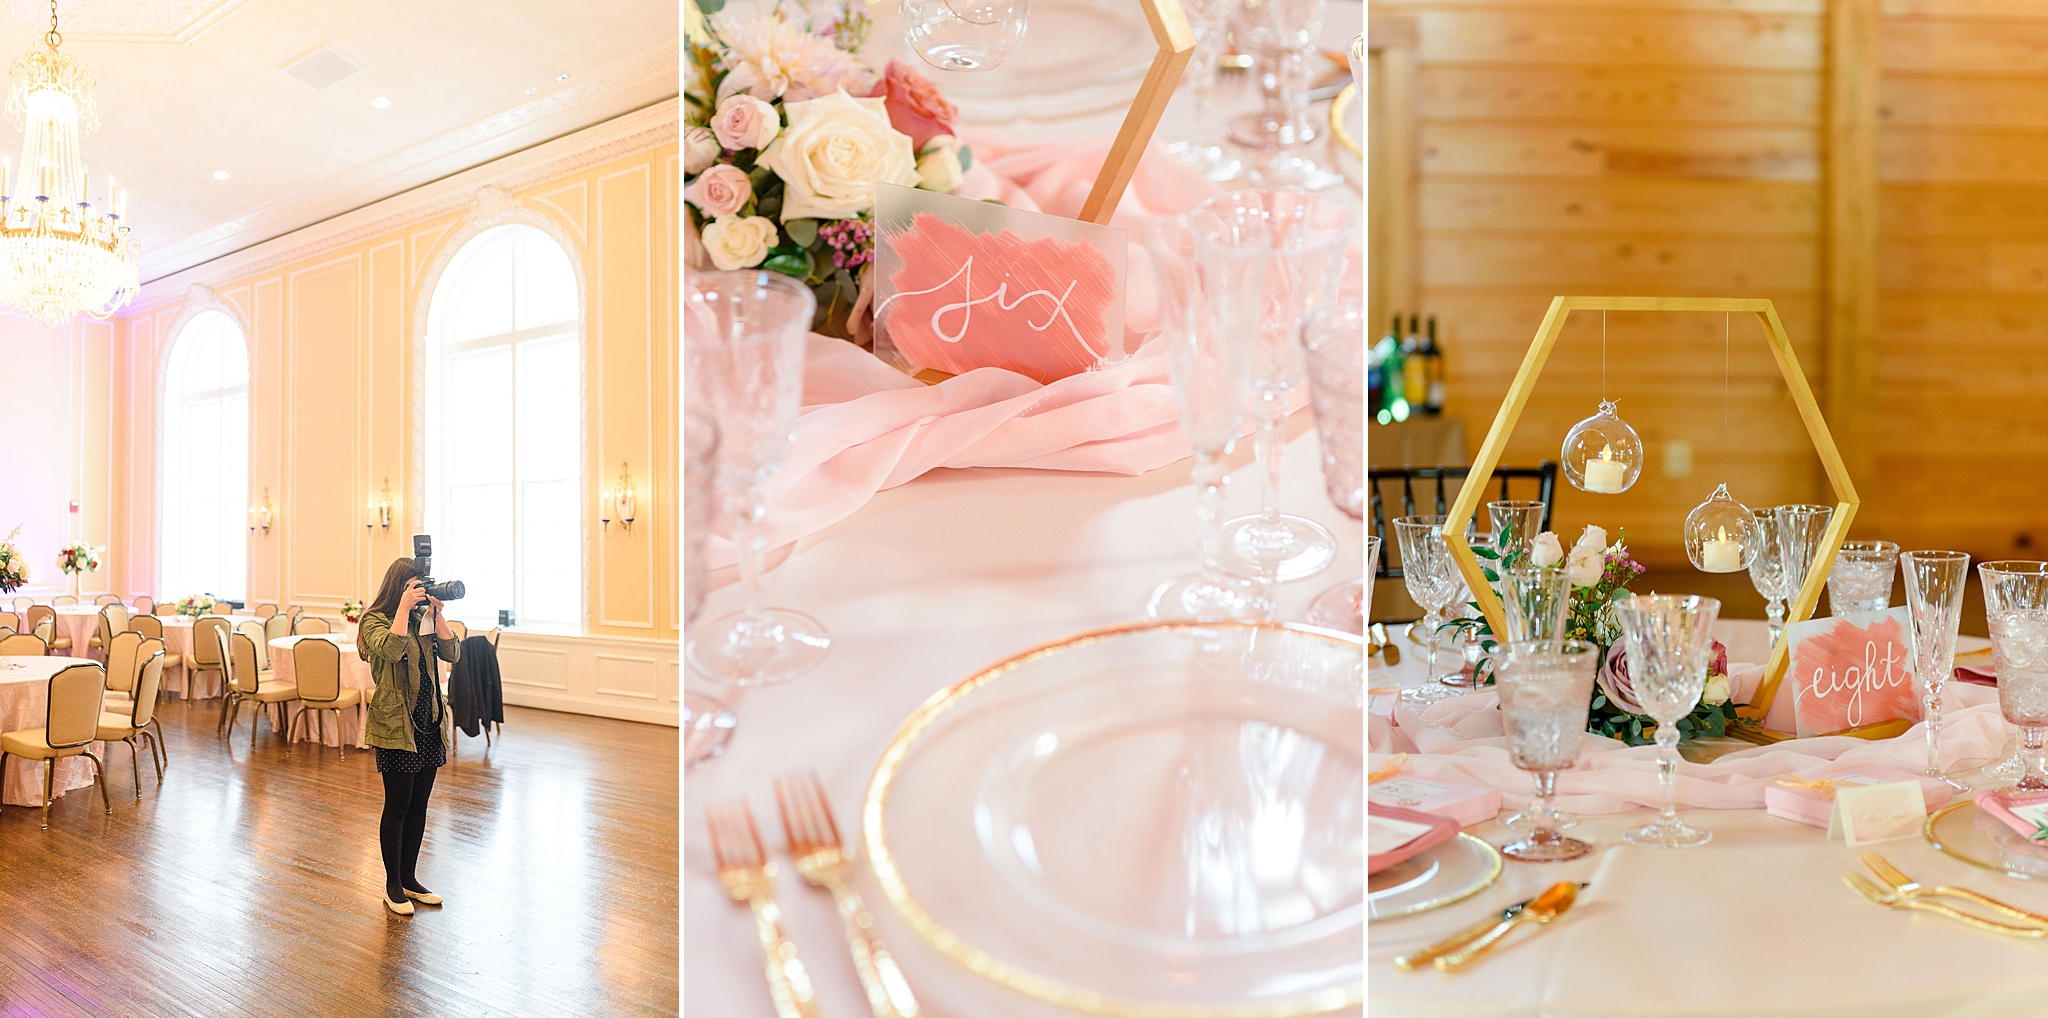
Also, there are a few key moments that you’ll want to make sure you capture:
- the introductions
- bride and groom first dance
- father-daughter dance
- mother-son dance
- cake cutting
I like to use my 24-70mm lens during the reception because it allows me to go from shooting tight shots on the dance floor, to shooting wide group portraits when guests or family members request them. If I were to shoot with a prime lens, I wouldn’t have the same flexibility in switching back and forth so quickly.
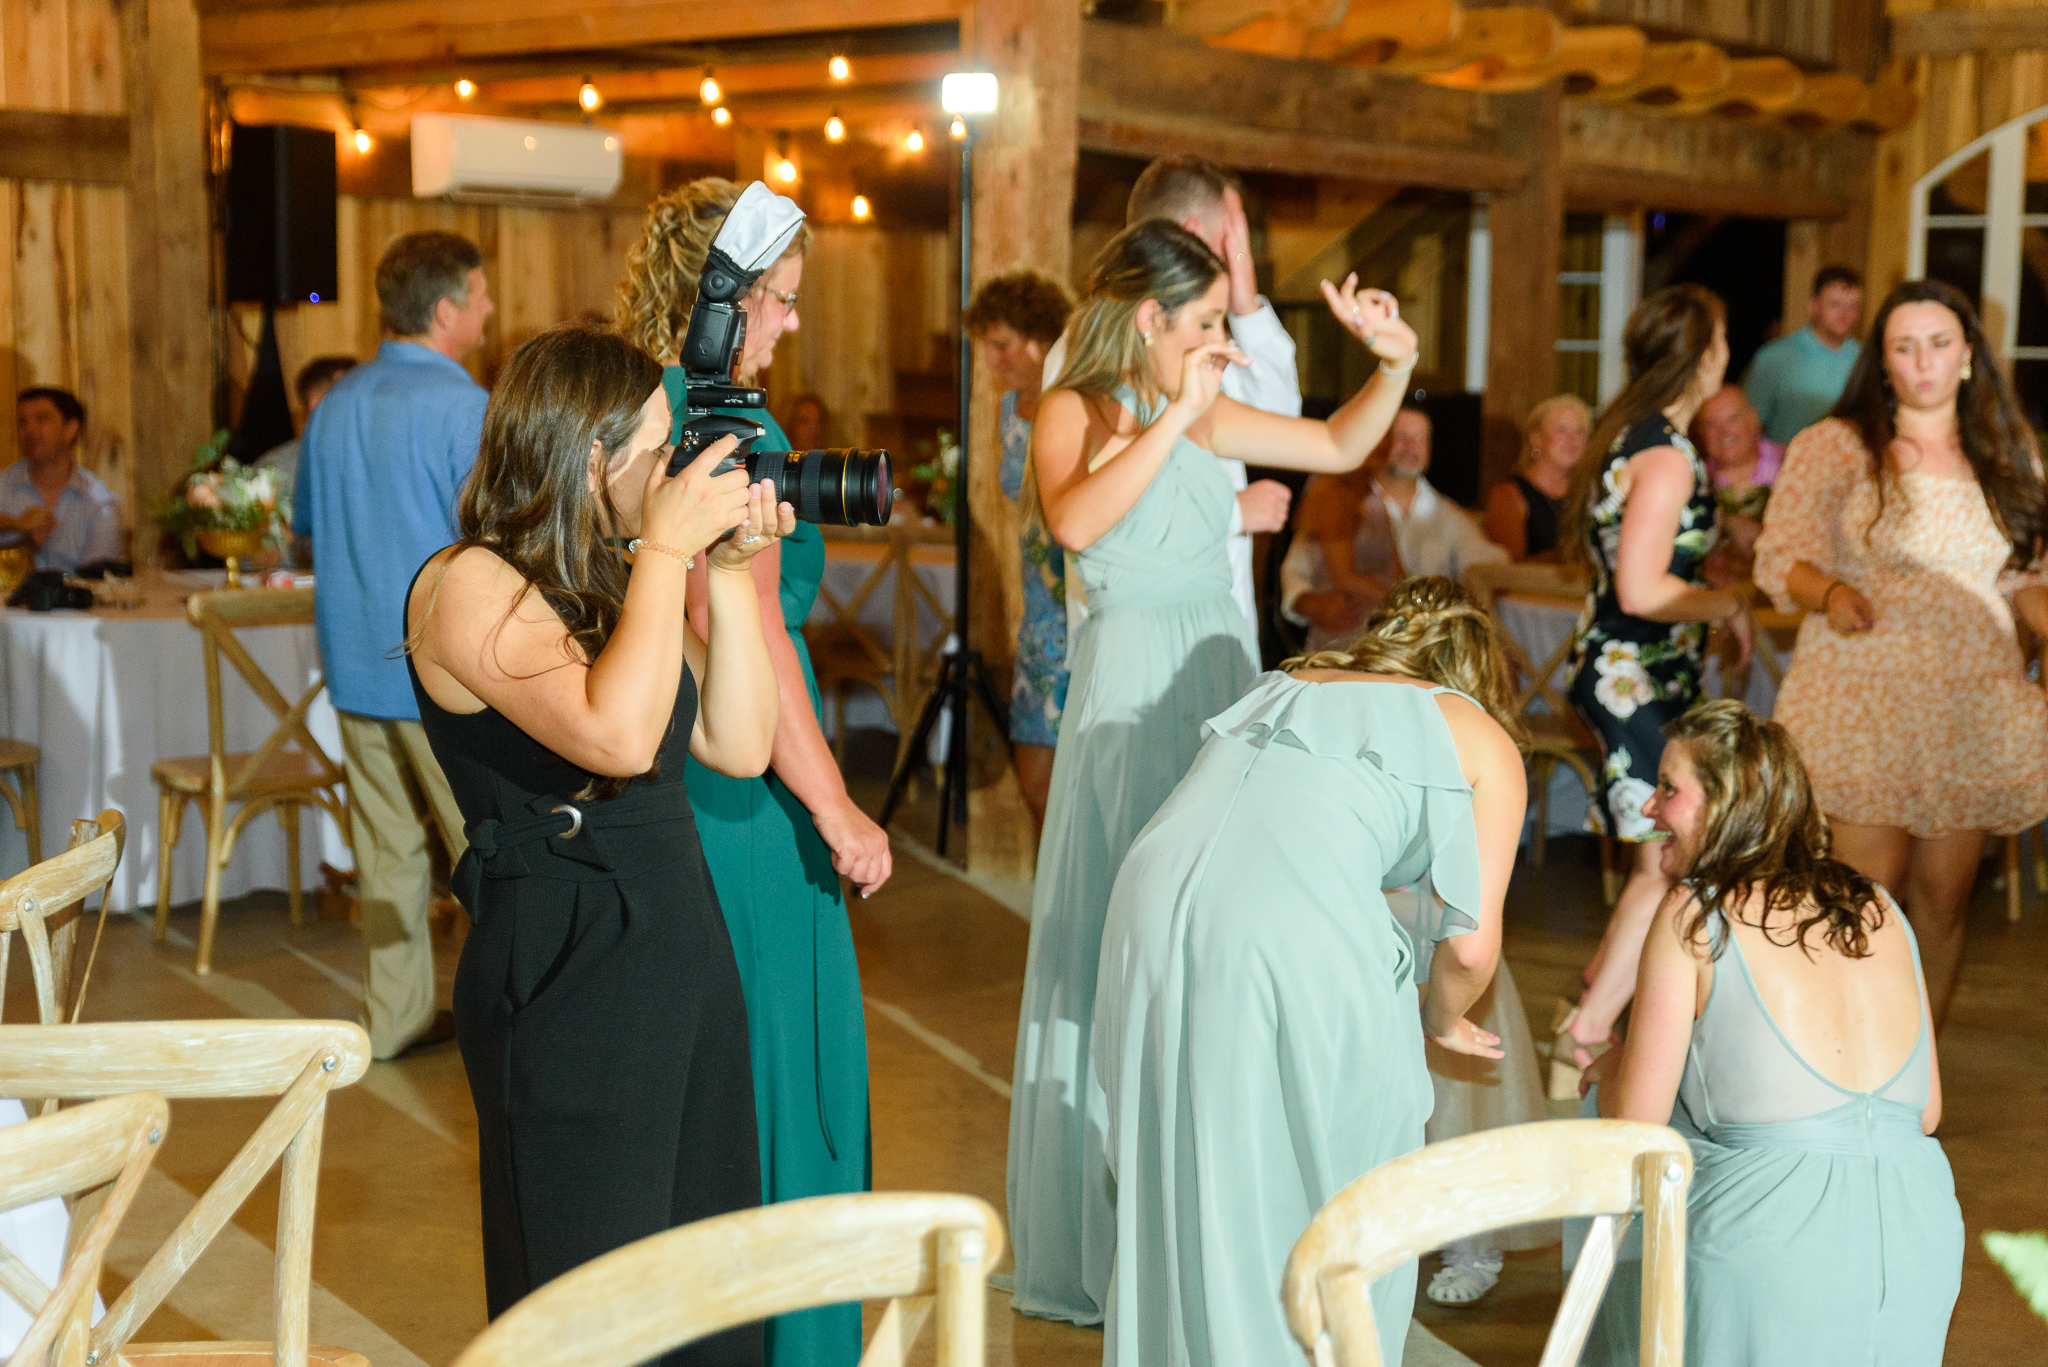
I usually have one flash on camera and one on a light stand in a corner (often times I also use a white reflective umbrella to soften the light). Remember not to go over 250 shutter speed when using a flash because it can cause a black bar to appear at the bottom of your images. Flash freezes motion, so your images won’t be blurry unless there’s a lot of movement happening.
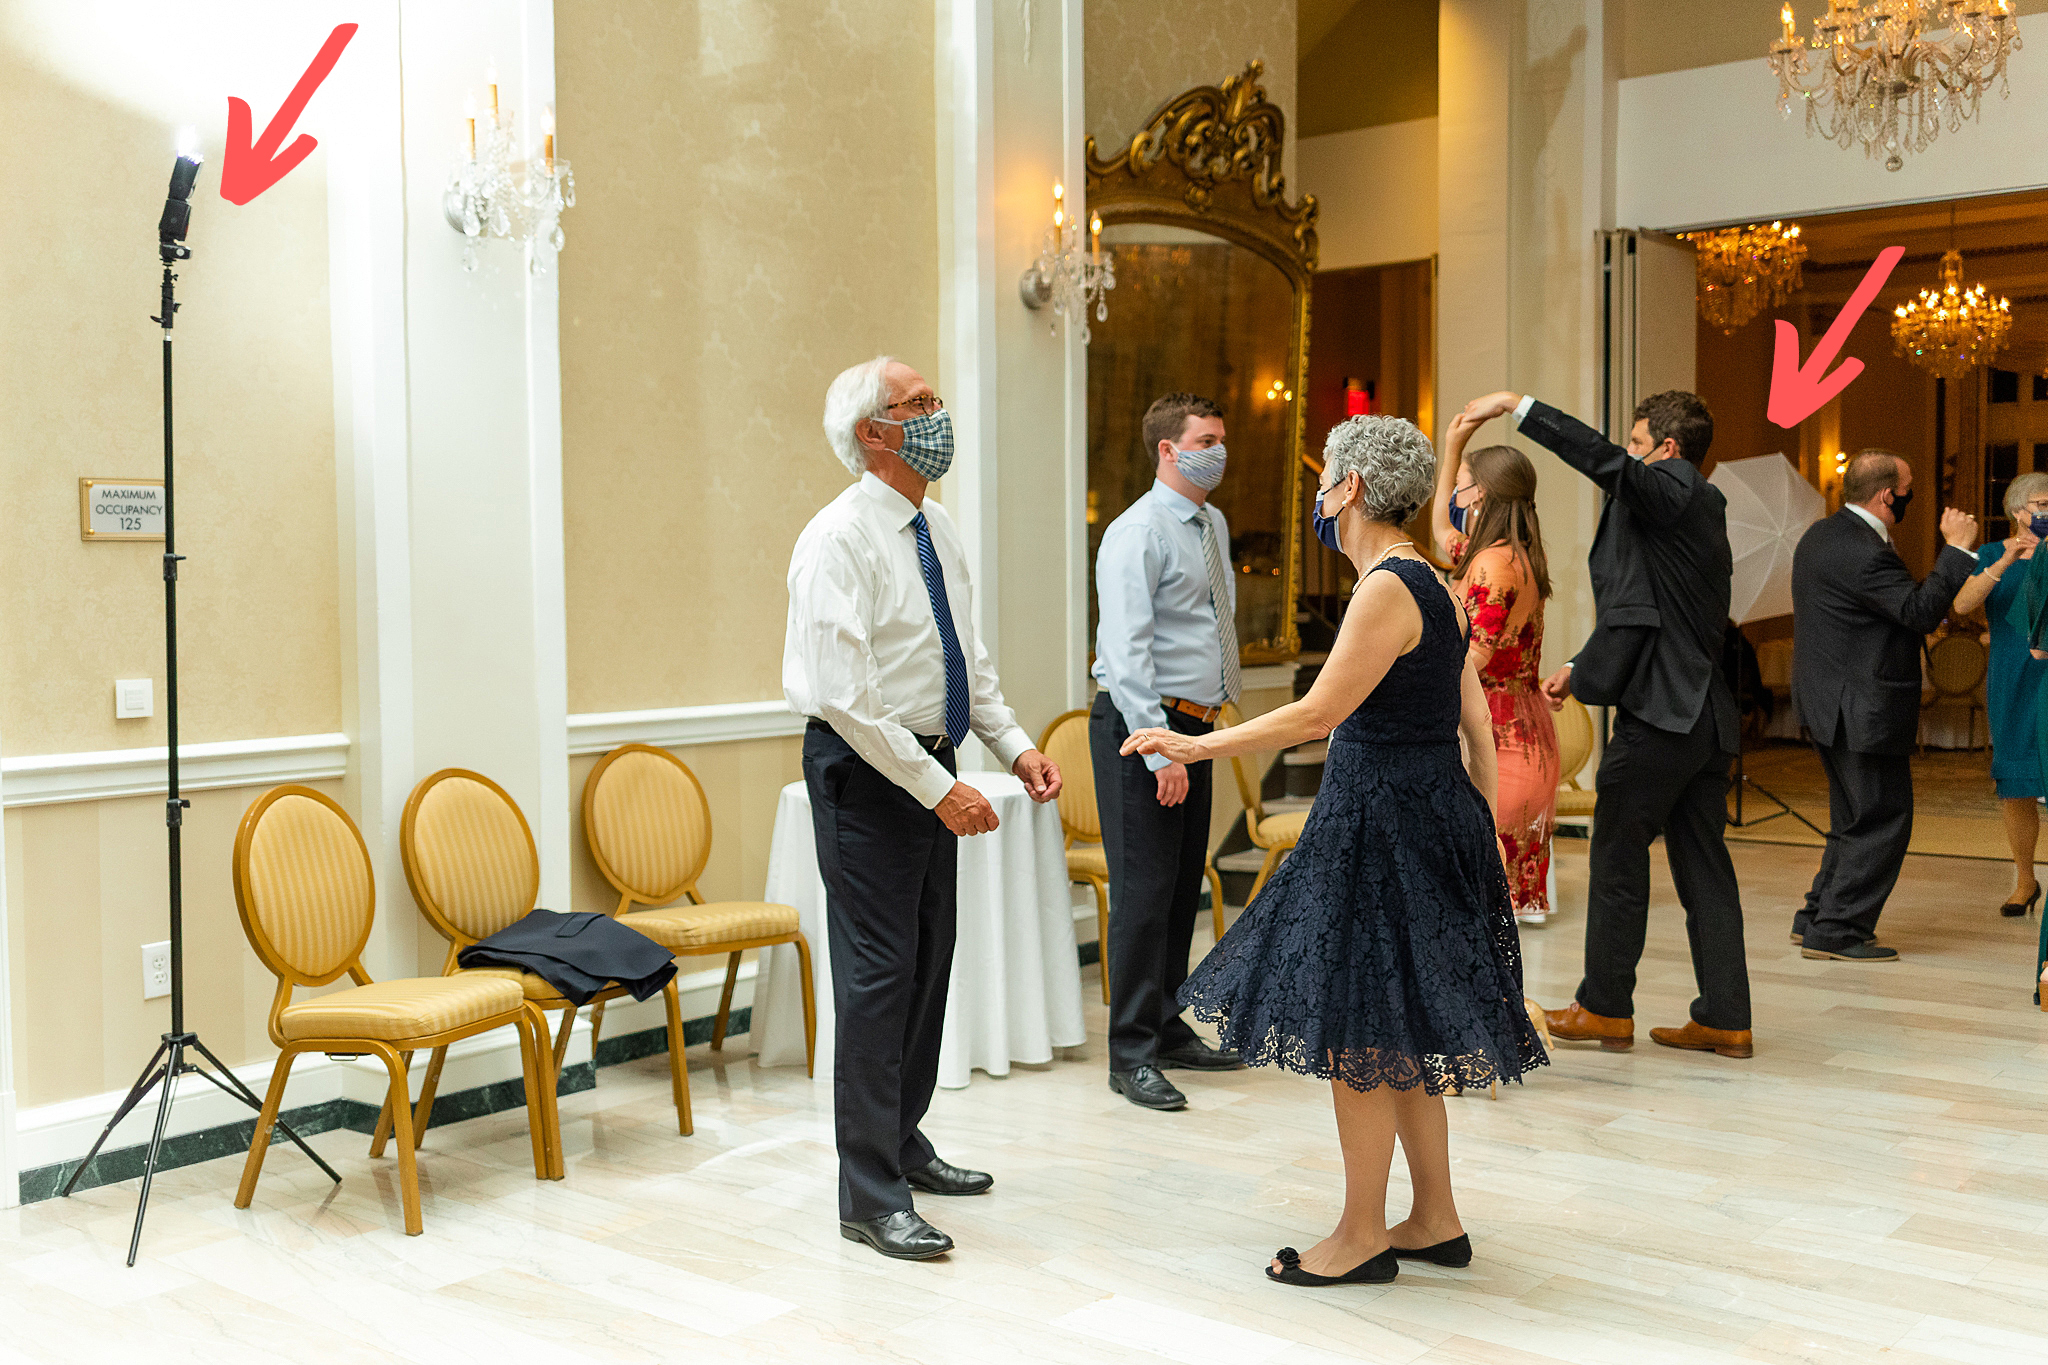
If you need more help with shooting flash, these blog posts might help:
I hope this is helpful if you’re photographing your first wedding soon and that you enjoyed my Tips for Shooting Your First Wedding series (don’t forget to check out part 1 if you haven’t already)!