

Creating those dramatic black and white photos that stir up emotions is easier than you might think. Let’s break it down together!
Why Black & White?
I personally only switch to black and white in two specific scenarios:
- when I want to intensify the emotional impact
- when I need to save an image from tricky lighting situations or blown-out highlights
The reason for this is that no matter how amazing the black and white image turns out to be, 9/10 times the client will ask for the original image as well. With that being said, I will always include both the color and black and white versions in the final gallery.
For me, some of the most impactful black and white photos are the ones I take during the getting ready part of a wedding day. And, let’s get real. Weddings can throw us into some tricky situations, especially during the getting ready chaos. Small rooms, weird lighting–you know the drill. However, a black and white makeup shot is a high impact image because it focuses on the excitement and nervousness the bride is feeling before walking down the aisle.
How to Go from Okay to WOW
No matter what presets you use in Lightroom, this level of dramatic effect can only be achieved in Photoshop (in my opinion). But don’t worry, it’s super easy to create even if you’ve never used Photoshop before. Here is my secret to turning a regular picture into a dramatic black and white image!
Step 1: Bring Your Image into Photoshop and Create a New Layer
If you’re using Lightroom, right-click on the image and select “Edit in Adobe Photoshop.”
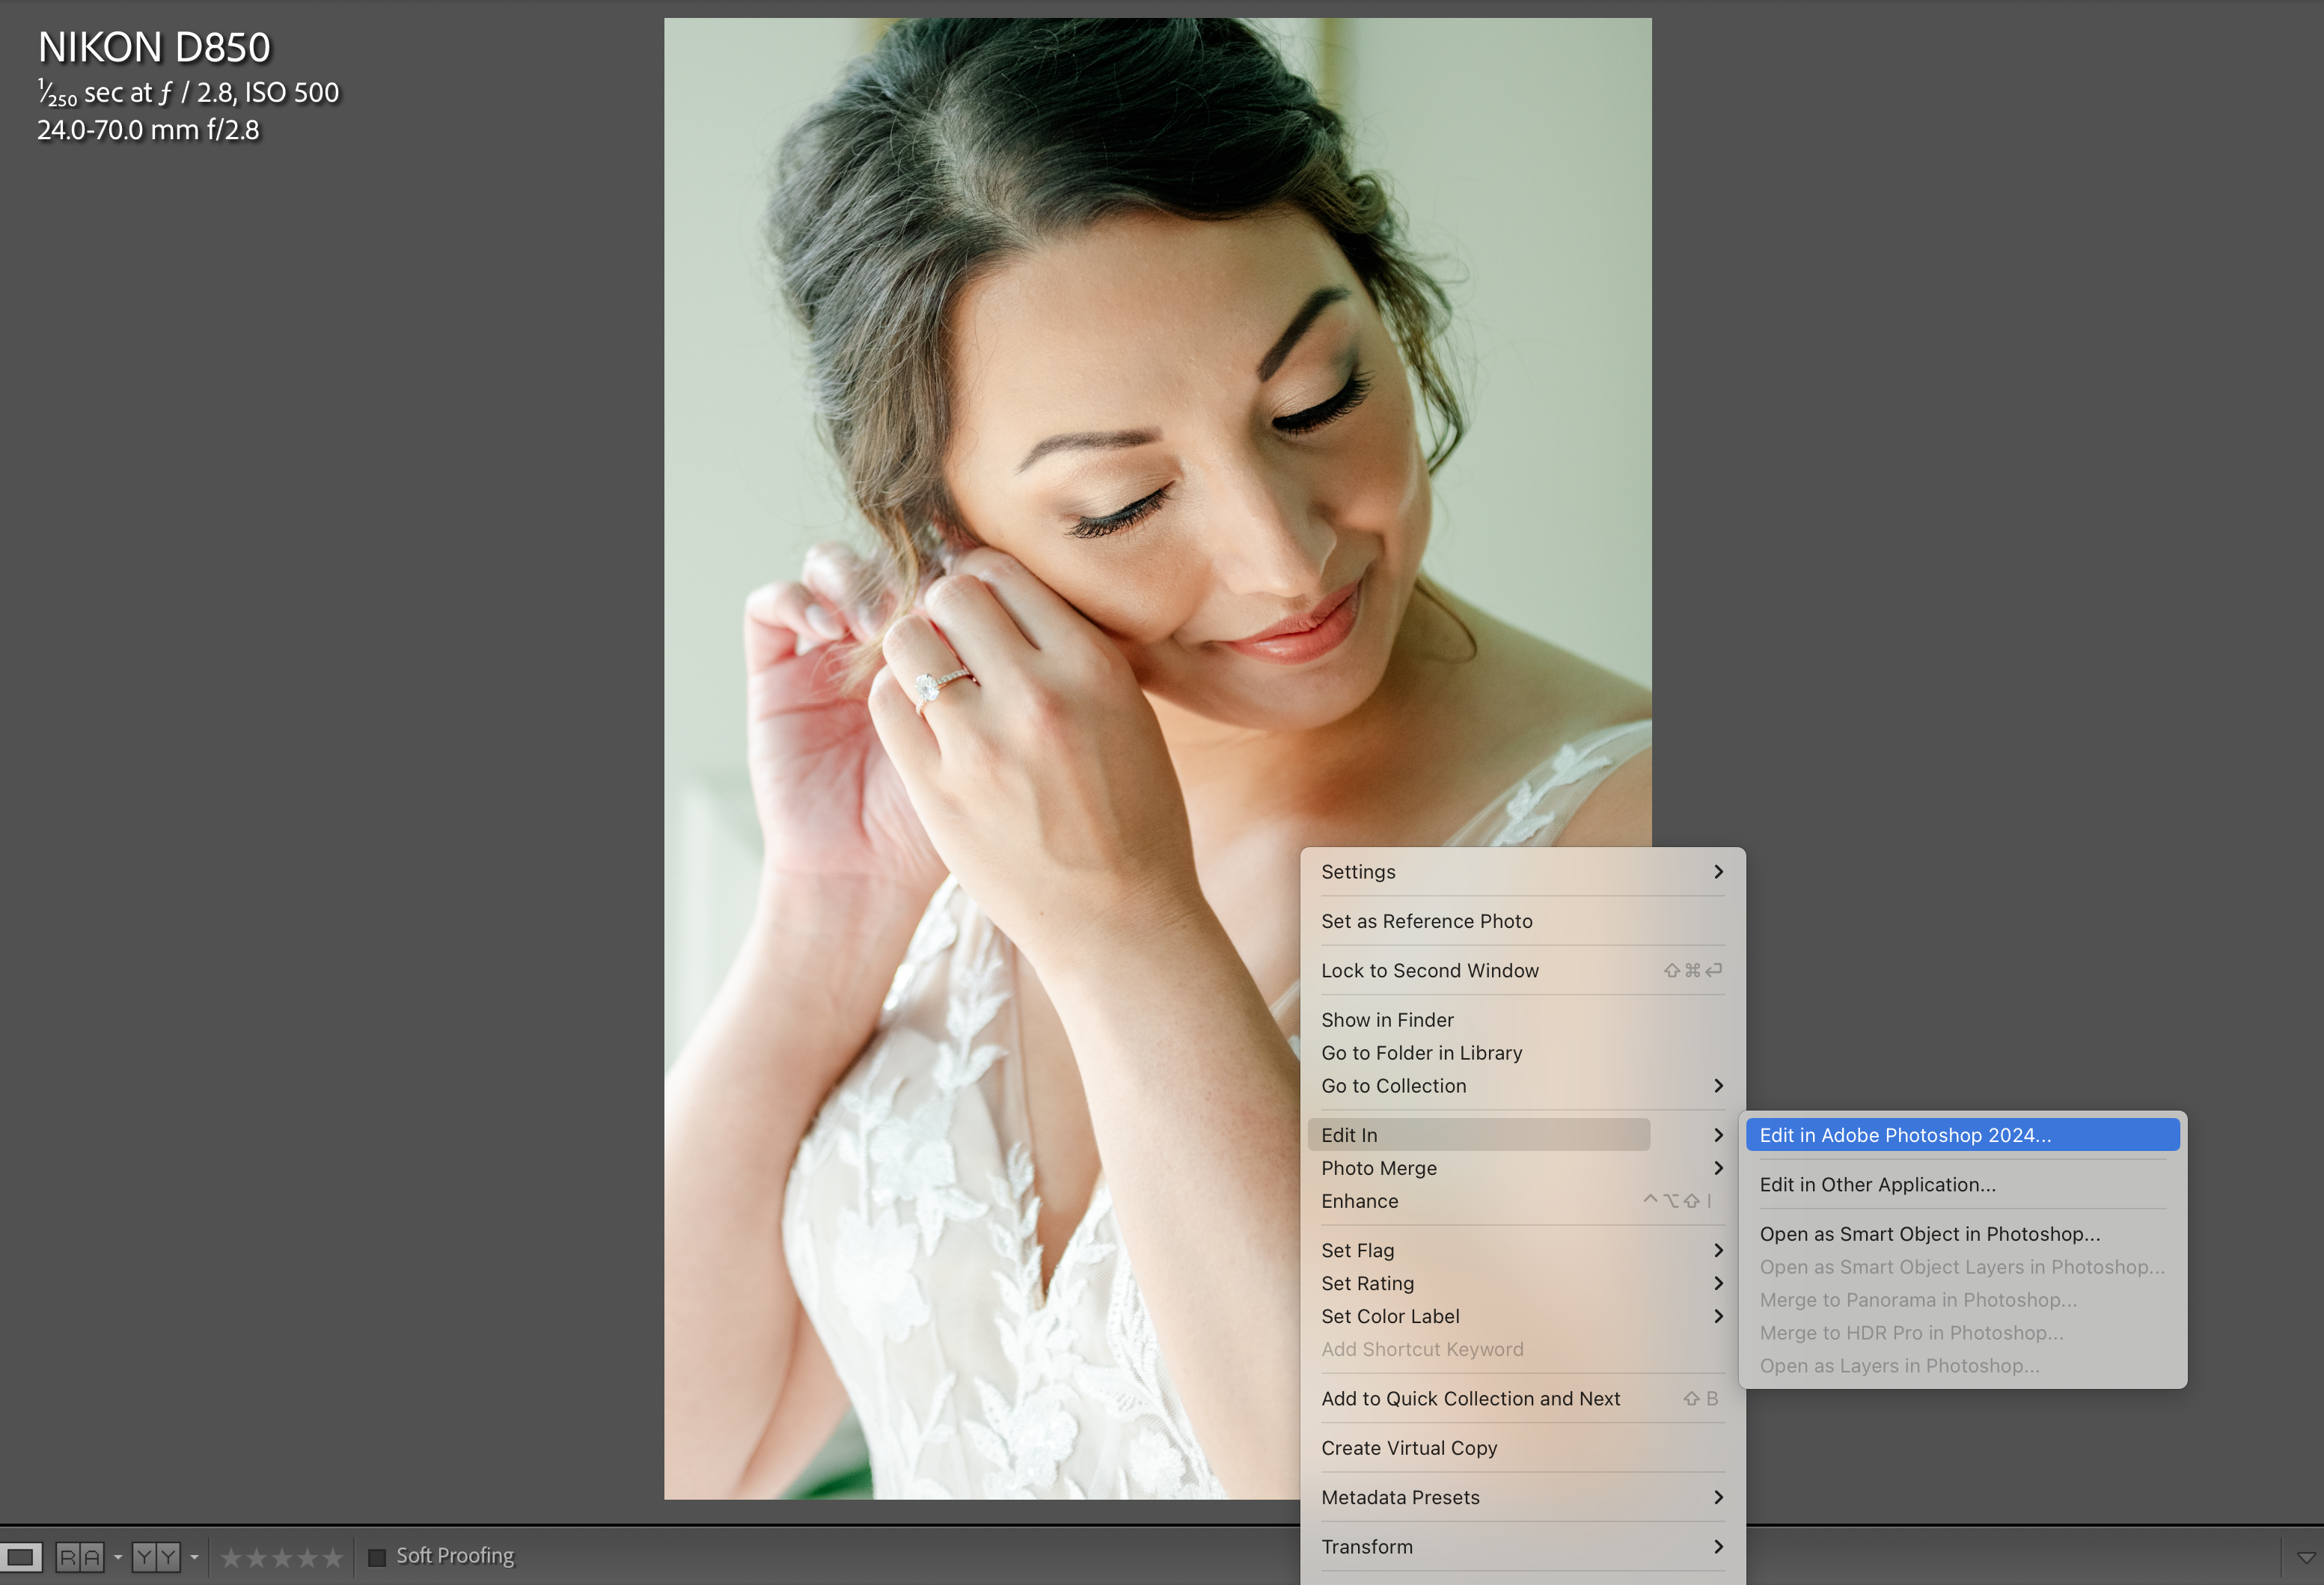
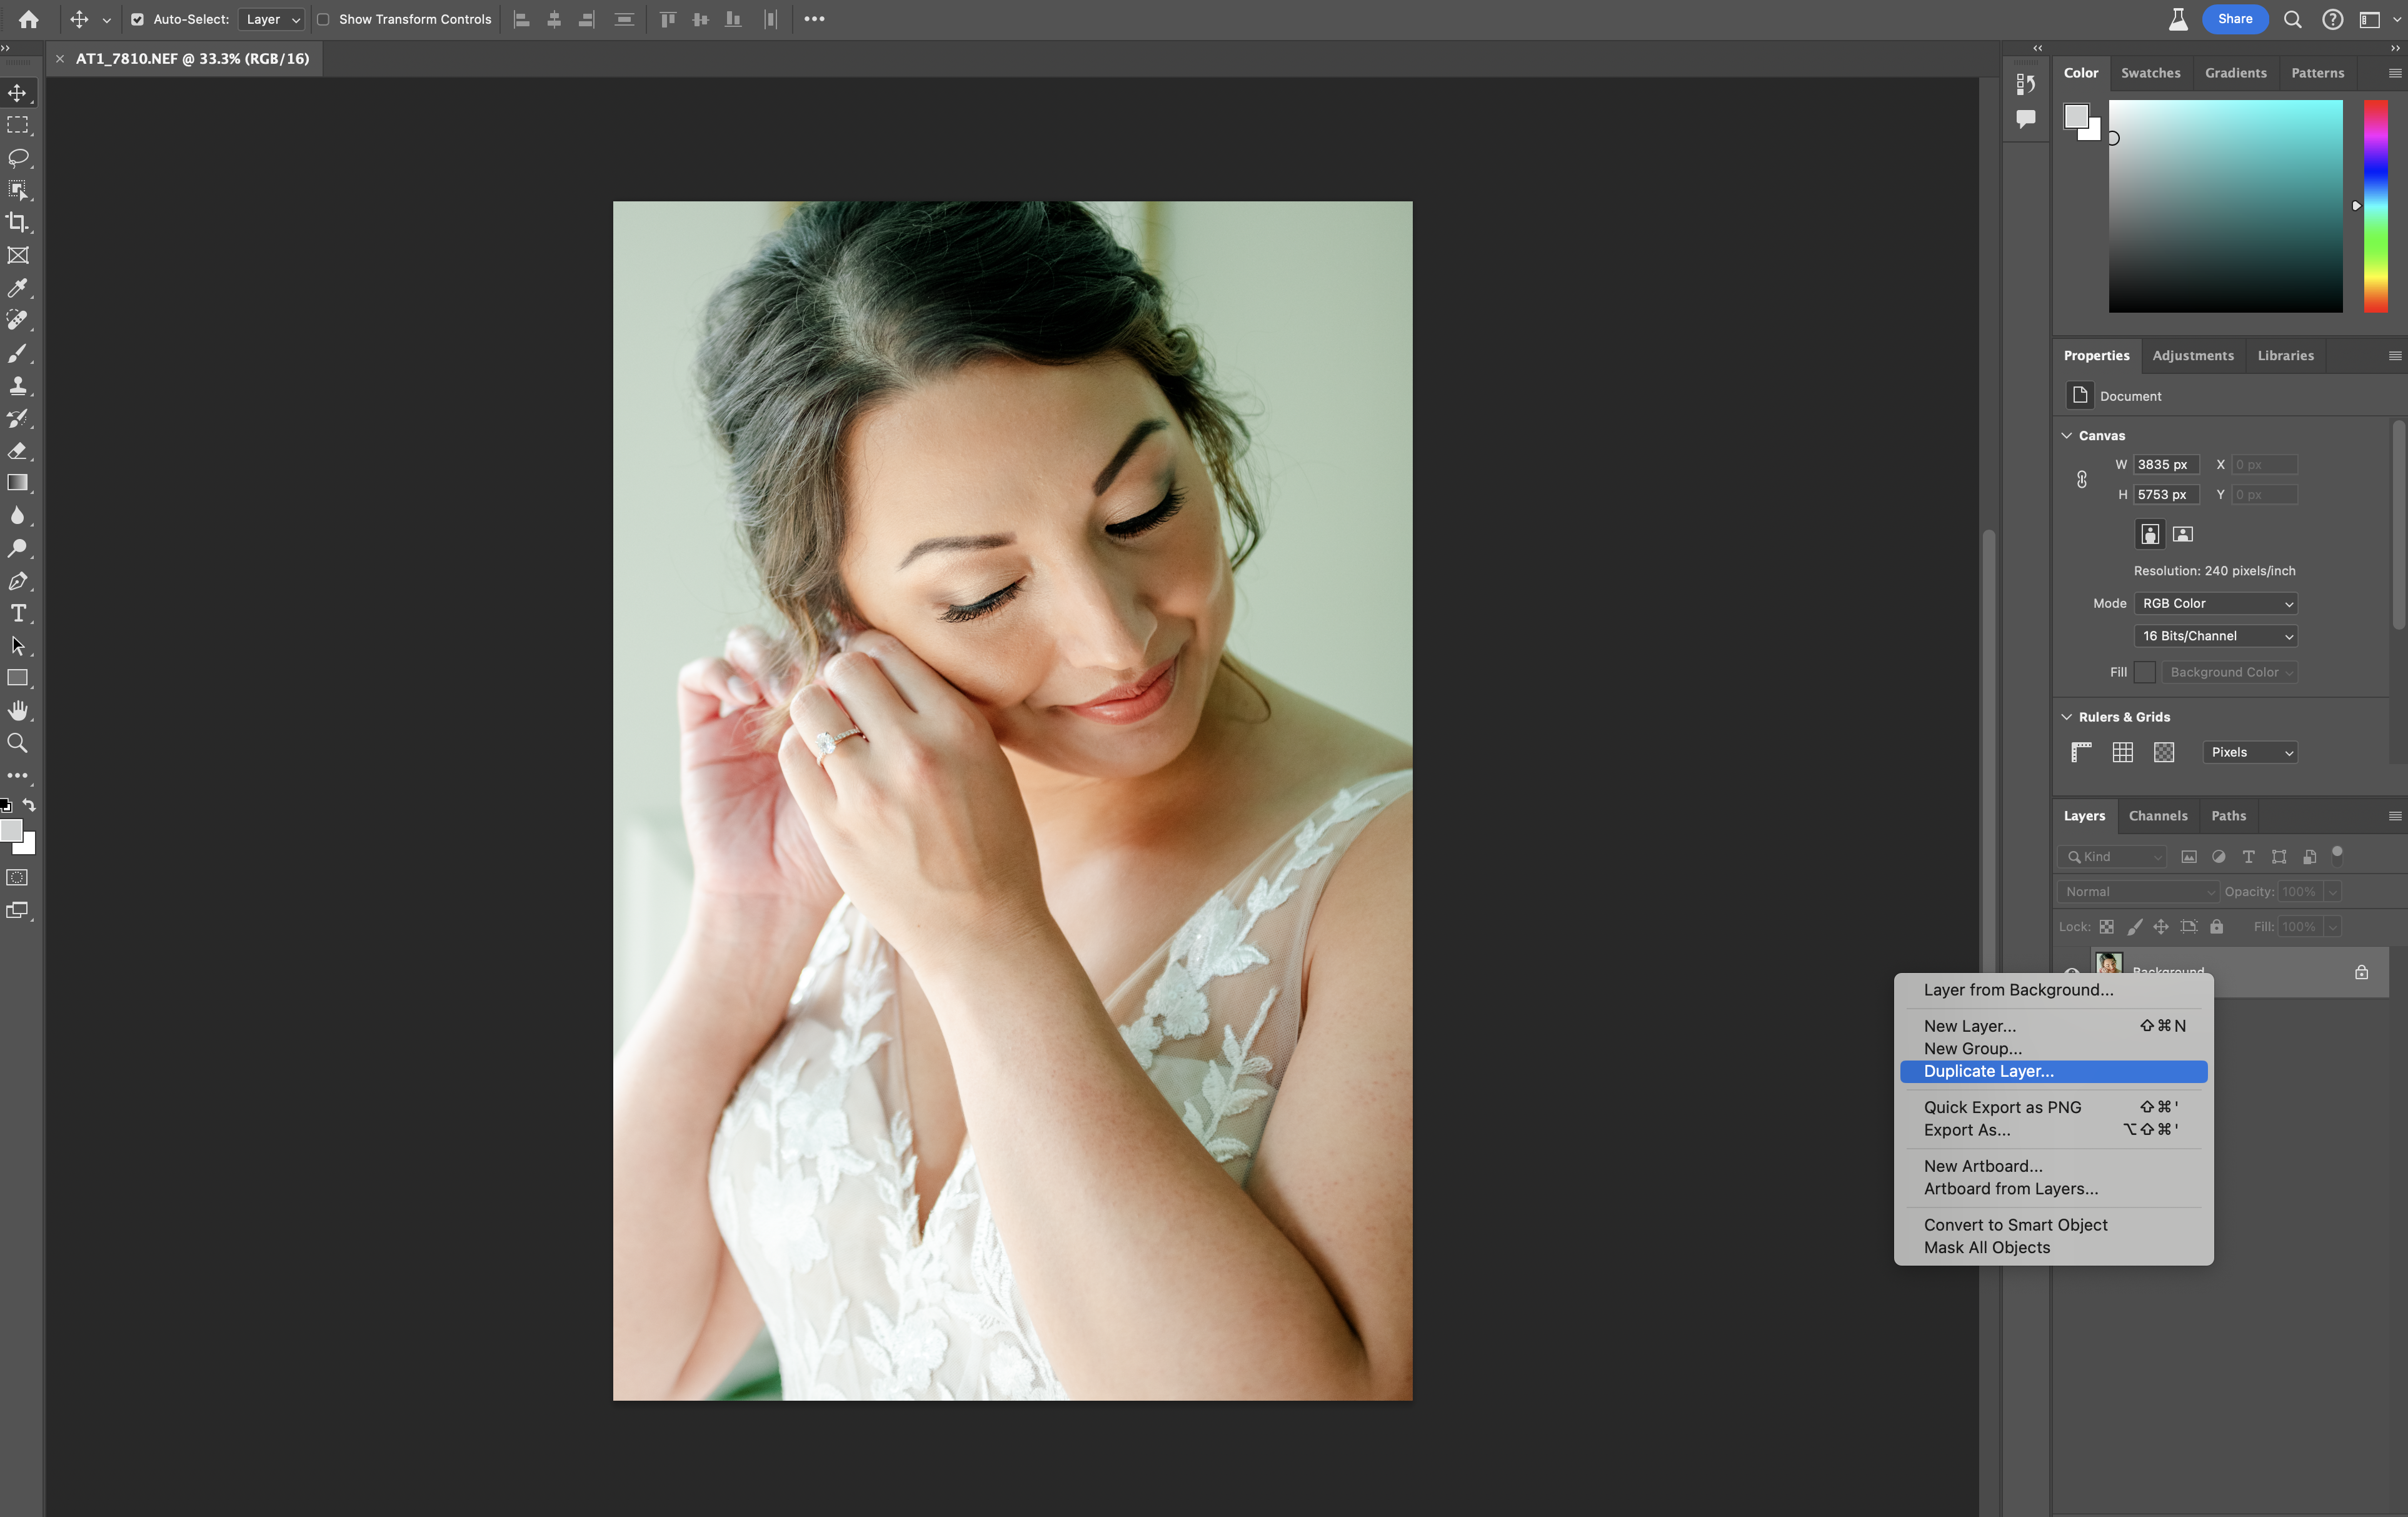
Once in Photoshop, hit Ctrl+J (PC) or Cmd+J (Mac) to duplicate your original layer. You can also right-click on the background layer and select “Duplicate Layer”. This sets the stage for the next step.
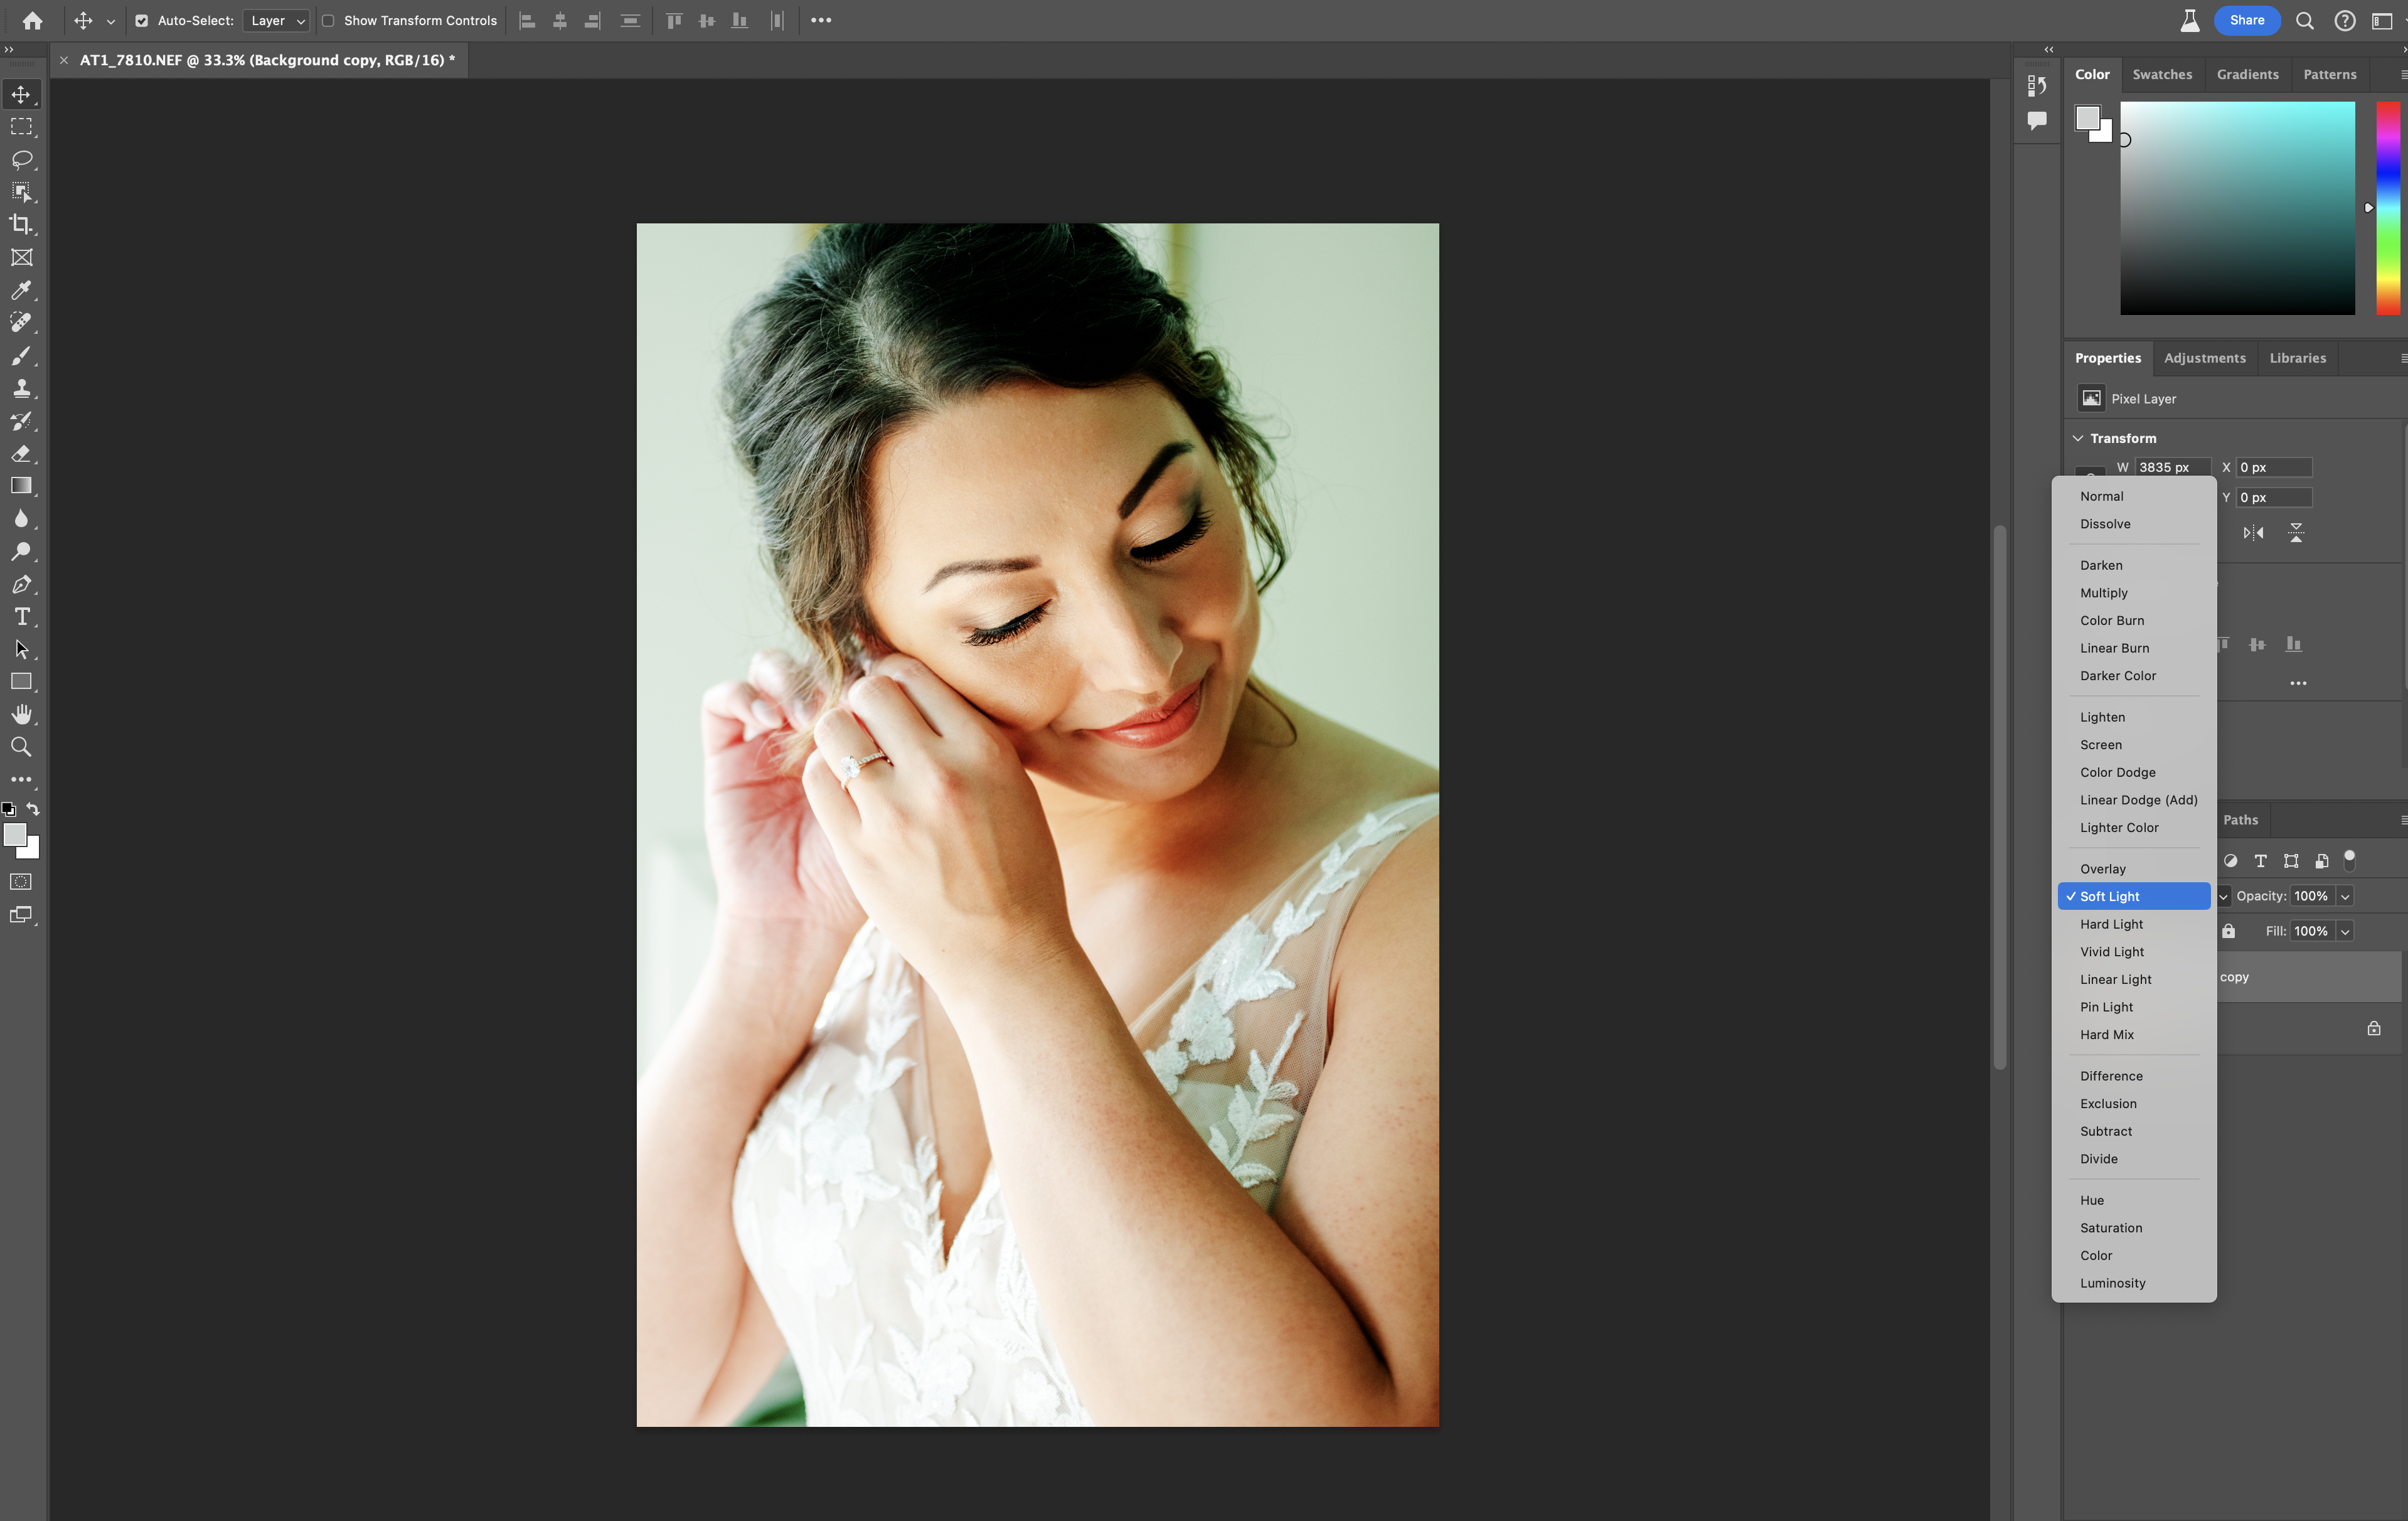
Step 2: Soft Light Mode
Next, go to blending modes and choose “Soft Light.” Watch your photo transition from the regular edit to a striking high-contrast version. Don’t worry–the next step will even everything out.
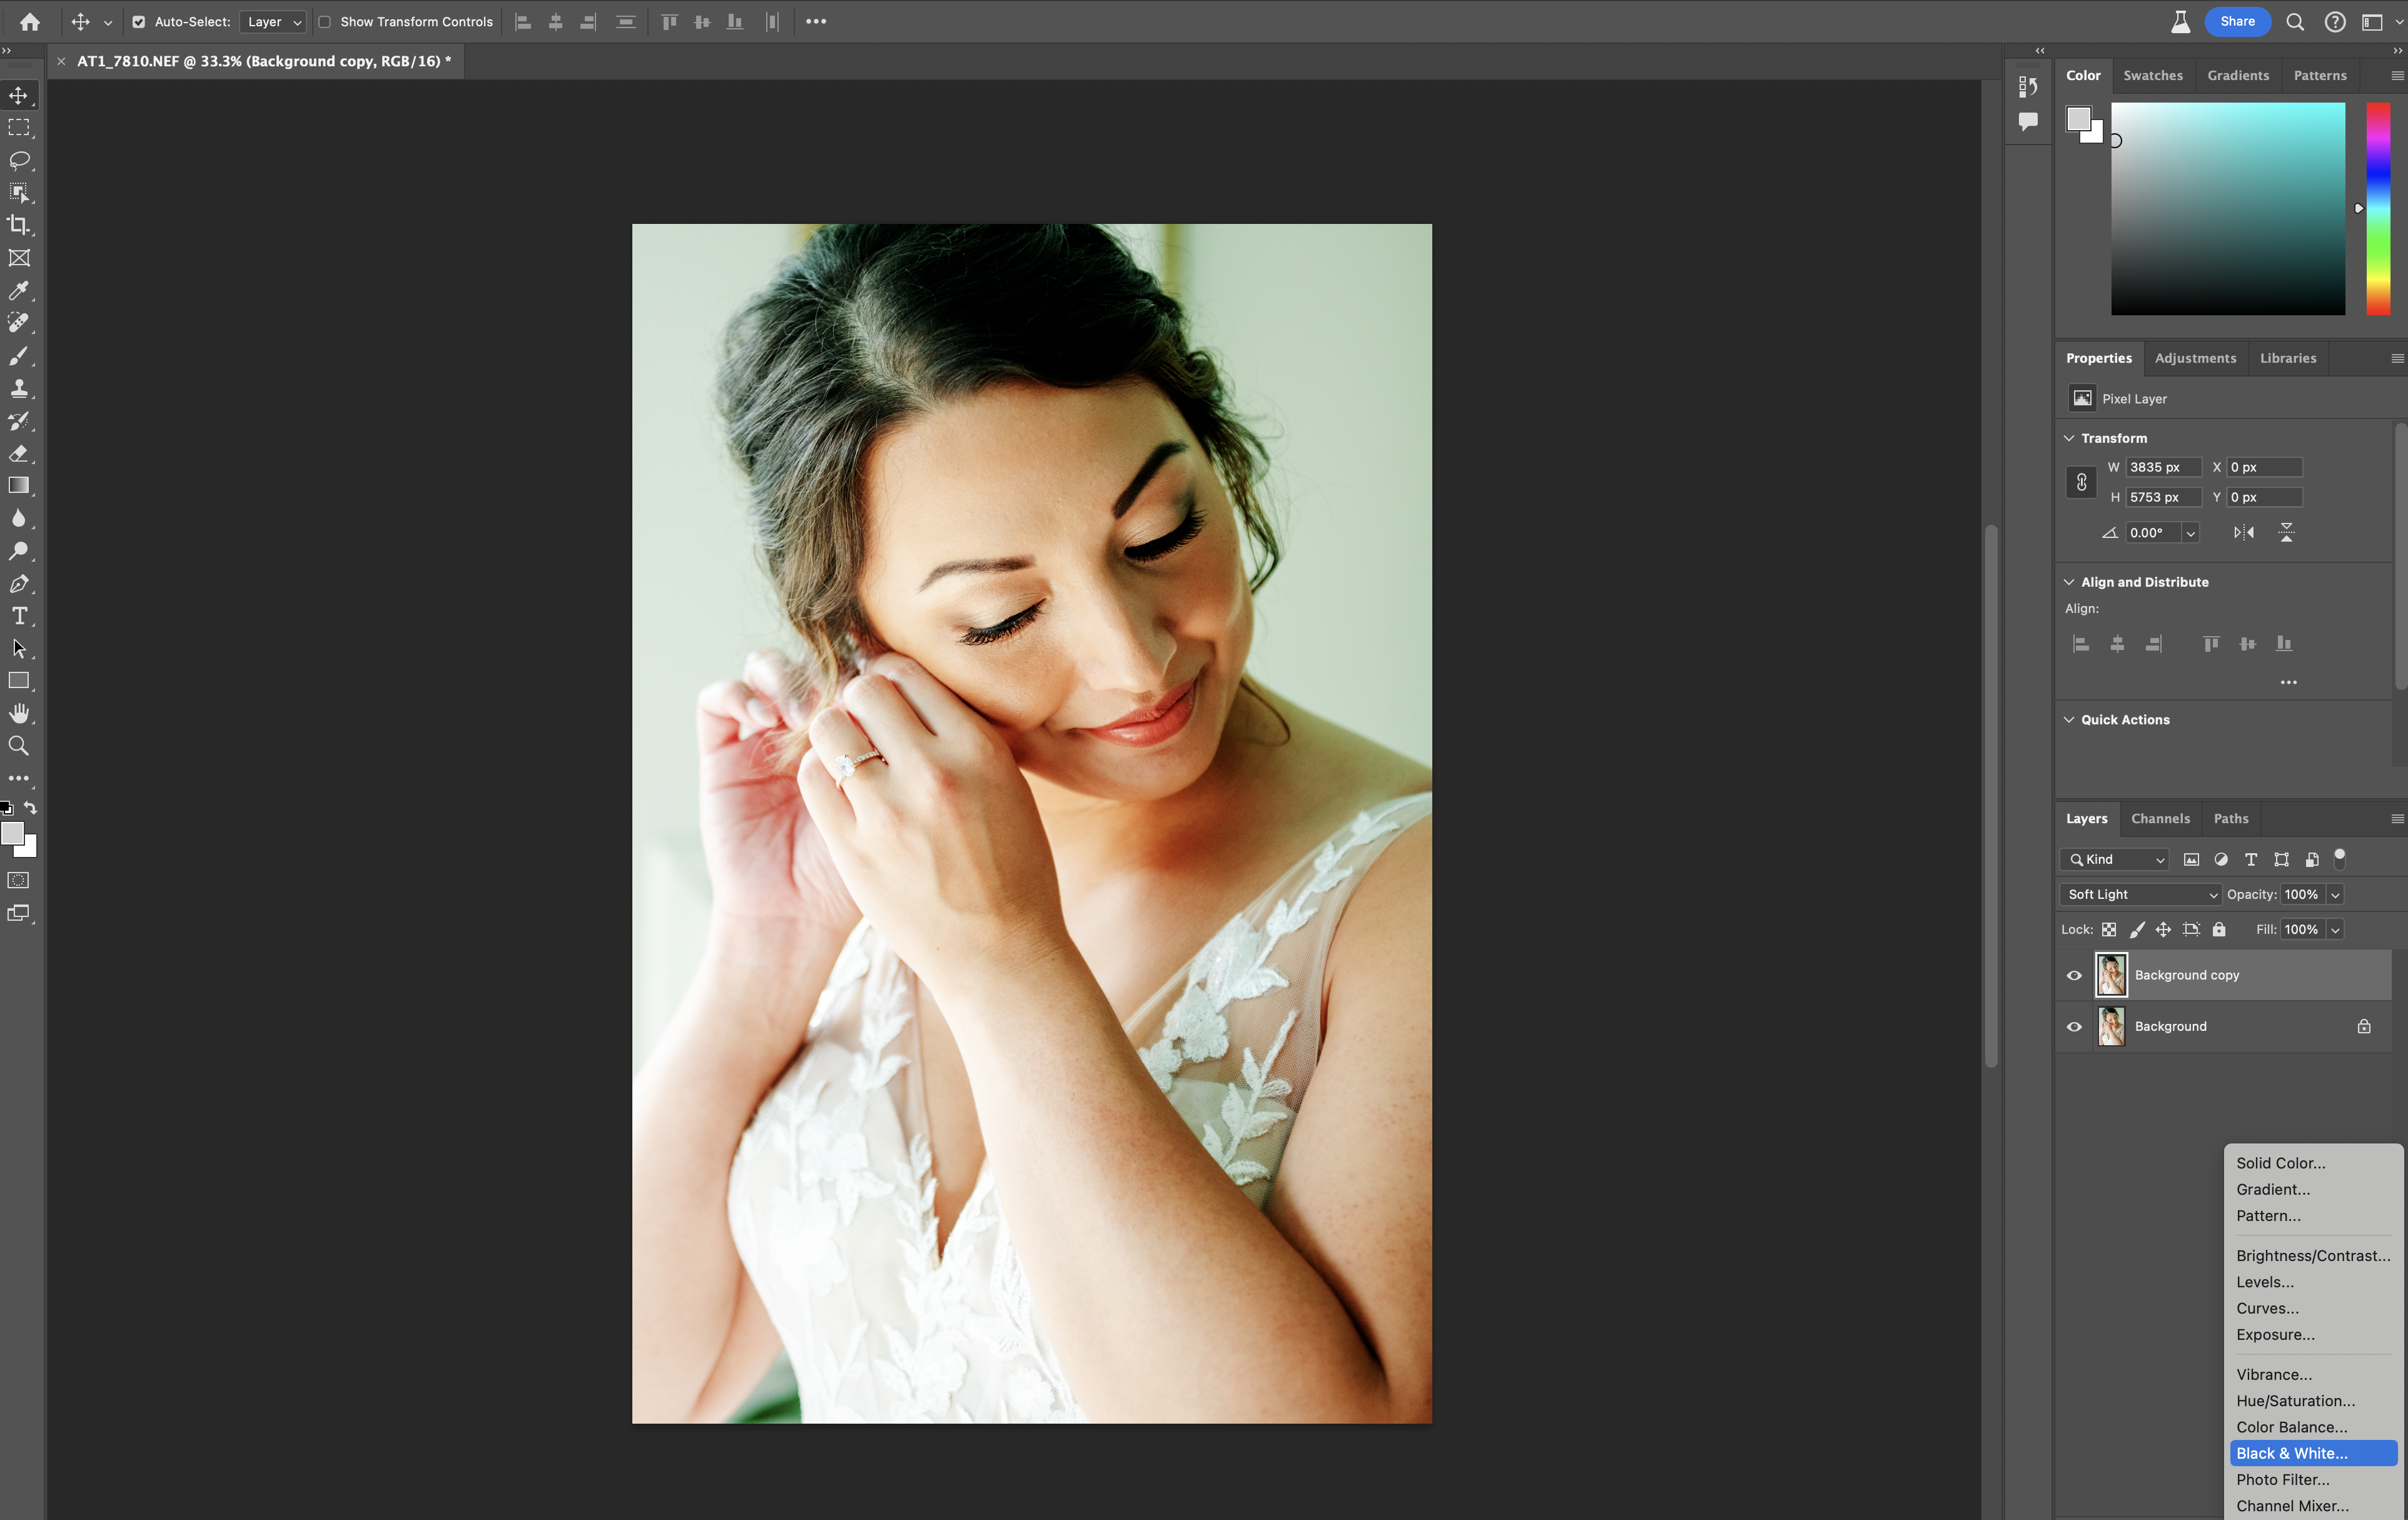
Step 3: Black & White Adjustment
Scroll down to adjustment layers and select “Black & White”.
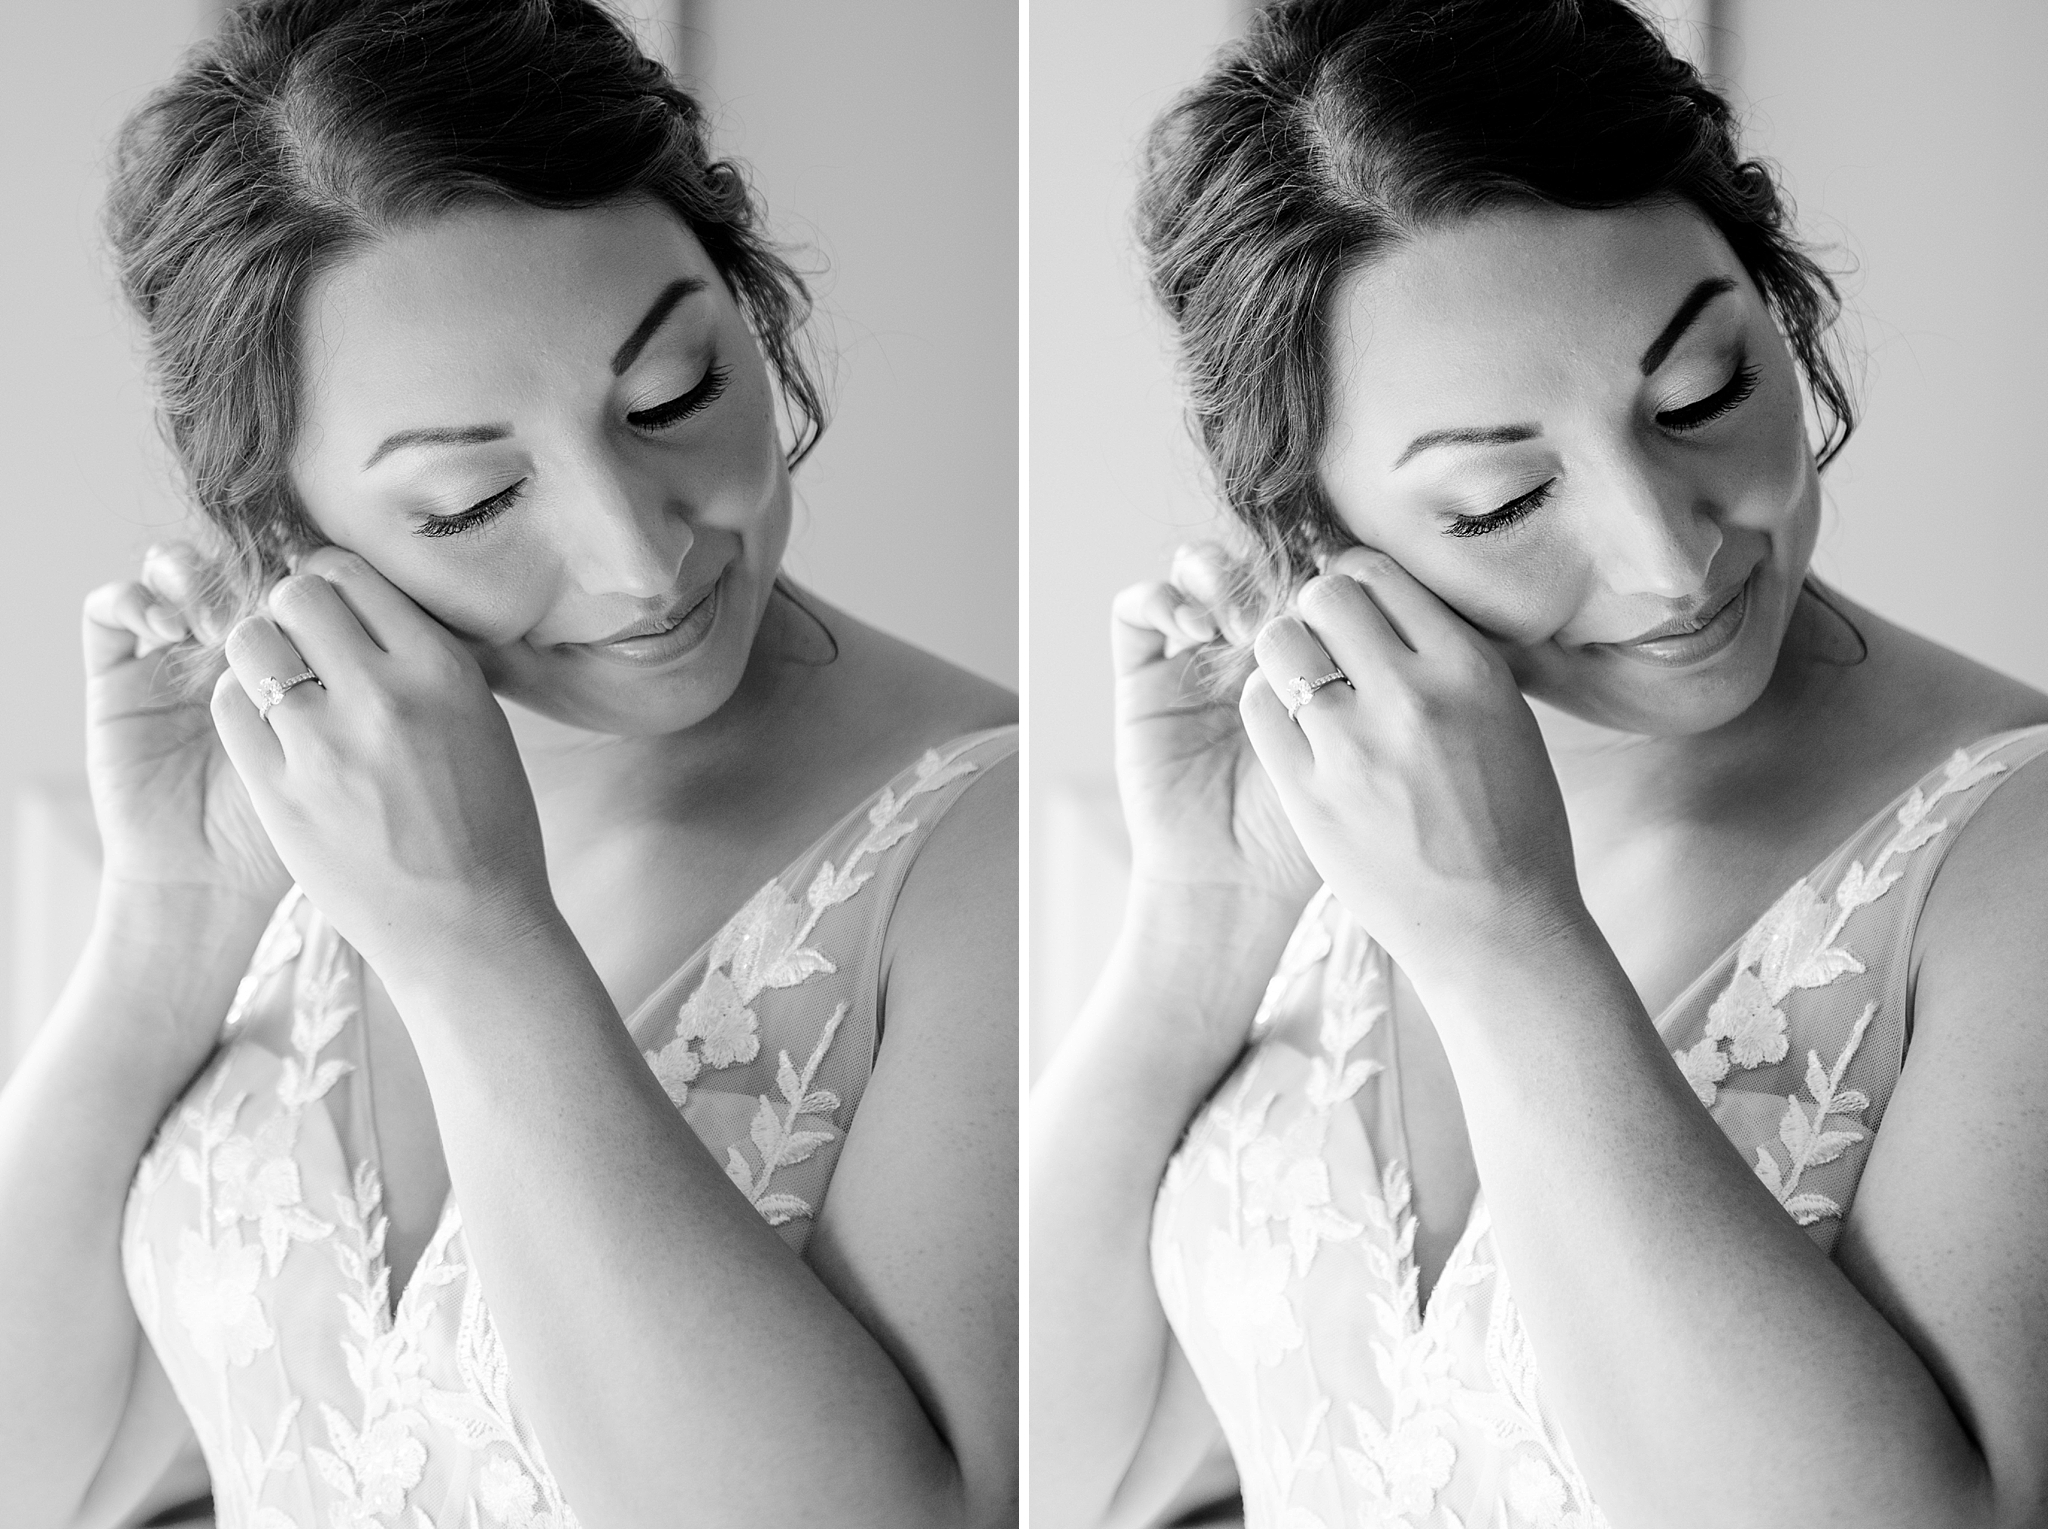
And there you have it–three easy steps to turn your pictures from okay to WOW! And just so you see how big of a difference step 2 makes, here’s the side-by-side comparison with and without the soft light mode. See how flat the image on the left is and how much more definition the image on the right has? That’s because we changed the blending mode from normal to soft light.
Did you enjoy this post? You’re also going to love:
- How to Use HoneyBook
- MyMind App: The NEW AI Tool to Organize Your Creative Mess
- Must-Have Photo Culling Software for Photographers
- How to Get the Right Exposure in Camera
- Exact Lightroom Export Settings for Photographers


